Werbung
Quicklinks
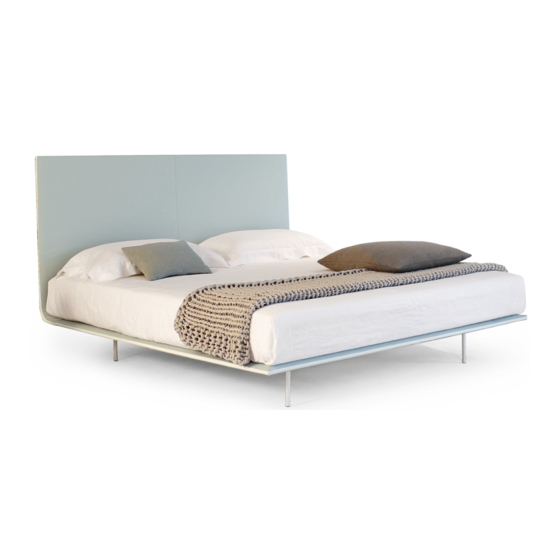
Thin
design: G. Carollo
Letto
Bed
Bett
Lit
A
B
C
scheda montaggio -
ATTENZIONE:
M
ANEggIArE cON MANI pulITE
ATTENTION:
H
ANdlE wITH clEAN HANds
AcHTuNg:
M
H
IT sAubErEN
äNdEN ANfAssEN
ATTENTION:
M
ANIpulEr AvEc lEs MAINs prOprEs
v
scrEw M8
scHrAubEN M8
v
N° 12
b
M8
b
b
N° 8
v
scrEw M8
scHrAubEN M8
v
N° 8
assembly instruction - Aufbauanleitung - notice de montage
.
.
.
.
D
M8
35
ITE
x
35
x
35
x
M8
35
Is
x
E
M8
ussOlA
busHINg
M8
ucHsE
M8
AguE
F
M8
30
ITE
x
30
x
30
x
M8
30
Is
x
Bonaldo Spa
Via Straelle, 3 – P.O. Box n. 6 – 35010 Villanova Pd Italia
Tel. +39 049 9299011 Fax +39 049 9299000
www.bonaldo.it - bonaldo@bonaldo.it
r
d
.35
ONdEllA
IAM
wASHER, DIAM 35
SCHEIBE 35
RONDELLE DIAM. 35
N° 12
v
M8
20
ITE
x
scrEw M8
scHrAubEN M8
vIs M8
N° 2
c
5-8
HIAvE A brugOlA
AllEN KEY 5-8
IMbusscHlÜssEl 5-8
clE AllEN 5-8
N° 2
1
Werbung

Verwandte Anleitungen für Bonaldo Thin


Inhaltszusammenfassung für Bonaldo Thin
- Seite 1 N° 8 N° 2 Bonaldo Spa Via Straelle, 3 – P.O. Box n. 6 – 35010 Villanova Pd Italia Tel. +39 049 9299011 Fax +39 049 9299000 www.bonaldo.it - bonaldo@bonaldo.it scheda montaggio - assembly instruction - Aufbauanleitung - notice de montage...
- Seite 2 Thin design: G. Carollo Aprire l’imballo e porre la struttura a terra, su un piano morbido, col telaio in metallo rivolto verso l’alto. Open the packaging and place the structure on the ground on a soft surface, with the metal frame facing upwards Die Verpackung öffnen und die Struktur auf eine...
- Seite 3 Thin design: G. Carollo Testiera/ Front Dopo aver individuato la parte anteriore e posteriore della struttura procedere al montaggio dei longoni e della padiera. After having identified the front and back parts of the structure, assemble the holding rails and the footboard .
- Seite 4 Thin design: G. Carollo Appoggiare il rivestimento alla struttura pre-montata. Place the covering on the pre-assembled structure. . Den Bezug über die vormontierte Struktur streifen. Appuyer le revêtement sur la structure pré-montée. Iniziare il montaggio del rivestimento dai due angoli della pediera, facendolo calzare alla struttura come illustrato nella fig.
- Seite 5 Thin design: G. Carollo Fissare il rivestimento alla struttura utilizzando il velcro(B), prima del fissaggio, sarà necessario togliere la protezione al velcro del rivestimento(A). Fix the covering to the structure using the velcro(B). Before fixing the lower part you have to take offer the velcro protective covering(A).
- Seite 6 Thin design: G. Carollo Completare il montaggio della testata fissando il gancio alla struttura mediante le 2 viti TBEI in dota- zione (fig 15) e fissando la piastra superiore con le 8 viti TPEI come in figura 16. Finish assembling the headboard by attaching the hook to the structure using the 2 TBEI screws sup- plied (fig.