Inhaltsverzeichnis
Werbung
Quicklinks
or A90_Manual
E/ 100204
藍色線條為尺寸標示,請勿印刷上去!
©2010 Thermaltake Technology Co., Ltd. All Rights Reserved. 2010.02
All other registered trademarks belong to their respective companies.
Tested To Comply
With FCC Standards
FOR HOME OR OFFICE USE
規格樣式
磅數(G)
式
印刷色彩
材質
表面處理
80G
單色
書寫紙
無
Downloaded from
www.Manualslib.com
PAGE/ 1/1
www.thermaltake.com
封面樣式(當封面與內頁樣式不同時尚須填寫)
其他特殊處理效果
印刷色彩
材質
無
manuals search engine
磅數(G)
表面處理
其他特殊處理效果
250 mm
Created for Combat
VL9000 Series
User's Manual
Benutzerhandbuch
Mode d'emploi
Manual del usuario
Manuale dell'utente
安裝說明書
用戶手冊
ユーザーズマニュアル
Руководство пользователя
kullanıcı elkitabı
PRODUCT GM
MARKETING
(EEE Yönetmeliğine Uygundur)
CHECK
DESIGN
Serena
Werbung
Inhaltsverzeichnis

Verwandte Anleitungen für Thermaltake ArMor A90


Inhaltszusammenfassung für Thermaltake ArMor A90
- Seite 1 Manual del usuario Manuale dell’utente 安裝說明書 用戶手冊 ユーザーズマニュアル Руководство пользователя ©2010 Thermaltake Technology Co., Ltd. All Rights Reserved. 2010.02 kullanıcı elkitabı (EEE Yönetmeliğine Uygundur) All other registered trademarks belong to their respective companies. www.thermaltake.com Tested To Comply With FCC Standards FOR HOME OR OFFICE USE 規格樣式...
-
Seite 2: Specification
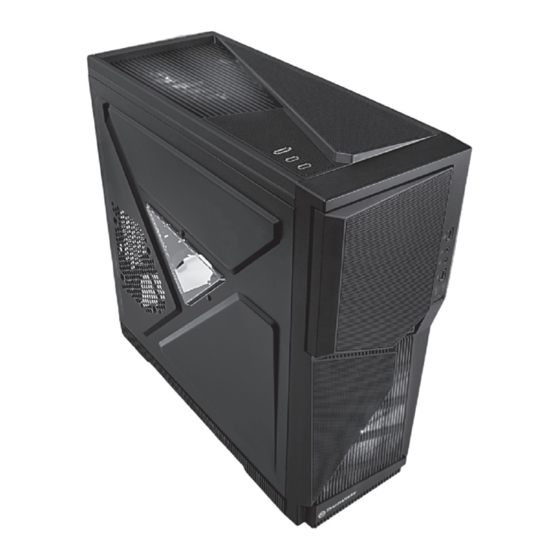
Specification C o n t e n t s Chapter 1. Product Introduction Specification Model VL90001W2Z Case Type Chapter 2. Installation Guide Middle Tower Transparent Window Side Panel CPU Cooler Height & VGA (Add-on card) Length Limitation Net Weight 8.2 kg / 18.1 lb Dimension 515.0 x 210.0 x 502.0 mm... - Seite 3 CPU Cooler Height & VGA (Add-on card) Length Limitation Attenzione! Limitazione altezza dissipatore CPU: Assicurarsi che l’altezza del dissipatore CPU NON superi 180 mm (7,1 pollici). Limitazione lunghezza VGA (scheda aggiuntiva): Assicurarsi che la lunghezza del VGA (scheda aggiuntiva) NON superi 260 mm (10,2 pollici). <180 mm 警告!!...
-
Seite 4: Side Panels Disassembly
Side Panels Disassembly Motherboard Installation English / 繁體中文 / 1. Lay down the chassis. 1. 放平機殼。 English / 繁體中文 2. Install the motherboard in proper 2. 將主機板安裝在適當位置,然後用螺絲固定。 Unscrew thumbscrews and slide side 擰鬆拇指螺絲並從機殼滑下側面板。 location and secure it with screws. panels off from the chassis. Deutsch / 简体中文... -
Seite 5: Drives Installation
5.25” Drives Installation Italiano / 4. 内側および外側に押して5.25” HDDケー 1. Tirare il pulsante del pannello anteriore ジの工具不要クリップをアンロックしま す。 per sganciarlo dallo chassis. 2. Rimuovere il coperchio in plastica 5. 5.25”デバイスをドライブベイに差し込 み、上下に押して工具不要クリップをロ dell’alloggiamento dell’unità da 5,25”. ックします。 3. Rimuovere il coperchio in metallo dell’alloggiamento dell’unità... -
Seite 6: Drive Installation
3.5” Drive Installation Italiano / Русский / Русский / 1. Estrarre il pannello anteriore. 1. Снимите переднюю панель. 2. Rimuovere il coperchio del vano unità 2. Снимите крышку отсека da 3,5’’. 3,5-дюймового дисковода. 3. Inserire il dispositivo nel vano unità da 3. -
Seite 7: Hdd Installation
3.5” HDD Installation Italiano / Русский / Русский / 1. Spingere all’interno e verso l’alto per 1. Для разблокировки фиксатора, не тр sboccare la clip tool-free nel ебующего применения инструментов, contenitore HDD da 3,5”. на каркасе для 3,5-дюймовых жестки 2. Inserire il dispositivo da 3,5” nel х... -
Seite 8: Power Supply Unit (Psu) Installation
Power Supply Unit (PSU) Installation 2.5" HDD Installation Italiano / 1. Posizionare la PSU in modo corretto. 2. Regolare il ponticello di supporto della PSU nella posizione corretta e fissare la PSU con delle viti. 繁體中文 / 1. 將電源供應器放在正確的位置 2. 將電源供應器支撐架調整到適當的位置, 然後用螺絲固定電源供應器。... -
Seite 9: Pci Card Installation
Keyboard & Mouse Security Lock Usage PCI Card Installation English / English / dall’interno dello chassis con la relativa vite. 繁體中文 / Place the keyboard or mouse cables through Insert the PCI card into the PCI slot, and 將 PCI 卡插入 PCI 插槽,然後用螺絲固定。 the “Keyboard &... - Seite 10 2. Platzieren Sie den Ventilator und sichern Sie 1. Installez l’entretoise à l’avant du boitier 1. 将间隔柱安装于机壳前方 ihn mit Schrauben. 2. 定位风扇并以螺丝固定。 2. Sortez la vis #6-32 du kit de pièces de l’Armor A90 2. 自Armor A90零件包中取出#6-32螺丝并锁上 et serrez-la Français / 日本語 / 1.
- Seite 11 Downloaded from www.Manualslib.com manuals search engine...
- Seite 12 Downloaded from www.Manualslib.com manuals search engine...
- Seite 13 Downloaded from www.Manualslib.com manuals search engine...
- Seite 14 Memo Memo Downloaded from www.Manualslib.com manuals search engine...