Inhaltsverzeichnis
Werbung
2009 Thermaltake Technology Co., Ltd. All Rights Reserved. 2009.09
C
All other registered trademarks belong to their respective companies.
Tested To Comply
With FCC Standards
FOR HOME OR OFFICE USE
www.thermaltake.com
VL8000 Series
User's Manual
Benutzerhandbuch
Mode d'emploi
Manual del usuario
Manuale dell'utente
安裝說明書
用戶手冊
ユーザーズマニュアル
Руководство пользователя
kullanıcı elkitabı
Werbung
Inhaltsverzeichnis

Verwandte Anleitungen für Thermaltake V3 Black Edition VL80001N2Z


Inhaltszusammenfassung für Thermaltake V3 Black Edition VL80001N2Z
- Seite 1 Benutzerhandbuch Mode d’emploi Manual del usuario Manuale dell’utente 安裝說明書 用戶手冊 ユーザーズマニュアル 2009 Thermaltake Technology Co., Ltd. All Rights Reserved. 2009.09 Руководство пользователя All other registered trademarks belong to their respective companies. www.thermaltake.com kullanıcı elkitabı Tested To Comply With FCC Standards...
-
Seite 2: Inhaltsverzeichnis
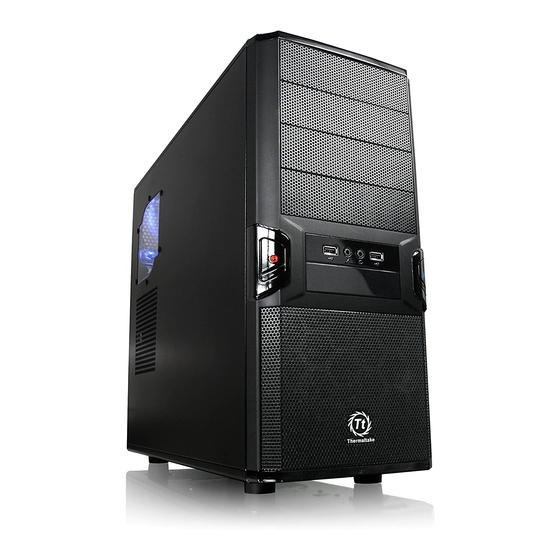
Specification Contents Model VL80001N2Z VL80001W2Z Middle Tower Case Type Chapter 1. Product Introduction Side Panel Transparent Window 4.6 kg / 10.1 lb Net Weight Specification Dimension 473.0 x 190.0 x 430.0 mm Accessory (D*W*H) (18.6 x 7.5 x 16.9 inch) Front (Intake) : Front (Intake) : Warning and Notice... -
Seite 3: Warning And Notice
Warning and Notice Attenzione! CPU Cooler Height Limitation VGA ( Add- on card) Length Limitation - Limite di altezza per il dissipatore di calore della CPU: Il limite di altezza per il dissipatore di calore della CPU è 160 mm (6,3’’). - Limite di lunghezza per la VGA (schede grafiche): Il limite di lunghezza per la VGA (scheda grafica) è... -
Seite 4: Side Panel Disassembly
PSU Installation Side Panel Disassembly English / 繁體中文 / Remove the screws on the back of the chassis, 移除機殼後方螺絲,將側窗打開 English / 繁體中文 / and open the side panel Place the power supply in proper location and 將電源供應器放在正確的位置,並用螺絲固定鎖上 secure it with screws. Deutsche / 简体中文... -
Seite 5: Motherboard Installation
Motherboard Installation 5.25" Device Installation 繁體中文 / English / English / Français / 1.Lay down the chassis. 1. 將機殼平放。 1. Pull out the front panel. 1. Tirez le panneau de devant. 2.Install the motherboard in proper location and 2. 將主機板放置在合適的位置並用零件包中之螺 2. -
Seite 6: External 3.5" Device Installation
External 3.5” Device Installation Italiano / 日本語 / 1. Tirare verso l esterno il pannello anteriore 1. 前面パネルを引き出します。 2. Rimuovere il coperchio 2. 5.25”ドライブベイのカバーを取り外します。 dell alloggiamento dell unità da 5,25 pollici 3. 5.25”ドライブベイのメタルカバーを取り外し 3. Rimuovere il coperchio in metallo ます。 dell alloggiamento dell unità... -
Seite 7: Hdd Installation
HDD Installation Italiano / 日本語 / 1. Tirare verso l esterno il pannello anteriore 1. 前面パネルを引き出します。 2. Rimuovere il coperchio dell alloggiamento 2. 3.5" ドライブベイのカバーを取り 外します dell unità da pollici 3. 3.5" ドライブベイのメタルカバーを取り外しま 3. Rimuovere il coperchio in metallo す。 dell alloggiamento dell unità... -
Seite 8: 2.5" Hdd Installation
2.5" HDD Installation Italiano / 日本語 / 1. Ruotare il dispositivo di blocco in senso 1. ロックデバイスを反時計方向に回してロック解 antiorario per sbloccarlo e rimuoverlo. 除し、ロックデバイスを取り外します。 2. Posizionare l HDD nel vano unità 2. HDD をドライブベイに取り付けます。 3. Riposizionare il dispositivo di blocco e ruotarlo 3. -
Seite 9: Pci Slot Usage
PCI Slot Usage Leads Installation English Leads Installation Guide Case LED Connection / On the front of the case, you can find some LEDs and switch leads. Please consult your user manual of your motherboard manufacturer, then connect these leads to the panel header on the motherboard. USB 2.0 Connection / Please consult your motherboard manual to find out the section of “USB connection”. - Seite 10 Français Italiano Guide d'installation des fils Guida di installazione dei contatti Connexion des voyants du boîtier / Sur la face avant du boîtier, vous trouverez plusieurs voyants et les fils des Connessione del LED del case / Nella parte anteriore del case, sono presenti alcuni contatti per interruttori e LED. boutons.
- Seite 11 Русский 简体中文 Указания по прокладке кабелей Указания по прокладке кабелей 线材安装说明 线材安装说明 Подключение индикаторов корпуса Подключение индикаторов корпуса / В передней части корпуса расположены индикаторы и провода 机壳LED连接方式 机壳LED连接方式 / 在机壳前方的面板后面,可以找到一些LED与开关线材(POWER Switch….),请参考主板 / 在机壳前方的面板后面,可以找到一些LED与开关线材(POWER Switch….),请参考主板 выключателей. Перед подсоединением этих проводов к монтажной колодке панели на материнской 使用说明书,并将机壳上的线材正确地连接到主板上,这些线材通常都会印有标签在上面,如果没有的话,请找...
-
Seite 12: Toughpower/ Purepower/Tr2 Power Supply Series (Optional)
Toughpower/ Purepower/ Note: TR2 power supply series (optional)