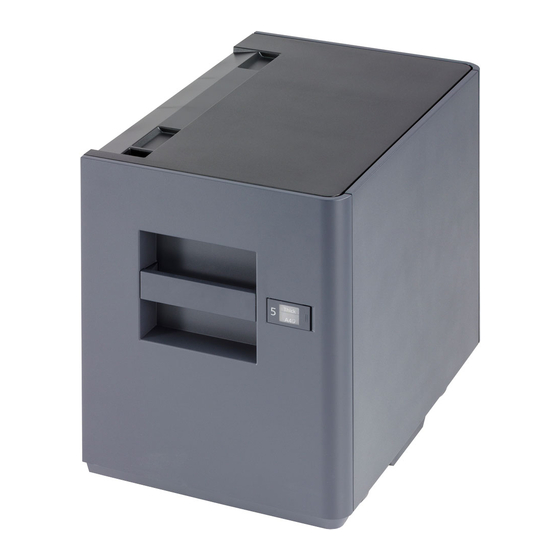
Kyocera PF-7120 Installationsanleitung
Papierzufuhr

Verwandte Anleitungen für Kyocera PF-7120


Inhaltszusammenfassung für Kyocera PF-7120
- Seite 1 PF-7120 INSTALLATION GUIDE GUIDE D’INSTALLATION GUÍA DE INSTALACION INSTALLATIONSANLEITUNG GUIDA ALL’INSTALLAZIONE...
- Seite 2 Color Printer Color MFP Color MFP 60/55ppm 25/25ppm, 32/32ppm, 70/65ppm, 73/65ppm, 35/35ppm, 40/40ppm, 80/70ppm, 83/70ppm 50/50ppm, 60/55ppm Black & White Printer Black & White MFP Black & White MFP 60ppm 40ppm, 50ppm, 60ppm 70ppm, 80ppm, 90ppm (EN) A different procedure is required depending on the product which is installed with this unit.Each procedure is described in the following pages. For installation with the MFP(A) / Printer, see Page 1 to Page 10, Page 16 to Page 24.
- Seite 3 E(M4x8P) G(M4x8) K*; Number and type of the parts supplied vary by destination. (EN) K*; Le nombre et le type des pièces fournies varient selon la destination. (FR) (ES) K*; El número y el tipo de piezas proporcionadas varían según el destino. (DE) K*;...
- Seite 7 (66 mm) 18 mm 18 mm +0mm 77mm -2mm +0mm 77mm -2mm...
- Seite 8 +0mm 77mm -2mm...
- Seite 10 E(N4x8P) E(M4x8P) E(M4x8P)
- Seite 11 G(M4x8) G(M4x8) G(M4x8) G(M4x8) G(M4x8) G(M4x8)
- Seite 12 E(M4x8P) E(M4x8P) G(M4x8) G(M4x8) G(M4x8)
- Seite 13 G(M4x8) E(M4x8P) K*; Number and type of the parts supplied vary by destination. (EN) K*; Le nombre et le type des pièces fournies varient selon la destination. (FR) K*; El número y el tipo de piezas proporcionadas varían según el destino. (ES) K*;...
- Seite 14 Affix the seals (P) to cover the screw heads after cleaning there with alcohol. (EN) Fixer les joints (P) afin de couvrir les têtes de vis après avoir nettoyé à l’ alcool. (FR) (ES) Después de limpiar la zona con alcohol, coloque los precintos (P) para cubrir las cabezas de los tornillos. Bringen Sie die Dichtungen (P) an, um die Schraubenköpfe abzudecken, nachdem Sie sie mit Alkohol (DE) gereinigt haben.
- Seite 15 E(M4x8P) E(M4x8P) E(M4x8P) E(M4x8P)
- Seite 16 G(M4x8) G(M4x8) G(M4x8) E(M4x8P) E(M4x8P) G(M4x8) G(M4x8) G(M4x8)
- Seite 17 G(M4x8) G(M4x8) G(M4x8)
- Seite 18 Changing paper size (EN) Modification du format du papier (FR) (ES) Cómo cambiar el tamaño de papel Ändern des Papierformats (DE) Cambio del formato della carta (IT) (ZHCN) (KO) (JA)
- Seite 19 Run maintenance mode U208 and set the paper size. (EN) Run maintenance mode U208 and set the paper size. Run maintenance mode U208 and set the paper size. Run maintenance mode U208 and set the paper size. (EN) *Proceed to step on page 22.
- Seite 20 Letter Adjusting the cursor width Changing paper size (EN) * A cursor width that is too small can hinder paper feeding, while a cursor width that is too large can lead to problems such as skewed paper feed. Modification du format du papier (FR) Réglage de la largeur du curseur (ES)
-
Seite 21: Service Parts
Run maintenance mode U208 and set the paper size. (EN) *Proceed to step on page 22. Exécuter le mode maintenance U208 et définir le (FR) format du papier. *Passer à l'étape de la page 22. Active el modo de mantenimiento U208 y ajuste el (ES) tamaño de papel. - Seite 22 Letter Changing paper size (EN) Modification du format du papier (FR) (ES) Cómo cambiar el tamaño de papel (DE) Ändern des Papierformats (IT) Cambio del formato della carta (ZHCN) (KO) (JA)
- Seite 23 Service Parts Parts No. 7BB700408H Parts No. 303NG1008_ Run maintenance mode U208 and set the paper size. (EN) *Proceed to step on page 22. Exécuter le mode maintenance U208 et définir le (FR) format du papier. *Passer à l'étape de la page 22. Active el modo de mantenimiento U208 y ajuste el (ES) tamaño de papel.
- Seite 24 (EN) Adjusting the cursor width 1. Load paper in the cassettes. 2. If the gap between the front deck cursor (3) and the paper (2) is outside the 0.5 to 1.0 mm range when the paper (2) is touching up against the rear deck cursor (1), perform the following adjustment.
- Seite 25 (EN) Adjusting the center line 1.Check the deviation between the center (1) of a correct image (a) and the center (2) of a test pattern. If the gap exceeds the reference value, adjust the gap according to the following procedure. <Reference value>...
- Seite 26 Test pattern (c) : Decrease the setting value. 6.Repeat the steps 2 to 5 above until the gap Amount of change per step: 0.1mm of line (2) in test pattern is within the refer- 4.Press the [Start] key to confirm the setting value. ence.
- Seite 27 MEMO...
- Seite 28 2019. 9 303RL5671102...