Keter NEWTON 7511 Gebrauchsanleitung
Quicklinks
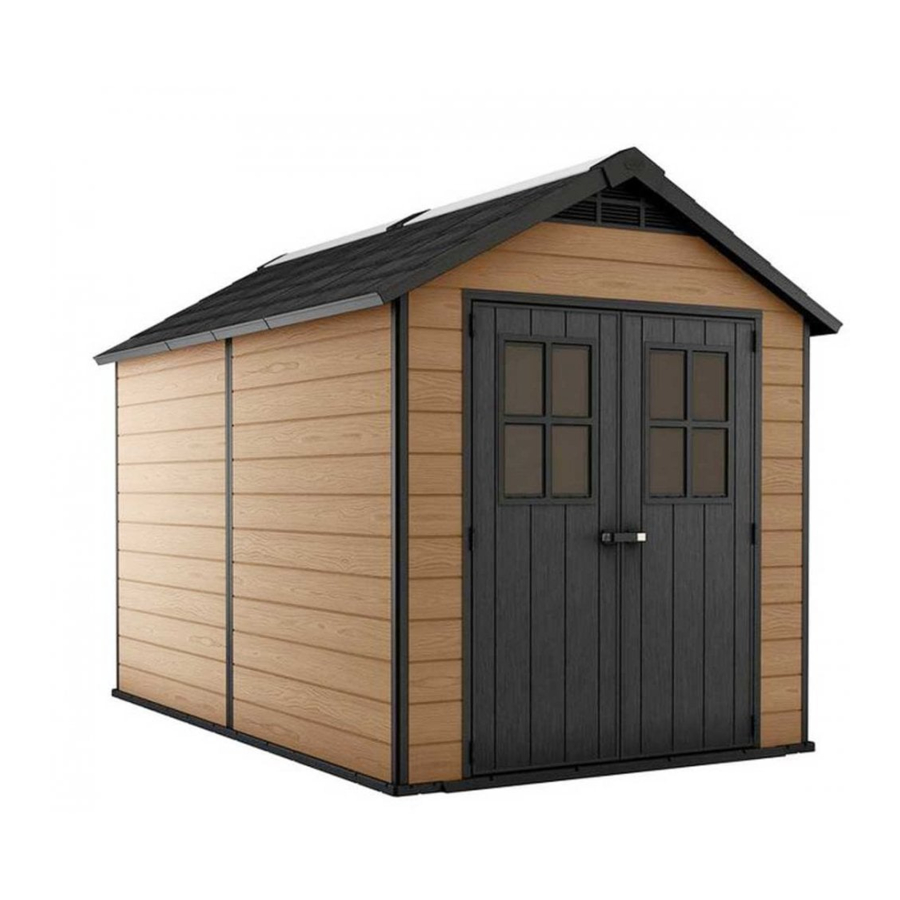
NEWTON 7511
USER MANUAL | MODE D'EMPLOI | MANUAL DEL USUARIO | GEBRAUCHSANLEITUNG |
GEBRUIKSHANDLEIDING | MANUALE PER L'UTENTE | MANUAL DO UTILIZADOR
WARRANTY ACTIVATION
US, Canada:
Tel: +1-877-638-7056
Fax: +1-704-263-9271
UK: Tel: +44-121-506-0008
Fax: +44-121-422-0808
Spain: Tlf: +34-976-46-00-06
Fax: +34-976-460-281
Other European Countries:
Tel: +31 (0) 161 22 8300
Thank you for your purchase of the Keter shed. In order to activate your warranty,
please log onto our website and fill in the form under warranty activation.
SKU: 17208505
WWW.KETER.COM

Verwandte Anleitungen für Keter NEWTON 7511


Inhaltszusammenfassung für Keter NEWTON 7511
- Seite 1 Fax: +34-976-460-281 Other European Countries: Tel: +31 (0) 161 22 8300 Thank you for your purchase of the Keter shed. In order to activate your warranty, WARRANTY ACTIVATION please log onto our website and fill in the form under warranty activation.
- Seite 2 SITE PREPARATION | PRÉPARATION DU SITE | PREPARACIÓN DEL LUGAR | VORBEREITUNG DES AUFSTELLUNGSORTES | VOORBEREIDING VAN HET TERREIN | PREPARAZIONE DEL LUOGO DI MONTAGGIO | PREPARAÇÃO DO LOCAL Level the ground surface | Égalisez la surface du sol | Nivele la superficie del suelo | Ebnen Sie die Bodenoberfläche | Maak de bodem vlak | Livella la superficie del terreno | Nivele a superfície do solo Recommendation: Construct a wooden or concrete base as a foundation | Recommandation: fabriquez une base en bois ou en béton en guise de fondation | Recomendación: construya una base de madera o de cemento a modo de cimiento |...
- Seite 3 BEFORE STARTING ASSEMBLY | AVANT DE COMMENCER LE MONTAGE | ANTES DE EMPEZAR EL ARMADO | VOR MONTAGEBEGINN | VOORDAT U BEGINT TE MONTEREN | PRIMA DI INIZIARE IL MONTAGGIO | ANTES DE INICIAR A MONTAGEM Read the care and safety guidelines at the end of this manual | Check to ensure that there are no missing or damaged parts BEFORE starting or arranging assembly | Review all assembly instructions | Assemble all the parts according to the directions in this manual.
- Seite 4 ES E L B | PARTES DEL COBERTIZO | E LE ES S H E S | ONDERDELEN VAN SHED PARTS | HET SCHUURTJE | COMPONENTI DEL DEPOSITO ATTREZZI | PEÇAS DO ABRIGO Remove all parts from the package(s) and spread them out on a clean work surface | Code letters are imprinted on each part for easy identication | Retirez toutes les pièces du/des paquet(s) et étalez-les sur une surface de travail propre Des lettres sont imprim es sur cha ue pi ce pour une identification facile | Saque todas las piezas del paquete o paquetes y póngalas sobre una superficie de trabajo limpia | El código de letras está...
- Seite 5 WINDOW PARTS | PIÈCES DE LA FENÊTRE | PARTES DE LA VENTANA | FENSTERELEMENTE | VENSTERONDERDELEN | PARTI DELLA FINESTRA | PEÇAS DA JANELA (x4) (x2) (x2) DOOR PARTS | PIÈCES DE LA PORTE | PARTES DE LA PUERTA | TÜRELEMENTE | DEURONDERDELEN | PARTI DELLA PORTA | PEÇAS DAS PORTAS (x1) (x1)
- Seite 6 SMALL PARTS | PETITES PIÈCES | PARTES PEQUEÑAS | KLEINTEILE | KLEINE ONDERDELEN | MINUTERIA | PEÇAS PEQUENAS (x4) (x2) (x8) (x4) (x6) (x2) (x2) (x1) (x8) (x2) (x2) (x1) SCREWS | VIS | TORNILLOS | S H BE | SCHROEVEN | VITI | PARAFUSOS inch inch inch...
- Seite 7 FLOOR ASSEMBLY | MONTAGE DU SOL | ARMADO DEL PISO | MONTAGE DER BODENPLATTE | VLOERMONTAGE | MONTAGGIO DEL PAVIMENTO | MONTAGEM DO PISO (x4) sc15 (x8) sc15 x4 sc15 sc15...
- Seite 8 (x2) sc15 (x18) sc15 sc15 x18...
- Seite 9 (x2) sc15 (x36) sc15 sc15 x36...
- Seite 10 Front | Avant | Delante | Vorderseite | Voorkant | Anteriore | Frente s26b (x2) (x1) s26b x2 Front | Avant | Delante | Vorderseite | Voorkant | Anteriore | Frente...
- Seite 11 WALL ASSEMBLY | MONTAGE DU MUR | ARMADO DE PAREDES | MONTAGE DER WÄNDE | MONTAGE VAN DE MUREN | ASSEMBLAGGIO DELLE PARETI | MONTAGEM DA PAREDE PB11 (x2) (x1) Outside Extérieure Exterior Außenseite Buitenkant Esterno Exterior Front | Avant | Delante | Vorderseite | Voorkant | Anteriore | Frente...
- Seite 12 (x2) s13b (x4) s13b...
- Seite 13 PB11 (x2) (x1) s13b (x4) s13b...
- Seite 14 PB11 (x2) (x1) s13b (x8) s13b s13b...
- Seite 15 (x1) (x1)
- Seite 16 s13b (x8) s13b x4...
- Seite 17 (x2)
- Seite 18 S13b (x4) sc15 (x2) sc15 x1 sc8 (x2) scn8 (x2) (x2) 11mm 7/16” scn8 scn8...
- Seite 19 (x4) (x2) (x2) sc8 (x12) scn8 (x12) sc8 x1 sc8 x4 11mm 7/16” scn8 x 4 scn8 x 1 sc8 (x4) scn8 (x4) 11mm 7/16” scn8...
- Seite 20 PB11 (x2) DF (x2)
- Seite 21 (x2) S13b (x4) s13b...
- Seite 22 S45b (x2) s45b PB11 (x2) DF (x2)
- Seite 23 s13b (x4) s13b PB11 (x2) DF (x2)
- Seite 24 s13b (x8) s13b s13b s13b (x8) s13b x1 s13b x1...
- Seite 25 (x2) S13b (x4) sc15 (x2)
- Seite 26 sc8 (x2) scn8 (x2) (x2) 11mm 7/16” scn8 scn8 sc8 (x4) scn8 (x4) 11mm 7/16” scn8...
- Seite 27 (x2) sc15 (x2) (x1) sc15 x1...
- Seite 28 (x1) (x1) SPA X1 sc15 (x2) No pre-drilled holes | Pas de trous pré-percés | Sin agujeros pretaladrados | Ohne vorgebohrte Löcher | Geen voorgeboorde gaten | Buchi preforati non presenti | Sem buracos perfurados previamente sc15 sc15...
- Seite 29 s13b (x2) s13b (x1) s13b (x3) sc15 (x1) sc15 s13b...
- Seite 30 (x1) (x1) SPA X1 sc15 (x3) No pre-drilled holes | Pas de trous pré-percés | Sin agujeros pretaladrados | Ohne vorgebohrte Löcher | Geen voorgeboorde gaten | Buchi preforati non presenti | Sem buracos perfurados previamente sc15 sc15...
- Seite 31 s13b (x2) s13b x1...
- Seite 32 (x2) (x2) (x4) sc15 (x20) sc15 sc15 sc15 sc15 sc15...
- Seite 33 (x4) (x2) sc15 (x16) sc15...
- Seite 34 sc15 (x16) (x2) sc15 sc15 sc15 T9 + T9 +...
- Seite 35 (x1) sc15 (x3) sc15 sc15 sc15 x 3...
- Seite 36 (x1) sc15 (x3) sc15 x3 sc15 x 3 sc15...
- Seite 37 sc15 (x8) sc15 x 8 (x1)
- Seite 38 sc15 (x8) sc15 x 8 (x1)
- Seite 39 sc15 (x3) sc15 T9 + sc15 (x3) (x1) sc15...
- Seite 40 sc15 (x8) sc15 x8 (x1) sc15 (x8) sc15 x8...
- Seite 41 sc15 (x4) (x1) sc15 x4 (x2) (x2)
- Seite 42 (x2) s26b (x2) (x6) s26b...
- Seite 43 sc15 (x32) (x4) s45b (x8) sc15 (x8) sc15 s45b...
- Seite 44 sc15 (x8) s45b (x8) (x8) sc15 x1 s45b x1...
- Seite 45 DOOR ASSEMBLY | MONTAGE DE LA PORTE | ARMADO DE LA PUERTA | MONTAGE DER TÜR | DEUR- MONTAGE | MONTAGGIO DELLA PORTA | MONTAGEM DA PORTA | 문 조립 sf13 (x16) (x4) (x8) sf13 sf13 x4 (x1) (x1)
- Seite 46 (x2) (x1) (x1) sc15 (x12)
- Seite 47 sc15 (x4) (x2) s13b (x26)
- Seite 48 sc15 (x12) (x6)
- Seite 49 sc15 (x8) sc15 x2...
- Seite 50 sc15 (x4) sc15 x2...
- Seite 51 WINDOW ASSEMBLY | MONTAGE DE LA FENÊTRE | VENTANA DEL TECHO | FENSTERHMONTAGE | RAAMMONTAGE | MONTAGGIO DE LA FINESTRA | MONTAGEM DO JANELA (x2)
- Seite 52 (x4) sc15 (x18) (x2) sc15 x9...
- Seite 53 sc15 (x1) (x1) (x1) (x1) (x1) (x1) (x1) sc15 (x2) sc15 x2...
- Seite 54 (x1) (x1) (x1) (x1) sc8 x1...
- Seite 55 (x2) sc15 (x2) sc15 x2...
- Seite 56 (x2) sc15 (x4) sc15 x2 No pre-drilled holes | Pas de trous pré-percés | Sin agujeros pretaladrados | Ohne vorgebohrte Löcher | Geen voorgeboorde gaten | Buchi preforati non presenti | Sem buracos perfurados previamente...
- Seite 57 sc15 (x7) Inside Intérieur Interior Innenseite Binnenkant Interno sc15 x1 Interior sc15 x1...
- Seite 58 (x2) s13b sc15 (x6) (x12) No pre-drilled holes | Pas de trous pré-percés | Sin agujeros pretaladrados | Ohne vorgebohrte Löcher | Geen voorgeboorde gaten | Buchi preforati non presenti | Sem buracos perfurados previamente sc15 x3 s13b x6...
- Seite 59 S45b (x4) (x1) s45b x4...
- Seite 60 s13b (x28) s13b x28 s13b (x8) s13b...
- Seite 61 S45b (x34) S45b x34 S45b x34...
- Seite 62 OPTION | OPTION | OPCIÓN | OPTION | OPTIE | OPZIONE | OPÇÃO | 옵션 If you find that the shed is not level, use shims on either side of the shed or door | Si vous trouvez que votre abri n’est pas de niveau, mettez des cales sur chaque côté...
- Seite 63 OPTION | OPTION | OPCIÓN | OPTION | OPTIE | OPZIONE | OPÇÃO SECURING THE SHED TO A FOUNDATION ffi the shed to the foundation b drilling holes in the shed floor at the pre mar ed locations and scre ing it into the foundation using appropriate scre s scre s not included FIXER L’ABRI SUR UNE FONDATION Fi ez l abri à...
- Seite 64 CARE AND SAFETY GUIDELINES 1. The shed is intended for storage purposes only. It is not designed for habitation. 2. t is strongl recommended to secure the shed to an immovable ob ect or anchor to the ground b drilling holes in the shed floor (at the pre-marked locations) and inserting proper screws into the ground (screws are not included).
- Seite 65 9. Tragen Sie eine Schutzbrille und befolgen Sie bei Verwendung von Elektrowerkzeugen immer die Anweisungen des Herstellers. 10. Reinigen Sie den Schuppen mit einem Gartenschlauch und einem milden Reinigungsmittel. Verwenden Sie auf keinen Fall eine harte Bürste und Scheuer - oder Entfettungsmittel sowie Öl- oder Acetonhaltige Reinigungsmittel, da diese Flecken verursachen oder den Schuppen beschädigen könnten. 11.
- Seite 66 Keter no se hace responsable por ningún daño realizado por terceros o daños o pérdida de objetos dentro o cerca de la cobertizo. Al entregar el ticket o factura de compra y prueba del presunto fallo del producto, y sujeto a informar del fallo de manera puntual, Keter, a su discreción, reemplazará...
- Seite 67 Door het indienen van het aankoopbewijs en het bewijs van het geclaimde gebrek aan het product, en onder voorbehoud van een tijdige rapportage van de gebreken, zal Keter, naar eigen goeddunken, defecte onderdelen van het product vervangen of een pro rata deel van de koopprijs terugbetalen van op basis van een lineair afgeschreven bedrag over de duur van de garantie.