Werbung
Verfügbare Sprachen
Verfügbare Sprachen
Quicklinks
Werbung

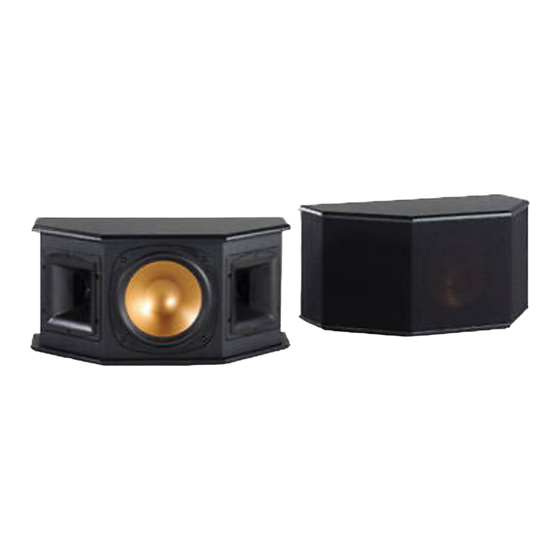
Inhaltszusammenfassung für Klipsch RS-3
- Seite 1 REFERENCE SERIES OWNER’S MANUAL...
- Seite 2 Amplifier Requirements — Klipsch speakers are highly efficient and will operate easily on a wide variety of amplifiers. All Klipsch speakers are 8-ohm compatible and can be driven to very high levels with low distortion. Due to the high output READ INSTRUCTIONS —...
- Seite 3 Voir les schémas 1, 2, 3, 4 et 5 pour l'installation. fier que le numéro de série n’a pas été modifié ou que le vendeur est bien un concessionnaire agr KLIPSCH. Cette garantie ne couvre pas les dommages superficiels ou résultant d’une mauvaise utilisation, d’un mauvais traite- Enceintes droite et gauche du canal principal –...
- Seite 4 Gegenständen nicht zerquetscht werden. Dies ist besonders an den Stellen zu beachten, an denen der Stecker mit dem unteren Satz Anschlüsse auf dieselbe Weise verbunden wird. Siehe Abbildung 5. Klipsch empfiehlt diese in eine Steckdose oder Steckdosenleiste eingesteckt wird oder das Kabel in das Gerät eingeführt wird.
- Seite 5 PERIODI DI INUTILIZZO — Se non si userà l’altoparlante per un lungo periodo, scollegarlo dalla presa di corrente. gamma di amplificatori. Tutti gli altoparlanti Klipsch sono adattati a 8 ohm e possono essere pilotati a livelli molto alti con FISSAGGIO ALLA PARETE O AL SOFFITTO — Procedere seguendo scrupolosamente le istruzioni del produttore.
- Seite 6 Deve ser dada atenção especial aos pontos onde o plugue é encaixado mesma maneira. Consulte a Figura 5. A Klipsch recomenda este arranjo de conexão para obter um melhor desempenho de no soquete ou conector e onde o fio entra no equipamento.
- Seite 7 • El dispositivo se ha dejado caer o el alojamiento ha sido dañado. con muy poca distorsión. Debido a los altos niveles de salida que los altavoces Klipsch son capaces de producir, sea cuida- SERVICIO. Debido al riesgo de descarga eléctrica y otros peligros, todas las reparaciones se deben remitir a personal califi- doso con el control de volumen.
- Seite 9 RC-3, RC-7 FOOT RS-3, RS-7 BUMPERS Rubber feet Leveling foot for angling speaker down when placed on top of TV. Rubber feet. DIAGRAM 5 RS-3, RS-7 WALL MOUNTING #10 or #12 Minimum 2.5" -3" panhead distance Step 1 wood screws.
- Seite 10 FIGURE 2 FIGURE 1 SURROUND LCR AND REARS STEREO PLACEMENT 6'-15' Optional Optional 2'- 3' 6'-15' X=Y=Z 6'-15' Angle inward Less distance will increase bass, but worsen sound quality. Optional rear placement A is ideal. B or combo A, B is acceptable FIGURE 3 FIGURE 4 PLACEMENT OF RC-3 ON TV...
- Seite 11 If yes, what products? Product Name(s): When do you hope to purchase additional loudspeakers? 6 mos. – 1 yr. 1–2 yrs. How likely are you to consider Klipsch products for your upcoming purchases? Very likely Somewhat likely Doubtful If doubtful, why? Don’t carry product I’m looking for...
- Seite 12 For your records: Make sure you return your warranty card so that we may keep you up-to-date on new Model: Klipsch products and promotions. As always, if you have any questions, contact your local Date Purchased: authorized Klipsch dealer. 30M0401...


