Keter PENT 6X4 Gebrauchsanleitung
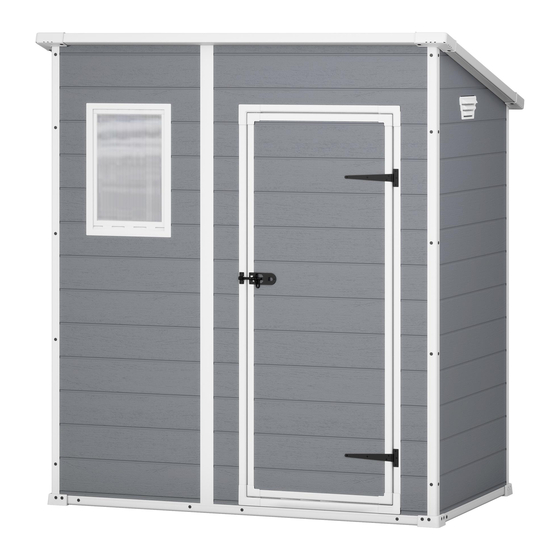
PENT 6x4
User manUal | mode d'emploi | manUal del UsUario | GebraUchsanleitUnG
GebrUikshandleidinG | manUale per l'Utente | manUal do Utilizador
thank you for your purchase of the keter
WarrantY
shed, in order to activate your warranty,
please enter www.keter.com, under storage
actiVation
buildings category and fill in the sheds
warranty activation form.
iF there are missinG or broken parts, please do not retUrn the prodUct to the store.
please log onto our website, or contact customer service at:
s'il Y a des piÈces manQUantes oU cassÉes, ne retoUrnez pas le prodUit aU maGasin.
Veuillez visiter notre site internet, ou contacter notre service clientèle:
bitte brinGen sie ihr prodUkt nicht Gleich zUm laden zUrÜck, Falls teile Fehlen oder deFekt sind.
bitte loggen sie in unsere Website ein oder wenden sie sich an unseren kundenservice:
si hUbiera alGUna parte Faltante o daÑada, no deVUelVa el prodUcto a la tienda.
inicie sesión en nuestro sitio en internet o contáctese con nuestro servicio de atención al cliente:
in GeVal Van ontbrekende oF Gebroken onderdelen niet het prodUct naar de Winkel retoUrneren.
Ga naar onze website of neem contact op met de klantenservice:
in caso di parti mancanti o danneGGiate, eVitare di restitUire il prodotto al neGozio.
accedere al nostro sito o contattare il servizio clienti:
se hoUVer peÇas em Falta oU partidas, nÃo deVolVa o prodUto À loJa.
entre na nossa página de internet ou contacte o serviço de clientes:
PENT 6X4
2 easy steps to use a QR-code:
1. download a Free Qr-code
reader from your smartphone
application site.
2. scan the Qr-code.
skU: 17199514
WWW.keter.com
Us: # 1-888-374-4262
canada: # 1-800-661-6721
Uk: # 0121-5060008
other european countries:
# 31-1612-28301

Verwandte Anleitungen für Keter PENT 6X4


Inhaltszusammenfassung für Keter PENT 6X4
- Seite 1 GebrUikshandleidinG | manUale per l’Utente | manUal do Utilizador skU: 17199514 PENT 6X4 2 easy steps to use a QR-code: 1. download a Free Qr-code thank you for your purchase of the keter reader from your smartphone WarrantY shed, in order to activate your warranty, application site.
- Seite 2 | Por favor, escolha o local de construção BELANGRIJK: Voor hulp bij het monteren of het aanvragen van missende onderdelen, kunt u op onze website inloggen: www.keter.com of contact opnemen met cuidadosamente | a superfície do solo deve ser nivelada | recomenda-se vivamente que construauma base de madeira ou de cimento...
- Seite 3 CAUTION | aVertissement | ADVERTENCIA | WichtiG | WAARSCHUWING | attenzione | ATENÇÃO ASSEMBLY PARTS | piÈces À assembler | PIEZAS DE ENSAMBLE | montaGeteile | MONTAGESTUKKEN | parti da montare | PEÇAS DE MONTAGEM Some parts have steel edges | Please be careful when handling components | Always wear work gloves, eye protection and long sleeves when assembling or performing any maintenance on your shed | Do not attempt assembly on days with strong winds or low temperatures.
- Seite 4 WALL PARTS | piÈces dU contoUr | PARTES DE LAS PAREDES | Wandelemente | SCREWS | Vis | SCHRAUBEN | tornillos | SCHROEVEN | Vit | PARAFUSOS MUURONDERDELEN | parti della parete | PAINÉIS LATERAIS inch inch inch s13b (x29) 12 mm / 0.47” sc15 (x7) 16 mm / 0.63”...
- Seite 5 FLOOR ASSEMBLY | montaGe dU sol| ARMADO DEL PISO| montaGe der bodenplatte | VLOERPANELEN | montaGGio del paVimento | MONTAGEM DO PISO MPFL (x1) t (x1) 97 x 168.5 cm • Turn over the floor panel 38.1” x 76.4” • Retournez le panneau du sol •...
- Seite 6 WALL ASSEMBLY | montaGe dU mUr | ARMADO DE PAREDES | MONTAGE DER WÄNDE | s26b (x8) MPB (x1) MONTAGE VAN DE MUREN | assembl aGGio delle pareti | MONTAGEM DA PAREDE 26 mm 83 x 168.5 cm 1” 32.6” x 66.3” C3C (x1) MPSL (x1) 168.5 cm...
- Seite 7 MPB (x1) s13b (x2) s26b (x8) C2C (x1) 83 x 168.5 cm 12 mm 26 mm 194 cm 32.6” x 66.3” 0.47” 1” 76.4” s13b • Fully fit the panel inside the profile s26b • Fixez entièrement le panneau dans la découpe •...
- Seite 8 H1D (x1) s26b (x10) 192 cm 26 mm 75.5” 1” s26b • Fully fit the panel inside the profile • Fixez entièrement le panneau dans la découpe • Coloque completamente el panel dentro del perfil • Passen Sie das Panel genau und akkurat in das Profil ein •...
- Seite 9 s26b (x30) s26b (x8) 26 mm 26 mm 1” 1” s26b • Fully fit the panel inside the profile s26b • Fixez entièrement le panneau dans la découpe • Coloque completamente el panel dentro del perfil • Passen Sie das Panel genau und akkurat in das Profil ein s26b •...
- Seite 10 s26b (x18) 26 mm 1” s26b s26b • Ensure roof is set fully down; use spatula as shown in the figure • Assurez-vous que le toit est bien entièrement posé ; utilisez la spatule comme le montre la figure • Asegúrese de que el techo esté completamente encajado abajo; utilice la espátula como lo muestra la figura •...
- Seite 11 self drill screw lewf (x1) rewf (x1) s10b (x6) 162 cm 162 cm 12 mm 63.8” 63.8” 0.47” lewf rewf s10b • Align holes in aluminum profiles with slits in door panel rewf • Aligner les trous des profils en aluminium sur les fentes du panneau de porte •...
- Seite 12 DOOR ASSEMBLY | montaGe de la porte | ARMADO DE LA PUERTA | montaGe der tÜr | uldf (x2) DEURMONTAGE | montaGGio della porta | MONTAGEM DA PORTA MSD (x1) dc (x3) 62 x 157 cm 24.4” x 61.9” uldf uldf self drill screw ldf (x1)
- Seite 13 s13b (x10) DB1 (x1) 12 mm 0.47” • Turn over the door panel • Pre-drilled holes • Retourner le vantail • Trous pré-percés • Dele la vuelta al panel de la puerta • Orificios preperforados • Türplatte umklappen • Vorgebohrte Löcher •...
- Seite 14 WINDOW ASSEMBLY | montaGe de la FenÊtre | VENTANA DEL TECHO | FensterhmontaG | sc15 (x7) F-IN (x1) 16 mm ERAAMMONTAGE | montaGGio de la Finestra | MONTAGEM DO JANELA 0.63” F-OUT (x1) PLS (x1) sc15 F-IN ACW (x1) F-OUT...
- Seite 15 Fix the shed to the foundation by drilling holes in the floor at the pre-marked locations and inserting suitable screws into the foundation (screws are not included). and usage for commercial or public applications, will void this warranty. keter is not responsible for any damage incurred by third parties or damage to or loss of objects inside or near the shed.
- Seite 16 • Die Windrichtung ist ein wichtiger Faktor, der bei der Aufstellung des Schuppens unbedingt berücksichtigt werden muss. Vermeiden Sie zu hohe Windbelastungen, insbesondere CARE AND SAFETY GUIDELINES einen hohen Winddruck auf die Türen. Halten Sie die Türen immer geschlossen und verriegelt, wenn der Schuppen nicht genutzt wird, um eine Beschädigung durch •...