Venjakob 2296 Aufbauanleitung
Quicklinks
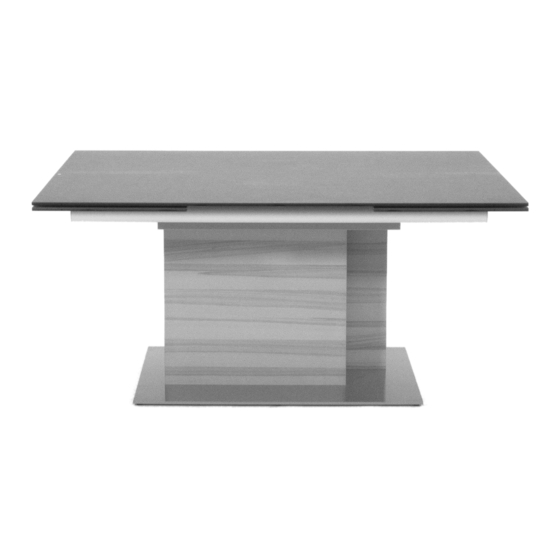
Aufbauanleitung / assembly instructions mod. 2296 - 2297
SW13
1. Montagematerial
1. fitting material
3. Den Oberbau auspacken und umgedreht auf
gepolsterten Montageböcken ablegen.
Die schwarzen Schrauben etwa 10 mm lösen.
3. Lay the table-top upside down onto two
padded assembling trestles.
Turn out the black screws for about 10 mm.
2296 - 2297
4x
19,3 x 11
4x M8
4x
M8 x 28
4x
2. Den Unterbau auspacken und aufstellen.
Sollte der Unterbau kippeln, kann dies mit den
schwarzen Stellschrauben, welche sich unter
der Bodenplatte befinden, ausgeglichen
werden.
2. Unpack the table-base and put it onto the floor.
Any wobbling can be eliminated by adjusting
the black screws, which are located under the
base plate.
384 mm
4. Beide Auszüge etwa 50 mm herausziehen.
Je 2 Stehbolzen in die Aluminium-Profile ein-
führen. Der Abstand der Stehbolzen bis zur
Profilmitte (Bohrung) muss 384 mm betragen.
4. Draw out both pullouts 50 mm. Insert 2 stud
bolts into each aluminium-profile. The
distance of the stud bolts to the middle of the
aluminium-profile must be 384 mm.
1 / 4
M8 x 28
Änderungsdatum: 11.08.16

Verwandte Anleitungen für Venjakob 2296


Inhaltszusammenfassung für Venjakob 2296
- Seite 1 Aufbauanleitung / assembly instructions mod. 2296 - 2297 19,3 x 11 SW13 4x M8 M8 x 28 1. Montagematerial 2. Den Unterbau auspacken und aufstellen. 1. fitting material Sollte der Unterbau kippeln, kann dies mit den schwarzen Stellschrauben, welche sich unter der Bodenplatte befinden, ausgeglichen werden.
- Seite 2 7. Let the metal-swivel of the main ceramic plate stick into the 4 aluminium-swivels. Take care that the dot on the main ceramic plate is on the same side as the dot on one of the ceramic pullout. 2 / 4 2296 - 2297 Änderungsdatum: 11.08.16...
- Seite 3 Oberkanten der Haupt- und der Auszugsplatten auf einer Höhe befinden. 9..adjust the top with aluminium bushes so that the upper side of the main glass is at one level with the extentensions glasses. 3 / 4 2296 - 2297 Änderungsdatum: 11.08.16...
- Seite 4 10. Fertig (Grundzustand). 10. Ready. 11. Fertig (ausgezogen). 11. Ready. 4 / 4 2296 - 2297 Änderungsdatum: 11.08.16...