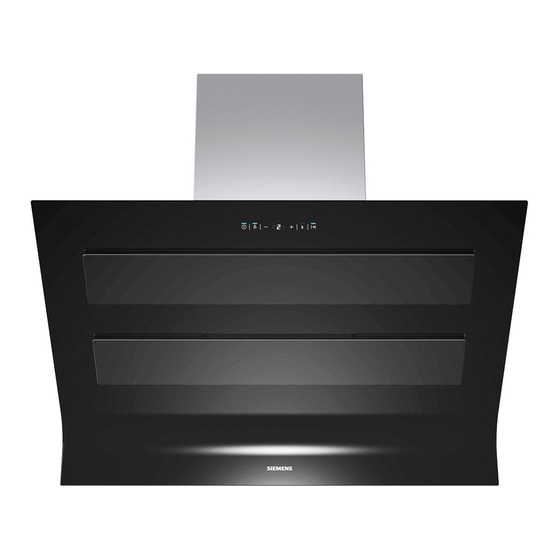
Inhaltszusammenfassung für Siemens LC98KA570/01
- Seite 1 *9000806305* 9000806305 920530A LC98KA570 Ø Montageanleitung Ú Installation instructions Þ Notice de montage â Istruzioni per il montaggio é Installatievoorschrift ë Instrukcja montażu...
- Seite 4 Verletzungsgefahr! Bauteile innerhalb des Gerätes können scharfkantig sein. ■ Ø Schutzhandschuhe tragen. Montageanleitung Wichtige Sicherheitshinweise Ist das Gerät nicht ordnungsgemäß befestigt, kann es herab- Verletzungsgefahr! ■ fallen. Alle Befestigungselemente müssen fest und sicher Diese Anleitung sorgfältig lesen. Nur dann können Sie Ihr Gerät montiert werden.
-
Seite 5: Gerät Einbauen
Länge der Anschlussleitung: ca. 1,30 m Dieses Gerät entspricht den EG-Funkentstörbestimmungen. Ú Installation instructions Dieses Gerät darf nur an eine vorschriftsmäßig installierte Important safety information Schutzkontaktsteckdose angeschlossen werden. Die Schutzkontaktsteckdose möglichst innerhalb der Kaminver- Read these instructions carefully. Only then will you be able to blendung anbringen. -
Seite 6: General Information
If a permanent connection is required, the installation must Risk of injury! feature an all-pole disconnecter (circuit breakers, fuses and Components inside the appliance may have sharp edges. ■ contactors) with a min. 3 mm contact opening. The permanent Wear protective gloves. connection may be installed by an electrician only. -
Seite 7: Consignes Générales
Il est permis de monter l'appareil avec un seul coté directement à côté d'un meuble haut ou près d'un mur haut. La distance vers la paroi ou le meuble haut doit être d'au moins 50 mm. Þ Notice de montage Précautions de sécurité... -
Seite 8: Pose De L'appareil
Faire coulisser les capots de cheminée l’un dans l’autre. Branchement électrique : Risque de choc électrique ! Remarques Des pièces à l'intérieur de l'appareil peuvent présenter des Pour éviter les rayures, poser du papier, à titre de ■ arêtes vives. Il y a risque d'endommagement du câble protection, sur les bords du capot extérieur. -
Seite 9: Indicazioni Generali
Pericolo di morte! Controllare la parete I gas di combustione riaspirati possono causare avvelenamento. La parete deve essere piatta, verticale e sufficientemente ■ In caso di installazione di un sistema di aspirazione solida. contemporaneamente a un focolare collegato al camino La profondità... -
Seite 10: Algemene Aanwijzingen
Montare il rivestimento del camino (figura 5) : Pericolo di lesioni! Causato durante l'installazione da bordi affilati. Indossare sempre guanti di protezione durante l'installazione dell'apparecchio. Separare i rivestimenti del camino. A tale scopo, rimuovere il nastro adesivo Rimuovere la pellicola protettiva da entrambi i rivestimenti del Raadpleeg in ieder geval het bedrijf dat in uw huis zorgt voor de camino. -
Seite 11: Het Apparaat Inbouwen
Vlakke buizen Apparaat bevestigen De binnendiameter moet overeenkomen met de diameter van De doppen met de pijl naar boven op de ophangingen drukken de ronde buizen. tot ze vastklikken. ® Ø 150 mm ca. 177 cm Ventilatiekappen verwijderen (zie de gebruiksaanwijzing in het hoofdstuk “Reinigen en onderhoud”... -
Seite 12: Wskazówki Ogólne
Praca bez zagrożeń możliwa jest, jeśli w miejscu ustawienia Rury okrągłe urządzenia spalającego nie zostanie przekroczone podciśnienie Zaleca się rury o średnicy wewnętrznej wynoszącej 150 mm, 4 Pa (0,04 mbar). Taką wartość można osiągnąć, jeśli powietrze jednak nie mniejszej niż 120 mm. potrzebne do spalania będzie dostarczane przez otwory Kanały płaskie niezamykane na stałe (np. - Seite 13 Mocowanie urządzenia Kołpaki zabezpieczające ze strzałką skierowaną do góry wcisnąć na zawieszenia aż do zatrzaśnięcia. ® Wyjąć przesłony wentylacyjne (patrz instrukcja obsługi w rozdziale “Czyszczenie i konserwacja” podrozdział “Czyszczenie urządzenia od wewnątrz”). Mocno dokręcić nakrętki radełkowe z podkładkami. ¯ Usuwanie kołpaków zabezpieczających W razie konieczności usunięcia kołpaków zabezpieczających należy je podważyć...


