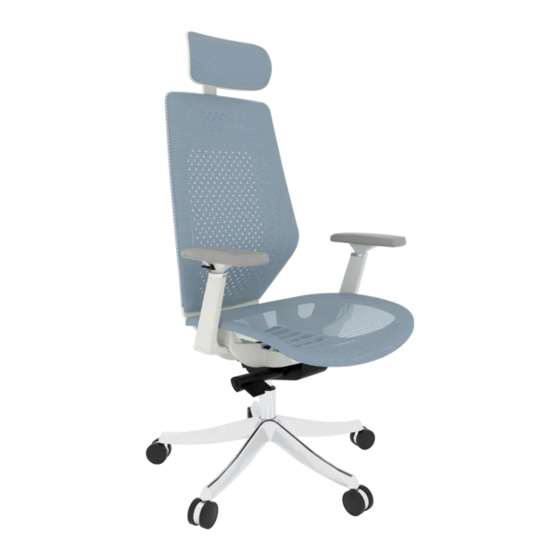
Inhaltszusammenfassung für FLEXISPOT BS11-PRO
- Seite 1 Item No. BS11-PRO Installation Guide Website: www.flexispot.de TEL: +49 211 368 74223 E-Mail: info.de@flexispot.com...
- Seite 2 Step 1 PARTS & ACCESSORIES INCLUDED Assemble the armrests (D) to the chair seat (A) first, and use the Allen Key (I) and 6 screws (H) to fix the two armrests. Step 2 6DIA*L 30mm 6DIA*L 30mm 6DIA*L 20mm First put the four rubber pads (O) between the chair seat (A) and the chassis (C). Then use the Allen Key (I) and four screws (J) to fix the chassis.
- Seite 3 Step 3 Step 5 Put the back of the chair (B) on the chassis (C) and fix it with three Screws (K) and Allen Key (I). Align the upper part of the assembled chair with the air gas lift and then insert it. Step 4 Step 6 First remove the gas lift's cover and then insert the air gas lift (L) into the center hole of the base (M).
- Seite 4 Schritt 1 Enthaltene Teile Montieren Sie zuerst die Armlehnen (D) an der Sitzfläche (A) und verwenden Sie den Inbusschlüssel (I) und 6 Schrauben (H), um die beiden Armlehnen zu befestigen. Schritt 2 6DIA*L 30mm 6DIA*L 30mm 6DIA*L 20mm Legen Sie zunächst die vier Gummipuffer (O) zwischen den Stuhlsitz (A) und das Chassis (C). Verwenden Sie dann den Inbusschlüssel (I) und vier Schrauben (J), um das Chassis zu befestigen.
- Seite 5 Schritt3 Schritt 5 Setzen Sie die Rückenlehne des Stuhls (B) auf das Chassis (C) und befestigen Sie sie mit drei Richten Sie den oberen Teil des zusammengebauten Stuhls auf den Gasdruckfeder aus und Schrauben (K) und einem Inbusschlüssel (I). setzen Sie ihn ein. Schritt 4 Schritt 6 Entfernen Sie zuerst die Abdeckung des Gaslifts und setzen Sie dann die Gasdruckfeder (L) in...


