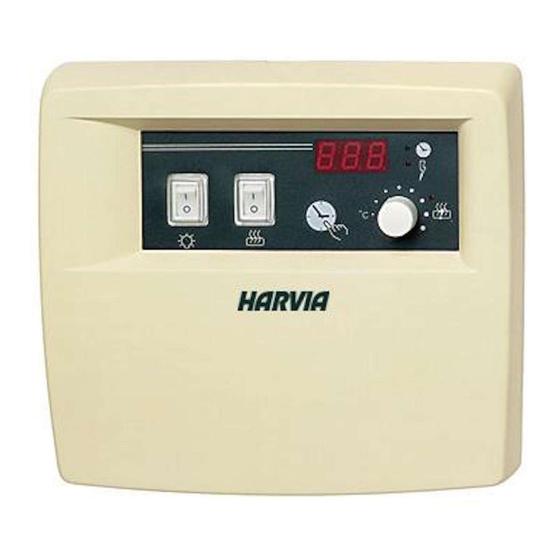
Harvia C260 Bedienungsanleitung
Vorschau ausblenden
Andere Handbücher für C260:
- Bedienungsanleitung (15 Seiten) ,
- Bedienungsanleitung (64 Seiten)
Inhaltszusammenfassung für Harvia C260
- Seite 1 C260 Control unit Steuerzentrale Harvia Oy PL 12 40951 Muurame Finland www.harvia.fi 19012005...
-
Seite 2: Inhaltsverzeichnis
INHALT CONTENTS 1. STEUERGERÄT C260 ..........3 1. CONTROL UNIT C260 ..........3 1.1. Technische Daten C260VKK ......3 1.1. Technical data ..........3 2. BEDIENUNGSANLEITUNG 2. C260VKK CONTROL UNIT: INSTRUCTIONS FOR USE ... 4 DER STEUEREINHEIT C260VKK ........4 2.1. -
Seite 3: Control Unit C260
1. CONTROL UNIT C260 1. STEUERGERÄT C260 Control unit C260 is intended for the control of electric Das C260-Steuergerät ist zur Steuerung von heaters fitted with 2 series parallel connectors for use in Saunaöfen von Großsaunen gedacht, die in 2 Gruppen large saunas. -
Seite 4: C260Vkk Control Unit: Instructions For Use
2. C260VKK CONTROL UNIT: 2. BEDIENUNGSANLEITUNG DER INSTRUCTIONS FOR USE STEUEREINHEIT C260VKK Before you switch the heater on check always that Bevor Sie den Ofen anschalten, bitte überprüfen, dass there aren’t any things over the heater or in the near keine Gegenstände auf dem Ofen oder in der distance of the heater. -
Seite 5: Weekly Timer (Weektimer) (2)
Figure 1. Control unit: switches and indicator lights Abbildung 1. Schalter und Kontrollampen der Steuereinheit The main switch functions like an Wenn die Steuerungseinheit von einem emergency OFF switch as power to the externen Steuerungsgerät geregelt wird, z. B. heater can be disconnected by selecting einem Computer oder einem ähnlichen position “0“... -
Seite 6: Setting The Weekly Timer To Real Time
2.2.2.Setting the Weekly Timer to Real 2.2.2. Programmierung der Wochen- Time Zeitschaltuhr in Echtzeit keep the [clock] -button in the down Drücken Sie die [Uhr] -Taste kontinuierlich • • position the whole time. Stellen Sie mit der [h+] -Taste die •... - Seite 7 The following selection modes are Der [day] -Schalter bietet die • • available with the [day] -button: folgenden Alternativen: 1 2 3 4 5 6 7= 1 2 3 4 5 6 7 = • • (Mon, Tues, Wed, Thurs, Fri, Sat and Sun) (Mo, Di, Mi, Do, Fr, Sa und So) selected gewählt...
-
Seite 8: Manual Control Operations With The Weekly Timer
2.2.4. Manual Control Operations with the 2.2.4. Manuelle Funktionen der Wochen- Weekly Timer Zeitschaltuhr Using the weekly timer’s [manual] - button Mit der [manuell] -Taste der Wochen- you can turn the heater on instantly as with Zeitschaltuhr kann der Ofen wie mit dem manual button 3. - Seite 9 Changing Program Timings Änderung der Programmzeiten using the [Ch] -program button scan the Lassen Sie mit der [Ch] -Programmtaste • • screen for the program timing to be auf der Anzeige die zu verändernde changed. The time and day settings Programmzeit erscheinen.
-
Seite 10: Manual Switch (3)
2.3. Manual Switch (3) 2.3. Manueller Schalter (3) 2.3.1. Heater On Instantly 2.3.1. Ofen sofort einschalten If you press the manual switch (3) once briefly (while Wenn manuellen Schalter (bei the control unit is switched on), the heater comes on stromführender Steuereinheit) einmal kurz drücken, immediately for half an hour;... -
Seite 11: Indicator Light, Green (7)
2.7. Indicator Light, Green (7) 2.7. Kontrolllampe, grün (7) When indicator light 7 is on, the screen displays the Wenn die Kontrolllampe (7) leuchtet, ist in der Anzeige time set for the heater to be on. die eingestellte Einschaltzeit abzulesen. 2.8. -
Seite 12: Fastening The Device To The Wall
3.1.2. Fastening the Device to the Wall 3.1.2. Wandbefestigung There are holes for three (3) screws in the base plate, Am Boden der Steuereinheit befinden sich Bohrungen for fastening the unit to the wall. If necessary, drill a für drei (3) Schrauben, mit denen die Steuereinheit an hole in the wooden wall using a 2.5 mm bit. -
Seite 13: Altering The Basic Settings Of The Control Unit
3.1.4. Altering the Basic Settings of the Control Unit 3.1.4. Änderung der Voreinstellungen der The maximum times you can set the heater to come on Steuereinheit from the control unit are : 6 h, 12 h, 18 h or Die maximale Einschaltzeit für den von der Steuereinheit continuously. -
Seite 14: Installing The Thermostat's Sensor Box
Anschlüssen der Kabeln der Thermostatkomponenten ruft in der Anzeige die Fehlermeldungen “Er1“, “Er2“ oder “Er3“ hervor. Vgl. Punkt 1. Figure 30. Installation of control unit (C260) sensor box and of the heaters L20-L33 Abbildung 30. Installation des Fühlers für C260 und der Öfen L20-L33... -
Seite 15: Installing The Power Unit C260K
Leistungseinheit werden die The connection is shown in the Ströme beider Stromzufuhrkabel diagram.(Fig. 32) geleitet. Die Schaltung ist in der C260-20 betreffenden Abbildung dargestellt. K1: contactor 63A (Abb. 32) K2 and K3:contactor 25A for C260-20 Fig. 31. Installation of the control... - Seite 16 K1: 63A F1, F2 (16A) MAX 22 kW K2, K3: 25A F1, F2 (25A): MAX 34 kW CONTACTORS FUSES POWER UNIT KONTAKTOREN SICHERUNGEN LEISTUNGSEINHEIT 5 7 1 3 Group I Group II Gruppe I Gruppe II F1 F2 F1 F2 F1 F2 Figure 33.


