Venjakob 1590 Aufbauanleitung
Vorschau ausblenden
Andere Handbücher für 1590:
- Aufbauanleitung (8 Seiten) ,
- Aufbauanleitung (8 Seiten) ,
- Aufbauanleitung (5 Seiten)
Quicklinks
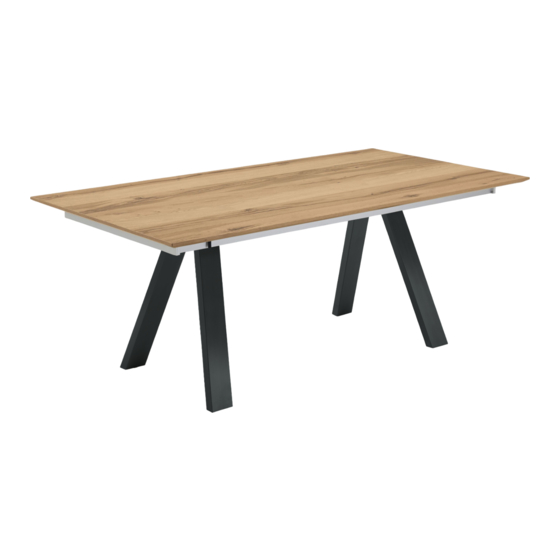
Aufbauanleitung / assembly instructions mod.
1590 - 1593 & 1595 - 1598 Metallfuß, Frontauszug
6x
8x
M6 x 16
30 x 10,5
1.Montagematerial.
1. Fitting material.
2. Den Oberbau umgedreht auf gepolsterten
Montageböcken ablegen.
Die Stahl-Platte abschrauben.
2. Put the table-top upside down onto padded
assembling trestles.
Unscrew the steel-board.
1590 - 1593 & 1595 - 1598 Metallfuß, Frontauszug
8x
4x
M10 x 30
M5 x 20
1 / 5
Archiv-Nr. 10403121
6x
4,5 x 45
Bitte diese Aufbauanleitung
sorgfältig aufbewahren!
Please keep this assembly
instructions safe!
1x
L = 179
6x
M6 x 16
Änderungsdatum: 26.03.20

Verwandte Anleitungen für Venjakob 1590


Inhaltszusammenfassung für Venjakob 1590
- Seite 1 Archiv-Nr. 10403121 Aufbauanleitung / assembly instructions mod. 1590 - 1593 & 1595 - 1598 Metallfuß, Frontauszug Bitte diese Aufbauanleitung sorgfältig aufbewahren! Please keep this assembly instructions safe! M6 x 16 30 x 10,5 M10 x 30 M5 x 20 4,5 x 45 L = 179 1.Montagematerial.
- Seite 2 Please check the distance of the steel-plate to the end of the aluminium frame and adjust it if needed. 2 / 5 1590 - 1593 & 1595 - 1598 Metallfuß, Frontauszug Änderungsdatum: 26.03.20...
- Seite 3 Fix the plywood-plate with the washers and the screws in the way as shown in the picture. Fix the reinforcing plate with 4 screws. 3 / 5 1590 - 1593 & 1595 - 1598 Metallfuß, Frontauszug Änderungsdatum: 26.03.20...
- Seite 4 8. While turning the table the feet must not touch Fertig. the ground ... 9. … and then put all the 4 table-legs onto the floor synchronistically. Ready. 4 / 5 1590 - 1593 & 1595 - 1598 Metallfuß, Frontauszug Änderungsdatum: 26.03.20...
- Seite 5 = Bruchgefahr!!! two black screws must be released. 11. Attention, always fold the right of the extension, never fold the left side = risk of breakage!!! 5 / 5 1590 - 1593 & 1595 - 1598 Metallfuß, Frontauszug Änderungsdatum: 26.03.20...
- Seite 6 Archiv-Nr. 9769199 Bedienungsanleitung flache Klappeinlage Ausziehen: 1. Vor dem Ausziehen auf beiden Seiten die 2. Den Aluminium Auszugsrahmen ganz bis zum schwarzen Bremsschrauben lösen. Anschlag herausziehen. 1. Before the extension can be pulled out, the two 2. Pull out the aluminium extension frame as far black screws must be released.
- Seite 7 Archiv-Nr. 9769199 Einschieben: 1. Den Aluminium Auszugsrahmen ganz heraus- 2. Die Klappeinlage ganz nach vorne in Richtung ziehen. der Hauptplatte schieben. 1. Pull out the aluminium extension frame as far 2. Drag the table-extension to the front. as it will go. 3a.
-
Seite 8: Rechte Seite Einstellen
Archiv-Nr. 8305708 Aufbauanleitung / assembly instructions Klappeinlage einstellen Linke Rechte Seite Seite Rechte Seite einstellen: weiße Stellschrauben 1. Auszug einklappen. 1. Fold the table-extension. 2. Mit den beiden weißen Stellschrauben und 2. Adjust the hight by turning the two white einem Schlitz-Schraubendreher die Höhe screws. -
Seite 9: Linke Seite Einstellen
Archiv-Nr. 8305708 Linke Seite einstellen: 1. Beide Klappeinlagen fassen... 2..beide Halbteile vorsichtig hochklappen... 1. Grab both pieces of the table-extension... 2..swing out both pieces of the table- extension... Stellschrauben 3..die Höhe mit einem Kreuz-Schraubendreher 4. Beide Halbteile zurückklappen. an den schwarzen Laschen einstellen.