Werbung
Quicklinks
Werbung

Inhaltszusammenfassung für IVY DESIGN Picture Table Premium
- Seite 1 MANUAL Picture Table Premium...
-
Seite 2: Maintenance
Warning Before you start unpacking and mounting your table make sure that no children are around. Small parts as screws can be swallowed. The table has to be fi xed properly to the wall by an expert. Children are not allowed to fold up or down the table themselves! When you fold up or down your table babies/children must be out of reach! NEVER stand on the table! Bevor Sie Ihr Paket öffnen und Ihren Tisch montieren, stellen Sie sicher, dass sich... - Seite 3 Look for the right spot to mount your table: It is crucial to choose the right spot for mounting your table. The wall where you would like to fi x your table must be in a good condition and strong enough to hold your tables weight.
-
Seite 4: Montage
Mounting Montage... - Seite 5 2 x Upper Wall Mount 1 x Lower Wall Mount Drill holes at the green marked spots: 4 holes for the lower wall mount, 2 holes for the upper wall mount. Use the wall mounts to mark the drill holes. Bohren Sie Löcher an den grün markierten Stellen: 4 Löcher für die untere und 2 Löcher für die obere Wandbefestigung.
- Seite 6 Screw the Upper and Lower Wall Mounts with 8 screws and anchor bolts to the wall. Attach the stainless steel cloth hangers to the metal bar. Befestigen Sie die Obere und Untere Wandhalterungen mit passenden Schrauben und Dübeln. Bringen Sie die Kleiderhaken an der Unteren Wandhalterung an.
- Seite 7 Fix 2 legs, lift the table slightly up on the wall side and fi t the metal handles in the grooves of the cloth hangers. Fixieren Sie 2 Beine im rechten Winkel, heben Sie den Tisch an der Wandseite, sodass die Metallgriffe am Tischende in die Mulde der Kleiderhaken einrasten.
- Seite 8 Fold the table up. Klappen Sie den Tisch nach oben.
- Seite 9 Lift the table up until it is parallel to the wall. Heben Sie ihn bis die Tischfl äche parallel zur Wand steht.
- Seite 10 Push the Upper Wall Mount Lock Bars outwards into the Upper Metal Lock. Schieben Sie den Oberen Riegel der Wandbefestigung nach außen in die Metallschließe.
- Seite 11 Open all 4 table legs. Öffnen Sie alle 4 Tischbeine.
- Seite 12 Take the perspex protection sheet off by opening the screws and insert your own poster. Nach Herausdrehen der Schrauben kann das Plexiglas entfernt werden und ein eigenes Foto/Poster eingefügt werden.
- Seite 13 Close the table legs after you have inserted your own poster. Schließen Sie anschließend alle 4 Tischbeine nachdem Sie Ihr eigenes Foto/ Poster eingefügt haben.
- Seite 14 Close the picture frame now completed with your own poster/photo/Collage. Schließen Sie den Bilderrahmen mit ihrem eigenen Poster/Foto/ Fotocollage.
- Seite 16 60,5 cm 23,8 inch 48 cm 18,9 inch Your poster will look even more impressive if you additionally insert a matt board of this size. Ihr Bild sieht noch eindrucksvoller aus, wenn Sie es mit einem Passepartout präsentieren.
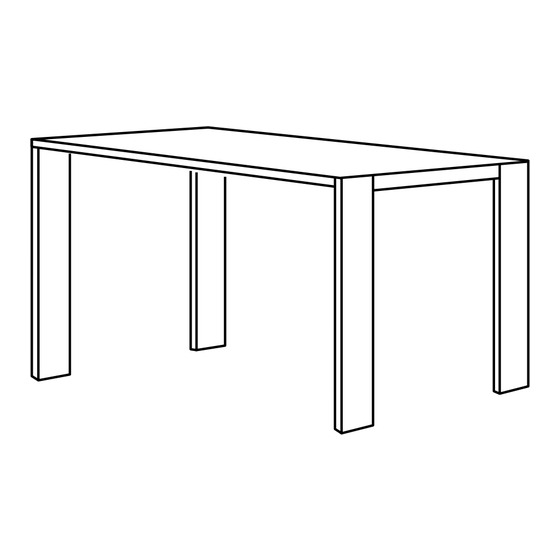
- Seite 17 Picture Table as detached Dining table Bildtisch als freistehender Eßtisch...
- Seite 18 Open again all 4 table legs. Klappen Sie alle 4 Tischbeine auf.
- Seite 19 Hinge the table down towards the fl oor with the 4 legs open. Kippen Sie den Tisch mit aufgeklappten Beinen langsam Richtung Boden.
- Seite 20 Release the table slowly on the fl oor. Stellen Sie den Tisch vorsichtig auf den Boden.
- Seite 21 Deposit the table somewhere in your room. Positionieren Sie den Tisch an einer beliebigen Stelle im Raum.
- Seite 22 Enjoy your Enjoy your Picture Table Premium! Picture Table Premium! Viel Freude mit Viel Freude mit Picture Table Premium! Picture Table Premium!


