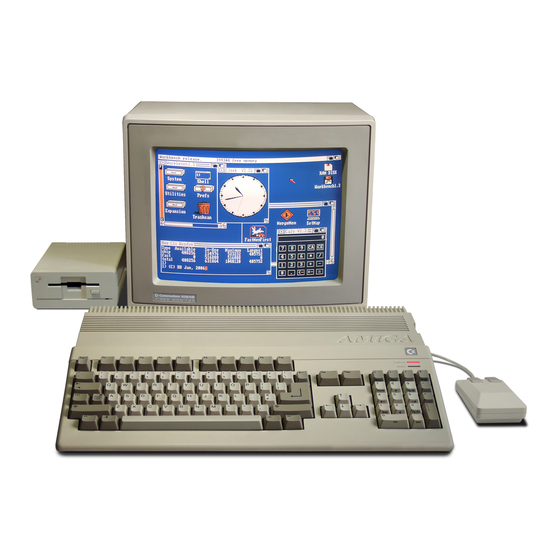
Commodore Amiga 500 Einbauanleitung
Quicklinks
KICK3TART 3.1
Installation Instructions for Amiga 500
If you have no prior experience with installations of computer components or if you feel uncomfortable with
doing the installation yourself, please let an authorized Amiga dealer perform the upgrade for you. Neither
Amiga International, Inc. nor Vesalia Computer will be responsible or liable for any damages caused by
improper installation of the 3.1 ROM chip.
Before any internal expansion is installed, the system must be turned off and disconnected from the power supply. All
cables for external peripherals should be disconnected from the system. To avoid damages by discharge of static
electricity, please touch a grounded metal surface before you begin with the installation of the 3.1 ROM chip.
Then proceed as follows:
■ Place the Amiga 500 unit upside down on a flat surface. Remove the six screws that secure the case.
■ Turn the unit to normal, facefront position. Remove the top cover.
■ Disconnect the keyboard connector from the mainboard (please note the alignment) and remove the keyboard
assembly.
■ The shield is secured by four screws (two on the front side, two on the left hand side at the external expansion
connector) and several lugs. Bend the lugs open and remove the screws, then remove the shield.
■ The Kickstart ROM is situated on the right hand side of the processor MC68000 (the biggest chip on the
mainboard). Depending on the version of the Kickstart ROM, it carries one of the following labels:
1.2:
315093-01
1.3:
315093-02
2.04:
390979-01 (37.175)
Use a suitable tool (e.g. screwdriver) to remove the ROM chip from its socket. Please note the alignment of the chip.
■ Depending on the revision of the mainboard, there are different steps to take. The revision is printed on the space
between the internal expansion connector ("trapdoor slot") and the floppy disk drive.
Rev. 3 and 5 onl\
You have to solde** a connection from pin 1 to pin 31 of the socket. Please make sure that pin 1 remains accessible.
Then you must solder a connection from pin 21 to pin 31 of the ROM chip. Important: Please bend pin 31 up so
that it doesn't have contact to the socket when the chip is inserted.
All revisions:
Now the Kickstart 3.1 ROM chip can be put into place.
The alignment of the chip is most important, please make absolutely sure that
- the marks of the chip and the socket match, both notches must be on the same side and
- if the socket has more pins than the ROM chip (depending on the mainboard revision), the spare pins of the socket
must remain free on the marked side, i.e. you have to align the ROM chip to the unmarked side of the socket.
When done, press the ROM chip firmly into place, be cautious not to bend pins.
Warning: Failure to align the ROM chip correctly will destroy it!
The installation is complete. You can reassemble your Amiga 500 now.
Amiga, the Amiga logo and Kickstart are registered trademarks o f Amiga International, Inc.

