HQ Power EXCALIBOR I Bedienungsanleitung
Led moving-head-scheinwerfer - 36 x 1w leds
Inhaltsverzeichnis
Verfügbare Sprachen
Verfügbare Sprachen
Quicklinks
VDPL3601MHW12
EXCALIBOR I - LED MOVING HEAD - 36 x 1W LEDs
EXCALIBOR I - LED MOVING HEAD - 36 x 1W LEDS
EXCALIBOR I – PROJECTEUR LYRE À LED - 36 x 1W LEDS
EXCALIBOR I – CABEZA MÓVIL CON LEDs - 36 LEDs DE 1W
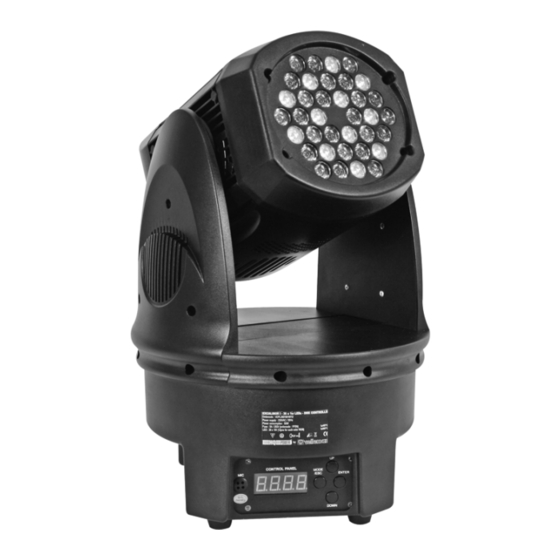
EXCALIBOR I - LED MOVING-HEAD-SCHEINWERFER - 36 x 1W LEDs
USER MANUAL
GEBRUIKERSHANDLEIDING
NOTICE D'EMPLOI
MANUAL DEL USUARIO
BEDIENUNGSANLEITUNG
Inhaltsverzeichnis

Verwandte Anleitungen für HQ Power EXCALIBOR I


Inhaltszusammenfassung für HQ Power EXCALIBOR I
- Seite 1 EXCALIBOR I - LED MOVING HEAD - 36 x 1W LEDs EXCALIBOR I - LED MOVING HEAD - 36 x 1W LEDS EXCALIBOR I – PROJECTEUR LYRE À LED - 36 x 1W LEDS EXCALIBOR I – CABEZA MÓVIL CON LEDs - 36 LEDs DE 1W...
- Seite 2 VDPL3601MHW12 HQPOWER...
-
Seite 23: Sicherheitshinweise
VDPL3601MHW12 – EXCALIBOR I - LED MOVING-HEAD-SCHEINWERFER - 36 x 1W LEDs 1. Einführung An alle Einwohner der Europäischen Union Wichtige Umweltinformationen über dieses Produkt Dieses Symbol auf dem Produkt oder der Verpackung zeigt an, dass die Entsorgung dieses Produktes nach seinem Lebenszyklus der Umwelt Schaden zufügen kann. -
Seite 24: Das Gerät Montieren
• Decken Sie die Lüftungsschlitze nie ab. • Achten Sie bei der Wahl des Installationsortes darauf, dass das Gerät keinem Staub, keiner Feuchtigkeit und extremen Temperaturen (siehe "Technische Daten") ausgesetzt wird. Beachten Sie eine minimale Entfernung von 0.5m zwischen der Lichtausbeute und irgendeiner beleuchteten Fläche. •... - Seite 25 Ohne Funktion Weiß Grün Blau Cyan Magenta Gelb Purpur LED-Makro Orangefarbig Grüngelb Rosa Braun Gold Karmesinrot Violett Dunkelblau violett Bewegliches Makro 1 Bewegliches Makro 2 LED-Geschwindigkeit Farbveränderung mit abnehmender Geschwindigkeit Ohne Funktion Automatisches Programm 1 Automatisches Programm 2 Automatisches Programm 3 Automatisches Programm 4 Automatisches Programm 5 Automatisches Programm 6...
- Seite 26 Cyan Magenta Gelb Purpur Orangefarbig Grüngelb Rosa Braun Gold Karmesinrot Violett Weinrot Bewegliches Makro 1 Bewegliches Makro 2 c. DMX512-Anschluss Verbinden Sie ein XLR-Kabel mit dem 3-pol. XLR-Ausgang der Steuerung und die andere Seite mit dem 3-pol. XLR- Eingang des VDPL3601MHW12. Sie können verschiedene VDPL3601MHW12 in Serie schalten. Verwenden Sie dafür ein zweipoliges abgeschirmtes Kabel mit XLR Ein- und Ausgangsanschlüssen.
- Seite 27 6. Anwendung Schalten Sie das Gerät mit dem Netzstecker ein und aus. Verwenden Sie das Gerät nicht ununterbrochen. MODUS 1: ist der Standardmodus. Empfang des DMX512-Signals und Einstellung der gewünschten Adresse mit UP/DOWN. Wählen Sie einen Kanal zwischen 1 und 512 aus. MODUS 2: Drücken Sie MODE/ESC bis im Display erscheint und wählen Sie die gewünschte Funktion mit UP/DOWN.
-
Seite 28: Reinigung Und Wartung
7. Reinigung und Wartung 1. Alle verwendeten Schrauben müssen fest angespannt werden und dürfen keine Rostspuren zeigen. 2. Das Gehäuse, die Linsen, die Montagebügel und der Montageort (z.B. Decke oder Gebinde) dürfen nicht angepasst werden, z.B. bohren Sie keine zusätzlichen Löcher in Montagebügel, verändern Sie die Anschlüsse nicht, usw.