auna AV2-CD508 Handbuch
Hi-fi-verstärker
Inhaltsverzeichnis
Verfügbare Sprachen
Verfügbare Sprachen
Inhaltsverzeichnis

Verwandte Anleitungen für auna AV2-CD508


Inhaltszusammenfassung für auna AV2-CD508
-
Seite 3: Inhaltsverzeichnis
Sehr geehrter Kunde, wir gratulieren Ihnen zum Erwerb Ihres Gerätes. Lesen Sie die folgenden Hinweise sorgfältig durch und befolgen Sie diese, um möglichen Schäden vorzubeugen. Für Schäden, die durch Missachtung der Hinweise und unsachgemäßen Gebrauch entstehen, übernehmen wir keine Haftung. Scannen Sie den folgenden QR-Code, um Zugriff auf die aktuellste Bedienungsanleitung und weitere Informationen rund um das Produkt zu erhalten:... -
Seite 4: Sicherheitshinweise
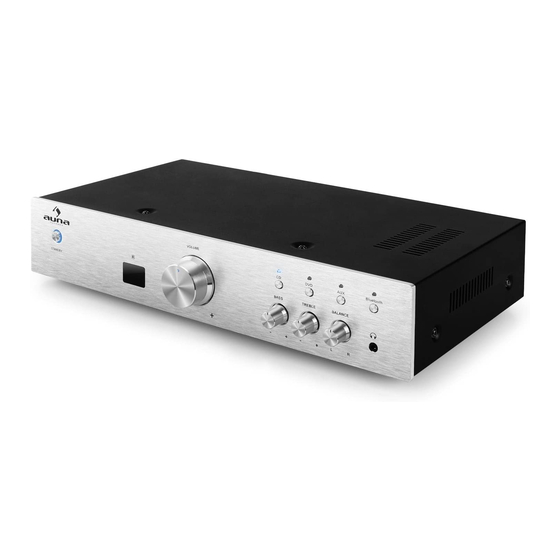
SICHERHEITSHINWEISE Wählen Sie einen sicheren Standort aus und stellen Sie das Gerät nicht in direktes Sonnenlicht oder neben eine Wärmequelle. 2. Vermeiden Sie Umgebungen, an denen das Gerät Vibrationen, übermäßigem Staub, Kälte oder Feuchtigkeit ausgesetzt ist. 3. Um Stromschläge zu vermeiden, darf das Gehäuse nicht geöffnet werden. - Seite 5 Vorderseite Standby-Modus Bluetooth-Modus Sender/Empfänger Bassregler Lautstärkeregler Höhenregler CD-Modus Balanceregler DVD-Modus Kopfhörer-Anschluss AUX-Modus Rückseite Frontlautsprecher Rechts DVD-Anschluss Frontlautsprecher Links CD-Audio-Anschluss REC-Anschluss Netzschlater AUX-Anschluss Stromanschluss Fernbedienung StandBy-Modus Eingangsquelle CD-Fach öffnen/ schließen Nummerntasten Stereo/Mono Kanal vor Rücklauf/Frequenz zurück Stop USB-Modus Kanal zurück Vorheriger Titel Lautstärke + Eingang Lautstärke -...
-
Seite 6: Anschlüsse
ANSCHLÜSSE Systemanschluss Schließen Sie nur neue Komponenten und die anderen Elemente des Gerätes an, wenn das Gerät abgeschaltet ist. 2. Die Lautsprecherkabel sollen den Farben entsprechend und fest angeschlossen werden. Anschlussdiagramm für die Eingangsquellen... - Seite 7 Anschlussdiagramm Lautsprecher • Stellen Sie bitte sicher, dass die blanken Kabel sich gegenseitig nicht berühren und nicht mit den Metallteilen des Gehäuses in Kontakt kommen. Diese könnte das Gerät oder die Lautsprecher beschädigen. • Bitte beachten Sie die Polarität der Lautsprecherkabel. Schließen sie immer „+“...
-
Seite 8: Bedienung Und Funktionen
BEDIENUNG UND FUNKTIONEN Normal-Funktion Trennen Sie das Gerät vom Strom und verbinden Sie das Quellgerät mit den Eingängen des Gerätes. 2. Schalten Sie das Gerät ein und warten 3-4 Sek. Wählen Sie anschließend die gewünschte Musikquelle aus. 3. Stellen Sie die Lautstärke am Gerät oder über die Fernbedienung ein. 4. -
Seite 9: Fehlersuche Und Fehlerbehebung
FEHLERSUCHE UND FEHLERBEHEBUNG Problem Mögliche Ursache Lösungsansatz Die Anzeige leuchtet Der Netzstecker ist nicht Überprüfen Sie das Kabel nicht und es kommt richtig angeschlossen. und die Verbindung. kein Tonsignal aus den Lautsprechern. Die Anzeige leuchtet aber Die Lautsprecher sind Überprüfen Sie das Kabel es kommt kein Tonsignal nicht richtig verbunden. -
Seite 10: Hinweise Zur Entsorgung
HINWEISE ZUR ENTSORGUNG Befindet sich die linke Abbildung (durchgestrichene Mülltonne auf Rädern) auf dem Produkt, gilt die Europäische Richtlinie 2012/19/EU. Diese Produkte dürfen nicht mit dem normalen Hausmüll entsorgt werden. Informieren Sie sich über die örtlichen Regelungen zur getrennten Sammlung elektrischer und elektronischer Gerätschaften.