Klarstein 10034253 Handbuch
Inhaltsverzeichnis
Verfügbare Sprachen
Verfügbare Sprachen
Quicklinks
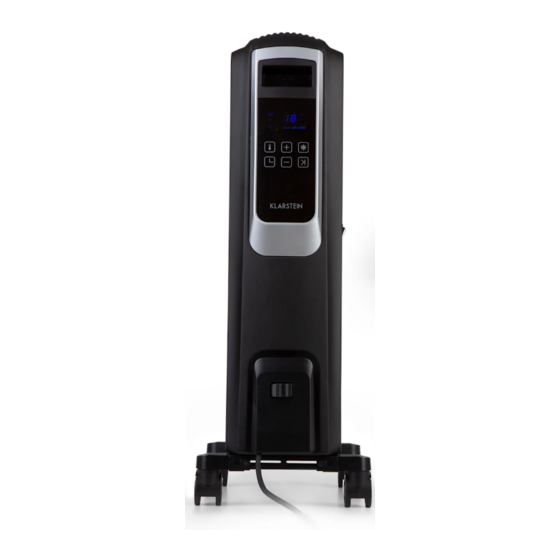
Heizung
Heater
Calefactor
Radiateur
Stufa
10034253
Hinweis: Dieses Produkt ist nur für gut isolierte Räume
oder für den gelegentlichen Gebrauch geeignet.
Note: This product is only suitable for well insulated
spaces or occasional use.
Advertencia: Este producto está indicado únicamente
en lugares abrigados o para una utilización punctual.
Remarque : Ce produit ne peut être utilisé que dans des
locaux bien isolés ou de manière occasionnelle.
Nota: Questo prodotto è adatto solo per spazi ben
isolati o uso occasionale.
Kapitel
Inhaltsverzeichnis

Verwandte Anleitungen für Klarstein 10034253


Inhaltszusammenfassung für Klarstein 10034253
- Seite 1 Radiateur Remarque : Ce produit ne peut être utilisé que dans des Stufa locaux bien isolés ou de manière occasionnelle. Nota: Questo prodotto è adatto solo per spazi ben isolati o uso occasionale. 10034253...
-
Seite 3: Inhaltsverzeichnis
Bedienungsanleitung und weitere Informationen rund um das Produkt zu erhalten. INHALTSVERZEICHNIS Sicherheitshinweise 4 English 11 Español 19 Produktdatenblatt 5 Français 27 Zusammenbau 6 Italiano 35 Geräteübersicht und Tastenfunktionen 6 Bedienung 7 Reinigung und Pflege 10 Hinweise zur Entsorgung 10 Konformitätserklärung 10 TECHNISCHE DATEN Artikelnummer 10034253 Stromversorgung 220-240 V ~ 50 Hz... -
Seite 4: Sicherheitshinweise
SICHERHEITSHINWEISE • Prüfen Sie vor der Benutzung die Spannung auf der Geräteplakette und schließen Sie das Gerät nur an Steckdosen an, die der Spannung des Geräts entsprechen. • Falls das Netzkabel beschädigt ist, lassen Sie es von einer ausgebildeten Fachkraft ersetzen. •... -
Seite 5: Produktdatenblatt
PRODUKTDATENBLATT Modellkennung(en) 10034253 Angabe Symbol Wert Einheit Angabe Einheit Wärmeleistung Nur bei elektrischen Speicher-Einzelraumheizgeräten: Art der Regelung der Wärmezufuhr Nennwärmeleistung Manuelle Regelung der Wärmezufuhr mit k.A. integriertem Thermostat Mindestwärmeleistung Manuelle Regelung der Wärmezufuhr k.A. (Richtwert) mit Rückmeldung der Raum- und/oder Außentemperatur... -
Seite 6: Zusammenbau
ZUSAMMENBAU Stellen Sie das Gerät auf eine kratzfreie und stabile Oberfläche, um Schäden an der Lackierung oder Ihrer Bodenoberfläche zu vermeiden. • Drehen Sie das Gerät auf den Kopf. • Ziehen Sie die Räder zu beiden Seiten heraus. • Betreiben Sie das Gerät nur in aufrechter Position mit am Boden befestigten Rädern. -
Seite 7: Bedienung
Batterien in die Fernbedienung einlegen BEDIENUNG Drücken Sie die Standby-Taste (f), um das Gerät einzuschalten. Das Produkt befindet sich nun im Standby-Modus. Sie können nun eine Funktion per Bedienfeld oder Fernbedienung auswählen. Das Gerät gibt einen Signalton ab und die Betriebsanzeige (Steckersymbol) leuchtet. - Seite 8 Eco-Modus Drücken Sie die Power/Mode-Taste (c), bis die Leuchte ECO leuchtet. Im Eco-Modus passt sich die Heizleistung automatisch an, wenn sich die Raumtemperatur der eingestellten Temperatur nähert. Beispiel: Die eingestellte Temperatur ist 25 °C. Wenn die Raumtemperatur niedriger ist als 22 °C ist, arbeitet die Heizung mit hoher Leistung. Wenn die Raumtemperatur auf 23 °C steigt, arbeitet die Heizung mit mittlerer Leistung.
- Seite 9 Timer: Automatisches Einschalten Hinweis: Diese Funktion sollte nur eingestellt werden, wenn Sie möchten, dass das Heizgerät nach einer bestimmten Zeit (1 bis 24 Stunden ab dem Zeitpunkt der Einstellung) automatisch eingeschaltet wird. Stellen Sie den Timer im Standby-Modus ein. 1. Drücken Sie die Standby-Taste (f), um das Gerät einzuschalten. Die Betriebsanzeige (Steckersymbol) leuchtet auf.
-
Seite 10: Reinigung Und Pflege
REINIGUNG UND PFLEGE Hinweis: Schalten Sie das Gerät aus und ziehen Sie den Stecker aus der Steckdose. Warten Sie, bis das Gerät vollständig abgekühlt ist, bevor Sie sie reinigen. • Benutzen Sie zur Reinigung der Lüftungsschlitze und Gitter einen Staubsauger. •...