Werbung
Quicklinks
For instruction video,
scan QR-code.
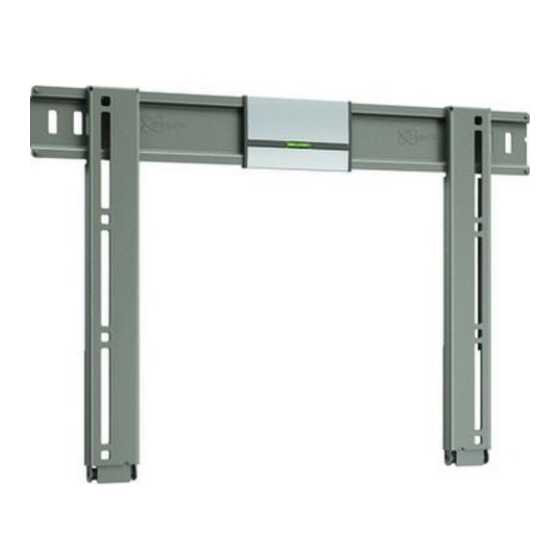
THIN 205
EN
Mounting instructions
DE
Montageanleitung
FR
Consignes d'installation
NL
Montagevoorschrift
ES
Instrucciones de montage
IT
Istruzioni di montaggio
PT
Manual de montagem
EL
Οδηγίες συναρμογής
SV
Montageföreskrifter
PL
Instrukcja montażu
RU
Инструкция по сборке и установке
CS
Návod k montáži
SK
Návod na montáž
HU Szerelési előírás
TR
Montaj kılavuzu
RO Instrucţiuni de montaj
UK
Вказівки по монтажі
BG Инструкции за монтаж
設置の説明書
JA
ZH
www.vogels.com
for more information
Werbung

Verwandte Anleitungen für vogel's THIN 205


Inhaltszusammenfassung für vogel's THIN 205
- Seite 1 For instruction video, scan QR-code. THIN 205 Mounting instructions Οδηγίες συναρμογής Montaj kılavuzu Montageföreskrifter RO Instrucţiuni de montaj Montageanleitung Consignes d’installation Instrukcja montażu Вказівки по монтажі Montagevoorschrift Инструкция по сборке и установке BG Инструкции за монтаж 設置の説明書 Instrucciones de montage Návod k montáži...
- Seite 2 Important Before mounting the wall mount, first read the warnings at the back of the supplied parts list (separate card). DE - Wichtig Lesen Sie vor der Montage des Wandhalters zuerst die - Önemli Duvar montesini monte etmeden önce, (ayrı kart olarak) Warnhinweise auf der Rückseite der mitgelieferten Teileliste verilen parça listesinin arkasında bulunan uyarıları...
- Seite 3 1-2 (Optional) (Optional) 1-2 (Optional) 1-2 (Optional) 1-2 (Optional) 1-2 (Optional) (Optional) (Optional) (Optional) (Optional) ± 50 mm ± 50 mm 1.1 Screw the upper part of the strips (A) onto the TV. DE - Schrauben Sie den oberen Teil der Leisten (A) an das Fernsehgerät. - Vissez la partie supérieure des barrettes (A) sur le téléviseur.
- Seite 4 • Depending on the screen size: adapt the strip length to fit the mounting hole pattern. DE - Je nach Bildschirmgröße: Passen Sie die Leistenlänge so an, dass sie zum Lochmuster CS - Podle velikosti obrazovky: upravte délku lišt tak, aby odpovídala rozteči montážních otvorů.
- Seite 5 1-2 (Optional) (Optional) 1-2 (Optional) 1-2 (Optional) 1-2 (Optional) (Optional) (Optional) (Optional) 1-2 (Optional) (Optional) 1.2 Screw the lower part of the strips (A) onto the TV. DE - Schrauben Sie den unteren Teil der Leisten (A) an das Fernsehgerät. - Vissez la partie inférieure des barrettes (A) sur le téléviseur.
- Seite 6 76 mm ø 5 mm 20 mm/0.8" ø 13/64" 80 mm/3.2" ø 8 mm 20 mm/0.8" ø 5/16" Drill the center hole and screw the wall mount (A) onto the wall. Do not fully tighten bolt N yet. DE - Bohren Sie das mittlere Loch und schrauben Sie den Wandhalter (A) an die Wand. CS - Vyvrtejte středový...
- Seite 7 76 mm ø 8 mm ø 5/16" Drill the center hole and screw the wall mount (A) onto the wall. Do not fully tighten bolt N yet. DE - Bohren Sie das mittlere Loch und schrauben Sie den Wandhalter (A) an die Wand. CS - Vyvrtejte středový...
- Seite 8 ø 5 mm 20 mm/0.8" ø 13/64" 80 mm/3.2" ø 8 mm 20 mm/0.8" ø 5/16" Position the wall mount (A) level and drill the left and right hole. Tighten all three bolts (N). DE - Richten Sie die Wandhalterwasserwaage (A) aus und bohren Sie das linke und das CS - Umístěte nástěnnou jednotku (A) do vodorovné...
- Seite 9 20 mm/0.8" ø 3 mm ø 1/8" Position the wall mount (A) level and drill the left and right hole. Tighten all three bolts (N). DE - Richten Sie die Wandhalterwasserwaage (A) aus und bohren Sie das linke und das CS - Umístěte nástěnnou jednotku (A) do vodorovné...
- Seite 10 25kg 55lbs MAX. MAX. 100 mm VESA Hook the TV onto the wall mount (A). If the VESA width of the TV is 100 mm: first move the level to the left/right. DE - Haken Sie das Fernsehgerät am Wandhalter (A). Wenn die VESA-Breite des Fernseh- CS - Zavěste televizor na nástěnnou jednotku (A).
- Seite 11 • Easy access cable service positioning. DE - Kabelserviceposition für einfachen Zugang. FR - Positionnement pour un accès facile aux câbles. NL - Positie voor kabelaansluiting. - Fácil acceso para colocar el cable. - Facile accesso per il posizionamento dei cavi. - Posicionamento de serviço de cabo de acesso fácil.
- Seite 12 • Remove the TV from the wall mount (A). DE - Nehmen Sie das Fernsehgerät vom Wandhalter (A). FR - Déposez le téléviseur du support mural (A). NL - Haal de tv van de wandsteun (A). - Retire el televisor del soporte de pared (A). - Rimuovere la TV dal supporto a parete (A).
- Seite 13 EN Guarantee terms and conditions FR Modalités et conditions de la garantie 1 Vogel’s garantiza que, si se observan fallos durante el periodo de garantía Congratulations on the purchase of this Vogel’s product! The product you Nous vous félicitons pour l’achat de ce produit Vogel’s ! Vous venez del producto como consecuencia de defectos de material o fabricación, now have in your possession is made of durable materials and is based on d’acquérir un produit réalisé...
- Seite 14 2 No caso de exercer o direito de garantia, o produto deverá ser enviado • Om en defekt uppstått till följd av en yttre orsak (utanför produkten) till VOGEL’S, HONDSRUGLAAN 93, 5628 DB EINDHOVEN, NEDERLAND para a Vogel’s juntamente com o documento de compra original (factura, exempel blixtnedslag, vattenskada, brand, stötar, extrema temperaturer (НИДЕРЛАНДЫ) nota de venda ou talão de compra).
- Seite 15 HU Garanciális feltételek 3 Garanţia oferită de Vogel’s devine nulă în următoarele cazuri: • ако възникне неизправност, дължаща се на външни причини (извън Gratulálunk a Vogel’s termékének megvásárlásához! Olyan termék van a • dacă produsul nu a fost montat şi utilizat în conformitate cu Instrucţiunile продукта), например...
- Seite 16 www.vogels.com Vogel’s Holding BV 2015 © All rights reserved...