Celestron TrailSeeker Bedienungsanleitung
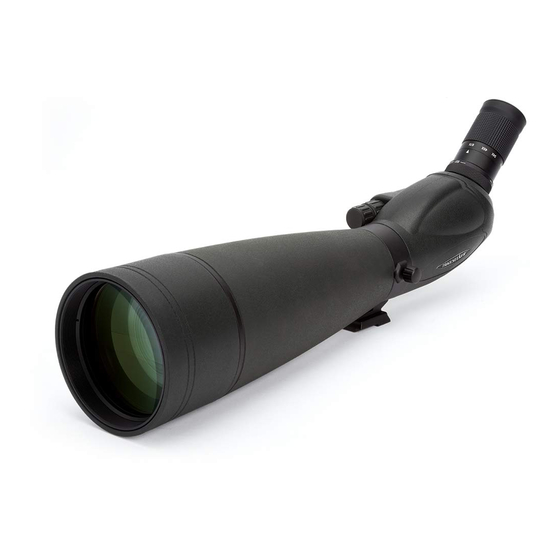
Spektiv
Vorschau ausblenden
Andere Handbücher für TrailSeeker:
- Anleitung (62 Seiten) ,
- Bedienungsanleitung (62 Seiten)
Inhaltsverzeichnis
Verfügbare Sprachen
Verfügbare Sprachen
Quicklinks
Inhaltsverzeichnis

Verwandte Anleitungen für Celestron TrailSeeker


Inhaltszusammenfassung für Celestron TrailSeeker
- Seite 1 SPOTTING SCOPE INSTRUCTION MANUAL...
- Seite 11 TÉLESCOPE D’OBSERVATION MODE D’EMPLOI FRANÇAIS I...
- Seite 21 SPEKTIV BEDIENUNGSANLEITUNG DEUTSCH I...
- Seite 22 Vielen Dank für den Kauf eines TrailSeeker-Spektivs von Celestron. Wir sind davon überzeugt, dass Ihnen dieses Spektiv jahrelang Freude bereiten und zuverlässige Dienste leisten wird. Bitte lesen Sie die Bedienungsanleitung vor Gebrauch des Spektivs sorgfältig durch, um eine sichere Handhabung und Pflege sicherzustellen.
-
Seite 23: Vor Dem Gebrauch
WARNUNG Schauen Sie mit dem Spektiv keinesfalls in die Sonne. Das Schauen in die Sonne kann zu permanenten Sehschäden führen. VOR DEM GEBRAUCH Bringen Sie Ihr Spektiv vor dem Betrachten an einem stabilen Abb. 2 Stativ an, da Größe und Leistung des Spektivs ein solides Stativ erfordern, das für Stabilität sorgt, damit klare, scharfe Bilder erreicht werden (Abb. -
Seite 24: Augenmuschel-Einstellung
AUGENMUSCHEL-EINSTELLUNG Zoom und Weitwinkelokular Das Zoom/Weitwinkel-Okular des TrailSeeker ist mit einer drehbaren Augenmuschel ausgestattet, um für Brillenträger und Nicht-Brillenträger geeignet zu sein (Abb. 4). Wenn Sie keine Brille tragen, drehen Sie das Okular im Uhrzeigersinn, bis sie die höchste Position erreicht. -
Seite 25: Drehbare Stativhalterung
Drehen Sie das Rad in die entgegengesetzte Richtung, wenn sich der Fokusknopf nicht weiter drehen lässt. DREHBARE STATIVHALTERUNG Das TrailSeeker ist mit einer um volle 360° drehbaren Stativhalterung ausgestattet, durch die sich das Okular in jede beliebige Position bringen lässt. Lösen Sie zum Ändern der Okular-Position die Schraube an der Stativhalterung und drehen Sie das Stativ in die gewünschte... - Seite 26 Abb. 9 FIXE TRAGEBOX Das Spektiv der TrailSeeker Serie verfügt über eine fest angebrachte Tragebox, die Ihr Spektiv gegen Stöße, Kratzer und die Elemente schützt. Dank des Reißverschlusses auf der Unterseite der Box können Sie Ihr Spektiv an einem Stativ anbringen, ohne die Box abnehmen zu müssen, und die Reißverschlüsse an der Vorder- und Rückseite ermöglichen...
- Seite 27 Spektiv in der gewünschten Position gehalten wird. DIGISKOPIE Das TrailSeeker-Spektiv kann für die Digiskopie mit SLR- und digitale Kompaktkameras verwendet werden. Bitte beachten Sie, dass nicht alle Kameras für die Digiskopie geeignet sind und dass es bei manchen Kameras zu einer Vignettierung (einem runden Bild mit schwarzer Umrandung) kommen kann.
-
Seite 28: Einfache Fotografie
Eine Vielzahl von Kompaktkameras kann für die Digiskopie zusammen mit dem TrailSeeker-Spektiv verwendet werden, indem der Universal-Kameraadapter (Nr. 93626) von Celestron genutzt wird (Abb. 13). Dieser Adapter wird an das Spektivokular angebracht und ermöglicht so, dass die Kameralinse hinter dem Okular zentriert werden kann. -
Seite 29: Pflege Und Aufbewahrung
Okular möglich ist, wenn die Linse im Kamerakorpus zu tief sitzt oder wenn die Kamera nicht über eine ausreichend Höhe verfügt. WASSERDICHT/KEIN BESCHLAGEN Spektive der TrailSeeker-Serie sind wasserdicht und mit trockenem Stickstoff gefüllt, damit das Gehäuse innen nicht beschlägt. PFLEGE UND AUFBEWAHRUNG Ihr Celestron-Spektiv wird Ihnen jahrelang zuverlässige Dienste Abb.. -
Seite 30: Wartung Und Reparatur
Diese Garantie deckt keine Defekte aufgrund von normalem Verschleiß und anderen Bedingungen ab. Diese Garantie ist für Kunden in den USA und Kanada gültig, die ihr Spektiv von einem autorisierten Celestron-Händler in den USA oder Kanada gekauft haben. Wenden Sie sich für geltende Garantieinformationen bezüglich Produkte, die außerhalb der USA oder Kanada gekauft wurden, bitte an Ihren Celestron-Vertreiber oder autorisierten Händler vor Ort. - Seite 31 TELESCOPIO MANUAL DE INSTRUCCIONES ESPAÑOL I...
-
Seite 41: Manuale D'istruzioni
CANNOCCHIALE MANUALE D’ISTRUZIONI ITALIANO I...