Reolink REO C1 PRO Kurzanleitung
Verfügbare Sprachen
Verfügbare Sprachen
EN /D E
W ireles s IP Camer a
Quick Start Guide
Technical Support
For Windows Client & Mac Client, please download the PC software:
https://reolink.com/software-and-manual/
For advanced setup, please download the user manual:
https://reolink.com/software-and-manual/
For more troubleshooting, please go to FAQs on our website:
https://reolink.com/faqs/
For other technical support, please contact us at
QG4_B
support@reolink.com
Inhaltsverzeichnis

Verwandte Anleitungen für Reolink REO C1 PRO


Inhaltszusammenfassung für Reolink REO C1 PRO
-
Seite 10: Verbindungsschema Der Kamera
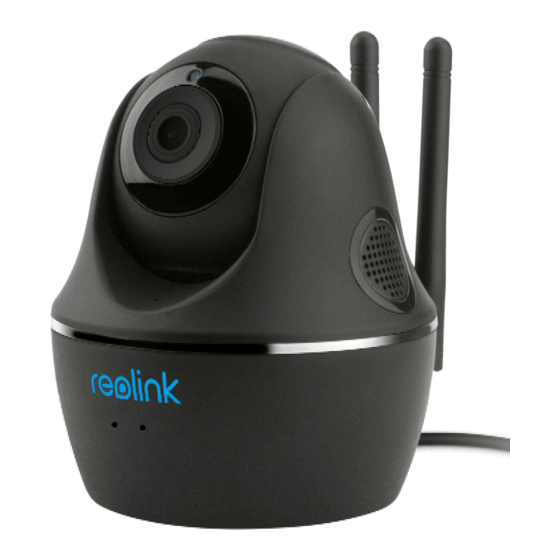
Sie danach folgende Schritte, um die Kamera einzurichten. Stellen Sie sicher, dass sich die Kamera und Ihre Smart Devices mit demselben Router verbinden. Diese Kurzanleitung gilt für folgende Kameras: Reolink C1, C1 Pro, C2, RLC-410WS, RLC-411WS, RLC-422W & RLC-423WS. -
Seite 11: Reolink App Installieren
Im LAN Es gibt zwei Möglichkeiten, die Reolink App herunterzuladen: 1. Suchen Sie im App Store (für iOS) oder in Google Play (für Android) nach „Reolink“, führen Sie den Download durch und installieren Sie die App. 2. Scannen Sie den unten abgebildeten QR-Code, um den Download durchzuführen und die App zu installieren. - Seite 12 Im WAN Front Door Neues Gerät hinzufügen 3. Tippen Sie auf den Bildschirm, um die Zeit zu synchronisieren und Ihr Passwort zu erstellen. 4. Starten Sie die Live-Ansicht oder gehen Sie zu „Geräteeinstellungen“, um weitere Konfigurationen vorzunehmen. 1. Klicken Sie oben rechts auf „+“. 2.
- Seite 13 Tippen Sie dann auf das WLAN-Symbol. 1. Wählen Sie eine WLAN-Verbindung aus, geben Sie das Passwort ein und klicken Sie dann auf „OK“. Reolink-5G 2. WLAN-Test: a) Wenn der WLAN-Test erfolgreich Reolink-5G ist, drücken Sie auf „Speichern“, um die Einstellungen zu speichern.
-
Seite 14: Reolink Client Installieren
Kamerazugriff Gerät hinzufügen via Computer Im LAN Starten Sie die Reolink Client-Software auf dem PC. Standardmäßig sucht die Client-Software automatisch nach den Kameras im LAN-Netz und zeigt sie in der „Geräteliste“ im Menü auf der rechten Seite an. Klicken Sie auf „Starten“, um den Livestream zu starten. - Seite 15 4. Geben Sie das Passwort für die Kamera ein. Standardmäßig ist das Passwortfeld leer. 5. Klicken Sie auf „OK“, um sich einzuloggen. Wenn Sie bereits ein Passwort in der Reolink App erstellt haben, verwenden Sie dieses bitte. 5. Klicken Sie auf „OK“, um sich einzuloggen.
-
Seite 16: Wlan-Einstellungen
WLAN-Einstellungen Klicken Sie auf „Geräteeinstellungen“, und fahren Sie fort mit „Netzwerk >>WLAN-Einstellung“. Reolinik-5G 0 6 / 0 3 / 2 0 1 8 2 3 : 4 8 : 1 3 T U E Reolinik-5G 411-5MP 1. Scannen Sie die SSID. 2.