Nordpeis Me Wall Installations- Und Benutzerhandbuch
Without firewall
Vorschau ausblenden
Andere Handbücher für Me Wall:
- Installations- und benutzerhandbuch (24 Seiten) ,
- Installations- und benutzerhandbuch (8 Seiten) ,
- Installations- und benutzerhandbuch (24 Seiten)
Quicklinks
NO
Monterings og bruksanvisning
SE
Installations och bruksanvisning
GB
Installation and user manual
FI
Asennus ja käyttöohje
DE
Installations und Benutzerhandbuch
FR
Manuel d'installation et d'utilisation
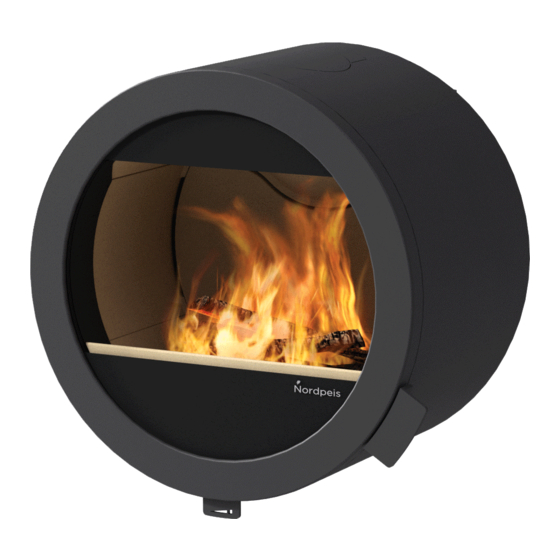
Me Wall without firewall
Art.no: SA-ME000-W24
Last updated: 05.11.2018
Test Report No: RRF 40 17 4683, NS 17 4683

Verwandte Anleitungen für Nordpeis Me Wall


Inhaltszusammenfassung für Nordpeis Me Wall
- Seite 1 Monterings og bruksanvisning Installations och bruksanvisning Installation and user manual Asennus ja käyttöohje Installations und Benutzerhandbuch Manuel d’installation et d’utilisation Me Wall without firewall Art.no: SA-ME000-W24 Last updated: 05.11.2018 Test Report No: RRF 40 17 4683, NS 17 4683...
- Seite 2 VIKTIG: Når ovnen løftes eller håndteres anbefaler vi at ovnen enten ligger i pallekrybben eller at de inkluderete selene brukes. Om man løfter i døren eller legger press mot glassene kan dette føre til skade på produktet og blir ikke dekket av garantien. VIKTIGT: Vid lyft eller hantering av kaminen rekommenderar vi att den lämnas kvar i sitt pal- lemballage eller lyfts med den medföljande selen.
- Seite 3 Me Wall with firewall = mm / air / chimney...
- Seite 4 FIG 1A Safety distances - ME Wall with sideglass = Brannmur/ Brandmur/ Firewall/ Palomuuri/ nicht brennbares Material / Wand/ Mur pare feu = Brennbart materiale/ Brännbart material/ Combustible material/ Palavasta materiaalista/ brennbares Material / Wand/ Matières combustibles 200 mm 700 mm...
- Seite 5 FIG 1B Safety distances - ME Wall without sideglass = Brannmur/ Brandmur/ Firewall/ Palomuuri/ nicht brennbares Material / Wand/ Mur pare feu = Brennbart materiale/ Brännbart material/ Combustible material/ Palavasta materiaalista/ brennbares Material / Wand/ Matières combustibles 300 mm 1100 mm...
- Seite 6 Se egen monteringsanvisning See separate instruction Se egen mon teringsanvisning Katso erilliset ohjeet Beachten Sie die seperate Montageanleitung Manual for ME Voir le manuel d’installation séparé VIKTIG: Det er inkludert 4 x betongskruer. Disse skruene er kun beregnet for betong, teglstein og Lecablokker-og piper.
- Seite 7 MPORTANT: Included in the installation kit are 4 x concrete screws. These screws are only intended for concrete, solid bricks and Leca (light weight aggregate concrete) blocks and chimneys. The stove can only be mounted to materials where the screws are assured grip the entire depth. We also recommend to fill the holes with Anchor Resin / plug mastic resistant to temperatures above 80°C over longer durations.
- Seite 8 FIG 2...
- Seite 9 Hold veggplaten mot pipen / veggen og merk av for festehullene (Fig.2) For bakmontering av røykrør fjernes blindlokket for røykrør og eventuelt frisklufttilkobling i veggplaten, før også disse hullene merkes av på veggen. Bruk et 8mm murborr. Borredybde skal være 90mm, og alt støv og løse biter må fjernes fra hullene.
- Seite 10 Aseta seinäpaneeli seinää / savupiippua vasten ja merkitse neljän kiinnitysruuvin paikat (kuva 2). Jos takka liitetään taaksepäin, irrota myös savuputkiliitännän ja palamisilmaliitännän peitelevyt seinäpaneelista ja merkitse savuputken paikka savupiippuun. Käytä seinämateriaaliin sopivaa 8 mm poraa. Poraa vähintään 90 mm syvät reiät ja puhdista reiät. Jos takka liitetään taaksepäin, tee myös savuputken ja palamisilmaputken reiät.
- Seite 11 Skru fast veggplaten veggen. Fyll hullene først med ankermasse / tokomponent pluggmasse. Ikke stram mer enn at veggplaten trykkes godt mot veggen. Overstramming kan føre til at skruene mister festet. Bruk ALDRI plastik- eller nylonplugger! Fäst försiktigt väggpanelen med de medföljande skruvarna efter att ha fyllt hålen med Anchor Resin / plug mastic. Stoppa att vrida skruvarna när kontakten mellan väggpanelen och väggen är fast.
- Seite 12 FIG 3 Se i monteringsanvisningen for ME og fjern Thermotteplatene fra brennkammeret. Skru ut de fire M8 blindskruene i bakveggen inne i brennkammeret (Fig. 4). Skru de to medfølgende M6x40 gjengejernene inn i de to øverste festehullene i veggplaten (Fig. 3), slik at de blir stående ca 30mm ut fra veggplaten. Ovnen henges på...
- Seite 13 Refer to the installation manual for ME and remove the Thermotte liner. Locate and unscrew the four M8 blind-screws from inside in the back wall (FIG 4). Screw the two M6x40 threaded bars into the two upper support holes in the Wall panel (FIG 3) so that they protrude about 30mm and lift the stove into its posi- tion.
- Seite 14 FIG 4 5 mm FIG 4a...
- Seite 15 FIG 5 4 mm FIG 6 4 mm...
- Seite 16 Re-install the thermotte plates in the reverse order as they were disassembled. Asenna Thermotte-levyt päinvastaisessa järjestyksessä. Bauen Sie die Thermotte-Platten in umgekehrter Ausbaureihenfolge wieder ein. Remonter les plaques Thermotte dans l’ordre inverse du désassemblage. FIG 7 Nordpeis AS Gjellebekkstubben 11 3420 Lierskogen, Norway ME-CPR-2018/03/08 EN 13240:2001 / A2:2004 / AC:2007...
- Seite 17 FIG 8...
- Seite 18 Permanent pilot flame power requirement Pilot flame power requirement (if applicable) pilot Contact details Name and address of the supplier: Nordpeis AS, Gjellebekkstubben 11, N-3420 LIERSKOGEN, Norway...
- Seite 19 Nordpeis AS. Nordpeis ME ENERGIA · · ΕΝΕΡΓΕΙΑ · ENERGIJA · ENERGY · ENERGIE 2015/1186...
- Seite 20 Nordpeis AS, Gjellebekkstubben 11, N-3420 LIERSKOGEN, Norway www.nordpeis.no...