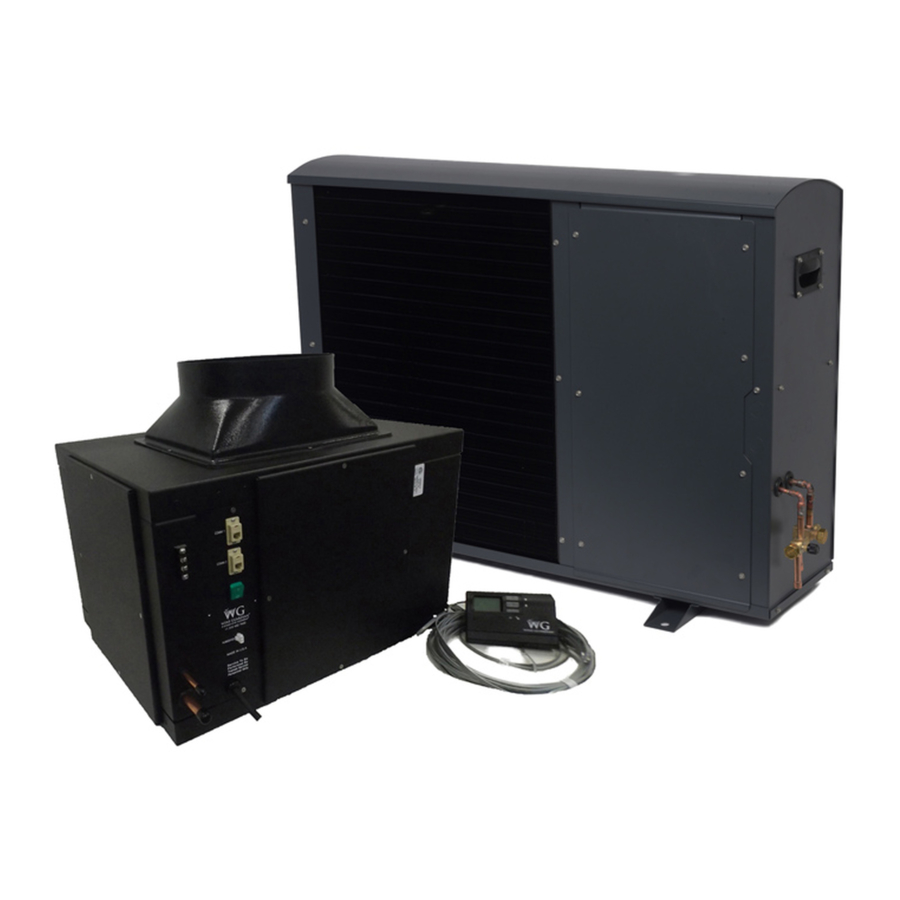
Wine Guardian DS025 Schnellinstallationsanleitung
Split wine cellar cooling system
Vorschau ausblenden
Andere Handbücher für DS025:
- Anleitung für installation, bedienung und wartung (68 Seiten) ,
- Schnellstart-installationsanleitung (17 Seiten) ,
- Anleitung (40 Seiten)

Verwandte Anleitungen für Wine Guardian DS025


Inhaltszusammenfassung für Wine Guardian DS025
-
Seite 6: Deutsch
Wine Guardian Split-System Dieses Dokument ist eine bildliche Anleitung für die Montage des Split-Systems von Wine Guardian. Diese Anleitung soll nicht die detaillierten Anweisungen des Installations-, Bedienungs- und Wartungshandbuchs (IBW) ersetzen, das wichtige Sicherheitsinformationen enthält, die alle Installateure und Besitzer für einen sicheren und optimalen Betrieb des Systems befolgen sollten. -
Seite 7: Wandmontage
• Konstruieren Sie zur Platzierung der Einheit eine strukturell solide, ebene Plattform, wenn Sie diese von einem Deckenbalken hängen. Der Wine Guardian wurde NICHT konzipiert, um von der Oberseite der Einheit aufgehängt zu werden. Dieser muss an der Unterseite unterstützt werden. -
Seite 8: Luftkanalsystem Montieren
3. Thermostat verkabeln - fortgesetzt H. Befestigen Sie die vordere Abdeckplatte erneut, indem Sie sie auf dem Rückteil einrasten. I. Verbinden Sie das Kabel mit der Seite der Wine Guardian- Einheit entweder mit COM1 oder COM2. HINWEIS: Splitter-Geräte (für Fernsensoren) müssen am Gerät montiert werden. - Seite 9 Kältemittel. Befüllen Sie das System mit der richtigen Menge an Kältemittel und markieren Sie den Wert mit einem Permanentmarker in dem auf dem Typenschild des Gerätes vorgesehenen Platz. (siehe Grafik unten) Siehe die vollständige Wine Guardian Betriebs- und Montageanleitung für mehr Infor- mationen. MODELL HÄLT EINE LADUNG VON...
- Seite 27 Deustch J. Kältemittel-Leitungsanschlüsse A. Manschette für den Zuführungskanal (Standard) B. Luftbefeuchter-Steueranschluss K. Kältemittel-Sichtglas C. Multi-Panel-Design L. Kompressor D. 24V-Control an Kondensatoreinheit anschließen M. Hochdruckschalter E. Zwei (2) COMM-Anschlüsse N. Kondensator-Spule F. Kältemittelleitung an Kondensatoreinheit O. Außenhülle G. Kondensatablauf H. Remote-Schnittstellen-Controller mit 127-cm- P.