Whispbar S46W Montageanleitung
Basisträgersystem
Inhaltsverzeichnis
Verfügbare Sprachen
Verfügbare Sprachen
Quicklinks
D
Montageanleitung für
Basisträgersystem
ES Instrucciones de montaje para el
sistema de transporte.
F
Instructions de montage pour Basic
Carrier
GB Fitting Instructions for Basic Carrier
NO Monteringsanvisning for takstativ
PT Instruções de Montagem para
sistema de transporte.
RU Установочные Инструкции для
Поперечных Балок
x 1
Revision No:
2C
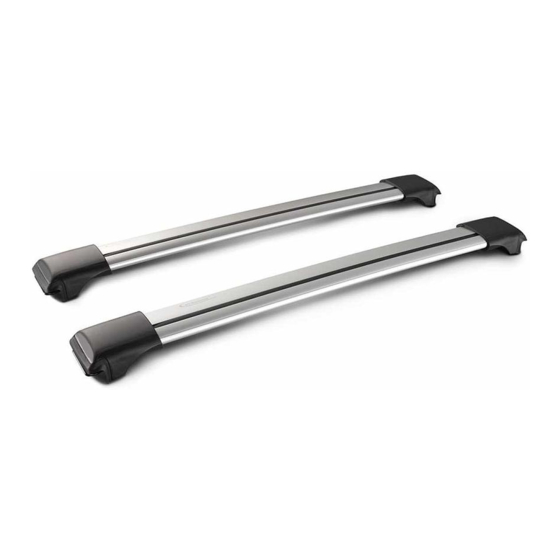
WHISPBAR RAIL BAR
x 1
1
x 2
S46W
Inhaltsverzeichnis

Verwandte Anleitungen für Whispbar S46W


Inhaltszusammenfassung für Whispbar S46W
- Seite 1 S46W WHISPBAR RAIL BAR Montageanleitung für Basisträgersystem ES Instrucciones de montaje para el sistema de transporte. Instructions de montage pour Basic Carrier GB Fitting Instructions for Basic Carrier NO Monteringsanvisning for takstativ PT Instruções de Montagem para sistema de transporte.
- Seite 2 WHISPBAR RAIL BAR S46W Erstinstallation Komponenten aus der Verpackung nehmen und überprüfen. Setzen Sie sich mit Ihrem Händler in Verbindung, sollten Teile fehlen oder beschädigt sein! Sicherstellen, dass der Dachträger in Fahrtrichtung zeigt (s. Abb.). Abdeckungen mit Schlüsseln abnehmen. Um die Abdeckung zu entfernen, halten Sie den Schlüssel in vertikaler Position und...
- Seite 3 WHISPBAR RAIL BAR S46W Entnehmen Sie den Innensechskantschlüssel aus einem der Dachträgerbeine. Ziehen Sie das Bein heraus. Entfernen Sie den Innensechskantschlüssel durch Anheben und Herausziehen. Drehen Sie das Bein mittels Innensechskantschlüssel 10 Umdrehungen heraus.
- Seite 4 WHISPBAR RAIL BAR S46W Befestigung Positionieren Sie ein Ende des Querträgers auf der gegenüberliegenden Dachreling und schwingen Sie das freie Ende so, dass die Klammer unterhalb der Reling und die Gummidichtung oberhalb sitzt. Wiederholen Sie diesen Arbeitsschritt an dem anderen Querträger.
- Seite 5 WHISPBAR RAIL BAR S46W Schieben Sie den Sechskantschlüssel zurück in die Position in einen der Gepäckträgerschenkel. Versichern Sie sich, dass die Schlösser an den Schenkeln in der geschlossenen Position sind. (Horizontal) Schieben Sie die Abdeckung in den Fuß. Sie hören ein "klick" wenn die Abdeckung sicher verschlossen ist.
- Seite 6 WHISPBAR RAIL BAR S46W ACHTUNG! Schrauben regelmäßig auf festen Sitz prüfen!
-
Seite 7: Sicherheitshinweise & Tipps
WHISPBAR RAIL BAR S46W Sicherheitshinweise & Tipps Lange Lasten sollten mit nichtelastischen Gurten an Front und Heck des Fahrzeugs gesichert werden. Gegenstände mit spitzen Enden (Ski) sollten mit den Spitzen nach hinten transportiert werden. Bei Lasten mit losen oder abnehmbaren Teilen diese vor dem Beladen entfernen. -
Seite 8: Lieferbares Zubehör Für Dieses Produkt
WHISPBAR RAIL BAR S46W Wenn in der Anleitung nicht anders angegeben, Querträger im Abstand von min. 700 mm montieren. Dies ist besonders für lange Belastungen wichtig! Bei jeder neuen Montage am Fahrzeug prüfen, ob der Träger korrekt sitzt. Im Zweifelsfalle bitte in der Montageanleitung nachschauen und nachziehen! Aufgrund der niedrigen Bauhöhen lassen... - Seite 57 V. Kontaktaufnahme mit Whispbar Bei allen speziellen Fragen zur Garantie von Whispbar setzen Sie sich bitte mit dem nächsten Whispbar-Händler oder mit dem Händler in Verbindung, bei dem das Produkt gekauft wurde. Informationen über entsprechende Händler finden Sie auf www.whispbar.eu Garantiegeber ist Yakima Products, Inc., 15025 SW Koll Parkway, Beaverton, OR 97006 USA...
- Seite 67 WHISPBAR RAIL BAR S46W...