Whispbar S26W Montageanleitung
Basisträgersystem
Inhaltsverzeichnis
Verfügbare Sprachen
Verfügbare Sprachen
Quicklinks
EN
Fitting Instructions for Basic Carrier
D
Montageanleitung für Basisträgersystem
ES
Instrucciones de montaje para el sistema de transporte.
F
Instructions de montage pour Basic Carrier
NO
Monteringsanvisning for takstativ
PT
Instruções de Montagem para sistema de transporte.
RU
Установочные Инструкции для Поперечных Балок
Revision No: 2C
x 1
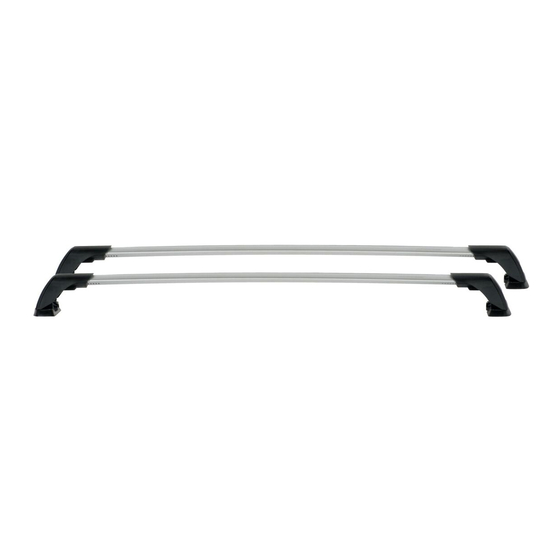
WHISPBAR FLUSH BAR
x 1
1
x 2
S26W
x 4
Inhaltsverzeichnis

Verwandte Anleitungen für Whispbar S26W


Inhaltszusammenfassung für Whispbar S26W
- Seite 1 S26W WHISPBAR FLUSH BAR Fitting Instructions for Basic Carrier Montageanleitung für Basisträgersystem Instrucciones de montaje para el sistema de transporte. Instructions de montage pour Basic Carrier Monteringsanvisning for takstativ Instruções de Montagem para sistema de transporte. Установочные Инструкции для Поперечных Балок...
- Seite 7 WHISPBAR FLUSH BAR S26W Erstinstallation Komponenten aus der Verpackung nehmen und überprüfen. Setzen Sie sich mit Ihrem Händler in Verbindung, sollten Teile fehlen oder beschädigt sein! Sicherstellen, dass der Dachträger in Fahrtrichtung zeigt (s. Abb.). Bitte beachten: dieser Schritt gilt nur für Typ A.
-
Seite 8: Einstellen Der Querträger
WHISPBAR FLUSH BAR S26W Einstellen der Querträger Abdeckungen mit Schlüsseln abnehmen. Innensechskantschlüssel benutzen und Stellschraube mit 10 Umdrehungen lösen. Obere Stellschraube eindrücken und Querträger (je nach Fall) reinschieben oder herausziehen. Sicherstellen, dass beide Enden der Querträger gleich lang eingestellt sind... - Seite 9 WHISPBAR FLUSH BAR S26W Zur Montage s. Montageanleitung des Kits. Stellschraube mit 5 Nm / 3.7 ft lb anziehen. Abdeckungen aufsetzen und mit Schlüsseln verschließen (s. Abb.).
-
Seite 10: Sicherheitshinweise & Tipps
WHISPBAR FLUSH BAR S26W Sicherheitshinweise & Tipps Dach sowie alle Trägerflächen, die mit dem Dach Kontakt haben reinigen. Träger anhand der Montageanleitung montieren. Alle Schritte unbedingt in der richtigen Reihenfolge ausführen! Wenn in der Anleitung nicht anders angegeben, Querträger im Abstand von min. -
Seite 11: Lieferbares Zubehör Für Dieses Produkt
WHISPBAR FLUSH BAR S26W Komponenten regelmäßig überprüfen und defekte oder verschlissene Teile gegen Originalteile ersetzen. Träger stets sauber halten (nicht ölen oder fetten)! Mit montierten Dachträgern nicht in Waschanlagen einfahren. Schlösser und Stellschrauben regelmäßig schmieren. Dachgepäckträger bei Nichtgebrauch abmontieren. Alle losen Teile sicher aufbewahren! Lieferbares Zubehör für dieses Produkt... - Seite 41 Garantiefall eintritt und die Garantie in Anspruch genommen wird. V. Kontaktaufnahme mit Whispbar Bei allen speziellen Fragen zur Garantie von Whispbar setzen Sie sich bitte mit dem nächsten Whispbar-Händler oder mit dem Händler in Verbindung, bei dem das Produkt gekauft wurde. Informationen über entsprechende Händler finden Sie auf www.whispbar.eu...