Numark VM03mkII Kurzbedienungsanleitung
Professional 3-screen video monitor system
Inhaltsverzeichnis
Verfügbare Sprachen
Verfügbare Sprachen
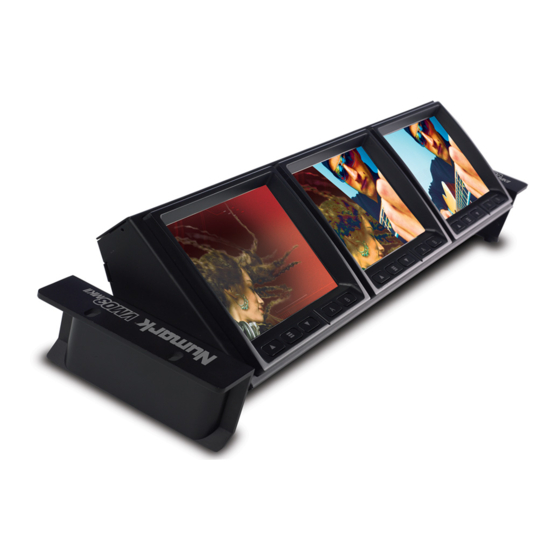
VM03mkII Professional 3-Screen
Video Monitor System
Quick Start Owner's Manual (ENGLISH) [1-3]
Manual de inicio rápido del usuario (ESPAÑOL) [4-6]
Kurzbedienungsanleitung(DEUTSCH) [7-9]
Guide d'utilisation simplifié (FRANÇAIS) [10-12]
Manuale rapido di utilizzazione (ITALIANO) [13-15]
BOX CONTENTS ::::::::::::::::::::::::::::::::::::::::::
•
VM03mkII
•
Power Supply
•
(2) Locking Screws
•
(4) Rack Screws
•
(4) Rack Mount Elevators
CONTENIDOS DE LA CAJA ::::::::::::::::::::::::::::
•
VM03mkII
•
Fuente de alimentación
•
(2) Tornillos de fijación
•
(4) Tornillos para bastidor
•
(4) Elevadores de montaje en
bastidor
INHALT DER VERPACKUNG ::::::::::::::::::::::::::
•
VM03mkII
•
Netzteil
•
(2) Sicherungsschrauben
•
(4) Rackmontageschrauben
•
(4) Winkeleinbausatz
CONTENU DE LA BOÎTE :::::::::::::::::::::::::::::::
•
VM03mkII
•
Câble d'alimentation
•
(2) Vis d'ancrage
•
(4) Vis de montage
•
(4) Bras extenseurs pour support
CONTENUTO DELLA CONFEZIONE :::::::::::::::::
•
VM03mkII
•
Alimentazione
•
(2) Viti di bloccaggio
•
(4) Viti per rack
•
(4) Montanti per montaggio su rack
Inhaltsverzeichnis

Verwandte Anleitungen für Numark VM03mkII

Inhaltszusammenfassung für Numark VM03mkII
- Seite 1 VM03mkII Professional 3-Screen Video Monitor System Quick Start Owner’s Manual (ENGLISH) [1-3] BOX CONTENTS :::::::::::::::::::::::::::::::::::::::::: • VM03mkII • Power Supply • (2) Locking Screws • (4) Rack Screws • (4) Rack Mount Elevators Manual de inicio rápido del usuario (ESPAÑOL) [4-6] CONTENIDOS DE LA CAJA :::::::::::::::::::::::::::: •...
- Seite 9 Videoeingangsquellen (d.h. DVD-Player, Kameras, usw.) • Ihr Gerät • jegliche Monitore, Mischer oder Projektoren 10. Das Ausschalten sollte in folgender Reihenfolge erfolgen: • jegliche Monitore, Mischer oder Projektoren • Ihr Gerät • Videoeingangsquellen 11. Gehen Sie zu http:///www.numark.com und registrieren Sie Ihr Produkt.
- Seite 10 Gerät beiliegt. Positionieren Sie die Kippwinkel zwischen Rack und den Rackohren des VM03mkII vor dem Verschrauben des Gerätes mit dem Rack. So können Sie das VM03mkII ankippen und gewährleisten, dass es beim Herausklappen nicht benachbarten Geräten kollidiert.
-
Seite 11: Übersicht Über Die Rückseite
ÜBERSICHT ÜBER DIE RÜCKSEITE VERWENDEN SIE IMMER DEN BEILIGENDEN ADAPTER FÜR DIESES PRODUKT. JEDER ANDERE ADAPTER KANN AM GERÄT BESCHÄDIGUNGEN VERURSACHEN. Das Gerät verfügt über drei verschiedene Videomonitore. Jeder Monitor hat zwei Eingänge und zwei Ausgänge. Diese Monitoren wählen automatisch das PAL oder NTSC Videoformat beim Signalempfang aus. Das Gerät muss mit Strom versorgt werden, um die Ausgänge zu benutzen.