Herunterladen Diese Seite drucken

Werbung

Verfügbare Sprachen

Verfügbare Sprachen

gebruiksaanwijzing en installatievoorschrift
afzuigkap
mode d’emploi et d’installation
hotte de cuisine
Montage- und Bedienungsanleitung
Dunstabzugshaube
instructions for use and installation
cooker hood
WS6011PM
WS9011PM
WS6011PC
WS9011PC

Werbung

loading

Inhaltszusammenfassung für Atag WS6011PM

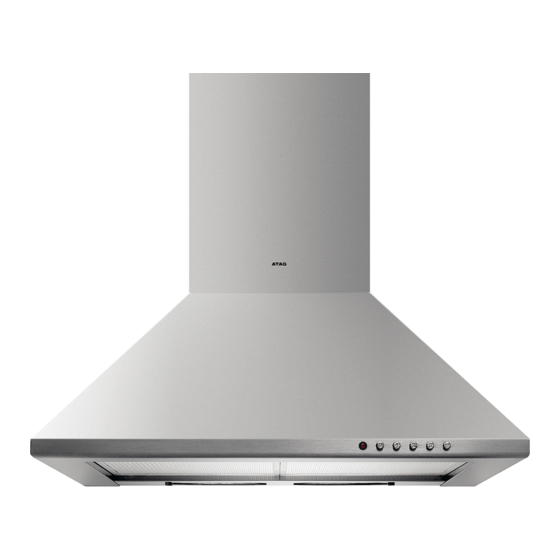
  • Seite 1 WS6011PM Montage- und Bedienungsanleitung WS9011PM Dunstabzugshaube WS6011PC WS9011PC instructions for use and installation cooker hood...
  • Seite 2 167.5 Fig.1 Fig.3 Fig.2 Fig.4 BLUE BLUE BROWN Fig.5...
  • Seite 3: Veiligheidsvoorschriften

    NEDERLANDS ALGEMEEN AFZUIGEN NAAR BUITEN Het apparaat voert de dampen af naar buiten door de buitenmuur of een schoorsteen. Hiervoor is een buis benodigd die voldoet aan de geldende De inhoud van dit boekje grondig doorlezen, daar het belangrijke informatie normen (niet brandbaar).
  • Seite 4: Conseils Pour La Sécurité

    FRANÇAIS GÉNERALITÉS assembler les deux raccords en les insérant verticalement dans la hotte. Fixer alors le raccord inférieur F à la paroi en utilisant les trous B (fig. 3), tirer le raccord supérieur E vers le haut puis le bloquer à Lire attentivement le contenu du mode d'emploi puisqu'il fournit des l'aide des vis sur les trous G du support Z (fig.
  • Seite 5: Sicherheitshinweise

    DEUTSCH ALLGEMEINES • Abluftversion Den Flansch Y mit Hilfe eines Anschlussrohres an die Abluftöffnung Diese Anleitung bitte aufmerksam durchlesen, da sie wichtige anschliessen (diesen Arbeitsschritt bei der Küchenhaube in Umluftversion nicht ausführen!). Sicherheitshinweise zur Installation, zum Gebrauch und zur Wartung Den oberen Anschlussring E in das Innere des unteren enthält.
  • Seite 6: Installation Instructions

    ENGLISH ENGLISH GENERAL hang the two connectors inserting them vertically on the cooker hood locking the lower connector F to the wall using the drill holes B (fig. 3), unthread the upper connector E towards the top, locking it in with the Carefully read the following important information regarding installa- appropriate screws in the drill holes G of the bracket Z (fig.
  • Seite 7 3LI0D3A7...

Diese Anleitung auch für:

Ws9011pmWs6011pcWs9011pc