SUPERNOVA The plug Anleitung
Inhaltsverzeichnis

Inhaltszusammenfassung für SUPERNOVA The plug
- Seite 1 V 06.17 ANLEITUNG | MANUAL DE |...
- Seite 2 HERZLICHEN GLÜCKWUNSCH | CONGRATULATIONS Mit diesem Supernova Produkt haben Sie einen treuen Begleiter erworben. Wir wünschen viel Freude daran! With this Supernova product you have acquired a loyal companion. We hope you enjoy it! Marcus Wallmeyer, CEO & Chief Designer...
- Seite 3 WICHTIG | IMPORTANT KONTAKT | CONTACT Bei Fragen und technischen Problemen können Sie sich gerne an Supernova direkt wenden. Lassen Sie die Montage von You are welcome to contact us directly The Plug stets von einem regarding all technical questions or in case Fachhändler durchführen.
-
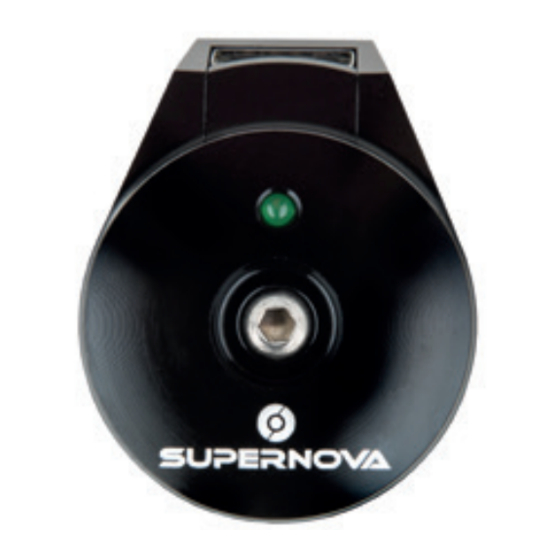
Seite 4: Bedienung & Funktionsweise
Vorraussetzungen gemäß der USB Spe- zifikation TYP A d.h. an den Leitungen 1 und 4 liegen immer 5V an. The Plug schaltet sich erst bei Erreichen von 5V ein. Die Geschwin- digkeit, ab der The Plug dauerhaft Strom bereitstellt, hängt von der Betriebsleistung Ihres Endgerätes und Ihres Dynamos ab. - Seite 5 GENERAL USE & FEATURES The Plug consumes almost no power if no device is connected. If 5V (+/- ca. 0.2V) are supplied the green LED will turn on, regardless if there is a device connected or not. If there is no device connected and the internal voltage is too high (at high speeds), the Plug swit- ches off automatically.
-
Seite 6: Montage / Installation
BEDIENUNG & FUNKTIONSWEISE | GENERAL USE & FEATURES MONTAGE | INSTALLATION Zum Einbau von The Plug benötigen Sie For installation (Hex) Allen keys size 4 mm Inbusschlüssel der Größe 4 und 5. Bitte and 5 mm are required. Please read care- gehen Sie bei der Montage sorgfältig nach... -
Seite 7: Montage
MONTAGE Prüfung der Aheadkralle und Einfädeln des Anschlusskabels: Je nach Typ der Aheadkralle können Sie das Kabel durch deren “Zacken” durchfädeln. Beachten Sie hierzu Abb.1. Sollte ein Einfädeln nicht möglich sein, so gehen Sie zu Schritt Fädeln Sie das Anschlusskabel (5) von oben durch die “Krallen” der Aheadkralle. Beach- ten Sie dabei, dass das Kabel nicht beschädigt wird. -
Seite 8: Installation
INSTALLATION Check of star-fangled nut and installation of cable: The cable (5) can be wired through the “claws” of a standard star-fangled nut. Please see Fig. 1 for details. Please make sure not to damage the cable! If this is not an option continue with b. - Seite 9 SUPERNOVA DESIGN GmbH & Co. KG Industriestr. 26 | 79194 Gundelfingen Germany +49 (0) 761 600 629 - 0 info@supernova-lights.com www.supernova-lights.com...