Icy Box IB-289U3 Handbuch
Inhaltsverzeichnis
Verfügbare Sprachen
Verfügbare Sprachen
www.icybox.de
IB-289U3
User's Manual IB-289U3
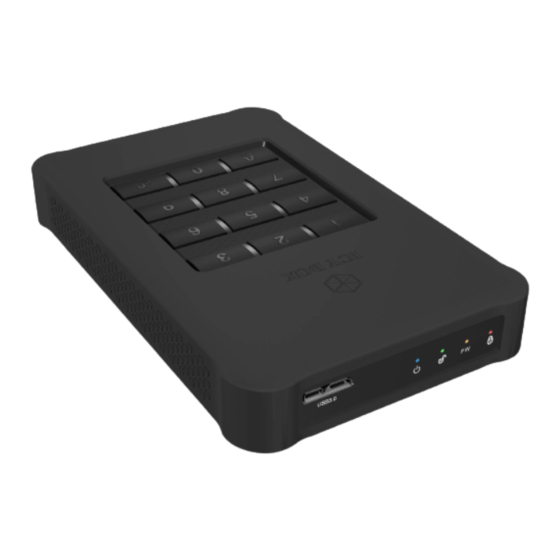
USB 3.0 Keypad Encrypted Enclosure
Handbuch IB-289U3
USB 3.0 Gehäuse mit Tastenverschlüsselung
Manuel IB-289U3
Boîtier de lecteur HDD chiffré avec clavier USB 3.0
Manuale IB-289U3
USB 3.0 Keypad Encrypted Enclosure
Manual IB-289U3
Carcasa de unidad de disco duro cifrado con teclado USB 3.0
Handleiding IB-289U3
USB 3.0 Keypad Encrypted HDD Enclosure
Podręcznik obsługi IB-289U3
Szyfrowana obudowa na dyski twarde USB 3.0 z klawiaturą
Návod k použití IB-289U3
Kryt na klávesnici pro šifrovanou jednotku pevného disku USB 3.0
Használati utasítás IB-289U3
USB 3.0 Billentyűzetes Kódolt Merevlemez Tok
Εγχειρίδιο IB-289U3
Περίβλημα σκληρού δίσκου USB 3.0 με πληκτρολόγιο ρυπτογράφησης
Inhaltsverzeichnis

Verwandte Anleitungen für Icy Box IB-289U3


Inhaltszusammenfassung für Icy Box IB-289U3
- Seite 1 USB 3.0 Keypad Encrypted HDD Enclosure Podręcznik obsługi IB-289U3 Szyfrowana obudowa na dyski twarde USB 3.0 z klawiaturą Návod k použití IB-289U3 Kryt na klávesnici pro šifrovanou jednotku pevného disku USB 3.0 Használati utasítás IB-289U3 USB 3.0 Billentyűzetes Kódolt Merevlemez Tok Εγχειρίδιο...
- Seite 3 User‘s Manual IB-289U3 ........5-7 Handbuch IB-289U3 ........... 8-10 Manuel IB-289U3..........11-13 Manuale IB-289U3 ..........14-16 Manual IB-289U3..........17-19 Handleiding IB-289U3 ........20-22 Podręcznik obsługi IB-289U3 ......23-25 Návod k použití IB-289U3 ........26-28 Használati utasítás IB-289U3 ......29-31 Εγχειρίδιο IB-289U3 ........... 32-34...
-
Seite 8: Verpackungsinhalt
Beschützt und sichert Ihre wertvollen Daten • Werkzeugloser Festplatteneinbau Verpackungsinhalt IB-289U3, Silikon Schutzhülle, USB 3.0 Kabel (Type Micro B zu Type-A), Handbuch Laufwerkseinbau Schritt 1: Um das Gehäuse zu öffnen, schieben Sie die untere Abde- ckung wie unten gezeigt auf. - Seite 9 IB-289U3 Schritt 3: Um das Gehäuse zu schließen, schieben Sie die untere Abdeckung wie unten gezeigt wieder zu. LED Anzeige Die blaue LED leuchtet durchgehend, wenn das Gerät per USB mit Strom versorgt wird, und blinkt bei Datenzugriff. Die grüne LED blinkt bei Tastendruck einmal auf, und leuchtet durch- gehend, wenn das Gerät entsperrt ist.
-
Seite 10: Zusatzinformation
IB-289U3 Schritt 5: Geben Sie Ihr Passwort erneut ein (das Gleiche wie vorher) und drücken anschließend die "Entsperren" Taste um die Eingabe zu bestätigen. Nun erlischt die rote LED und die grüne LED leuchtet auf und zeigt damit die erfolgreiche Passworteinrichtung an.