Icy Box IB-AC642 Installationsanleitung
Ssd/sata festplatten adapter
für dvd schacht
Quicklinks
Installation Guide
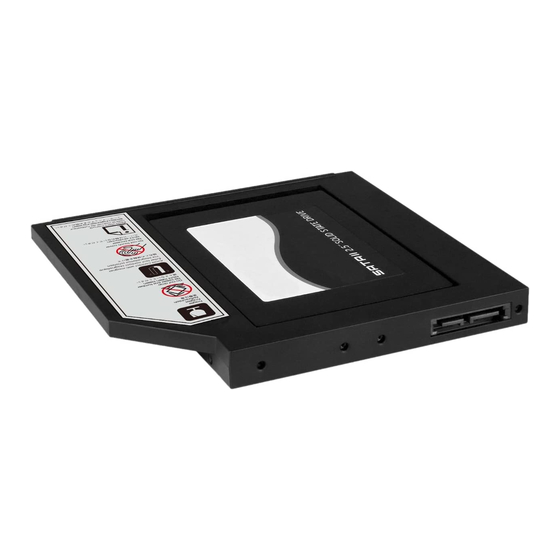
SSD/SATA HDD Adapter
for DVD bay
Installationsanleitung
SSD/SATA Festplatten Adapter
für DVD Schacht
Package Content
1x SSD/SATA HDD adapter, 1x external DVD enclosure,
1x accessories, 1x quick installation guide
Key Features
• Laptop solution for standard 12.7 mm DVD slot to
2.5" HDD or SSD
• Replace with SSD to increase OS speed
• Replace with HDD for notebook expansion
• Hot Swap SATA interface –
removable backup solution
• Two colour LED to display read, write and power
• For external solution it can be installed into slim
DVD enclosure (i.e. IB-540StUS2)
Note:
Your PC need to have DVD slot with SATA interface.
Verpackungsinhalt
1x SSD/SATA Festplatten Adapter, 1x externes DVD
Gehäuse, 1x Zubehör, 1x Schnellinstallationsanleitung
Hauptmerkmale
• Laptoplösung für Standard 12,7 mm DVD Schacht
zu 2,5" Festplatte oder SSD
• Durch SSD ersetzen, erhöht die
Betriebssystemgeschwindigkeit
• Durch Festplatte ersetzen, erweitert die
Speicherkapazität
• Hot Swap SATA Anschluss – auswechselbare
Backuplösung
• Zweifarbige Farb-LED für Datenzugriff und Betrieb
• Für eine externe Lösung, kann das Gerät in ein Slim
DVD Gehäuse eingesetzt werden (z.B. IB- 540StUS2)
Hinweis: Ihr PC muss über einen DVD Schacht mit
SATA Anschluss verfügen.
IB-AC642
Installation
Note: The adapter supports 2.5" SATA HDD/SSD only.
Attention: The hard disk drive is very sensitive.
Incorrect handling can cause damage and permanent
loss of data on the drive.
Installing a HDD or SSD using the adapter
• Turn off your computer.
• Unplug the power cord from the back of the
computer and any other connected peripheral
devices.
• Remove the DVD drive from the DVD bay of your
computer.
Note: For information on the DVD bay uninstalling,
refer to your system documentation that comes with
your computer.
Installation
Hinweis: Der Adapter unterstützt 2,5" SSD/SATA
Festplatten.
Achtung: Festplatten sind sehr empfindlich.
Falsche Handhabung kann zu Schäden und
Datenverlust führen.
Installation einer Festplatte/SSD unter
Verwendung des Adapters
• Schalten Sie den Computer aus.
• Entfernen Sie das Netzteil Ihres Rechners und
alle anderen angeschlossenen Geräte.
• Entfernen Sie das DVD Laufwerk aus dem DVD
Schacht Ihres Computers.
Hinweis: Informationen zum Ausbau Ihres DVD Lauf-
werks, entnehmen Sie bitte der Bedienungsanleitung
des entsprechenden Herstellers.
Installation
Reference model name: Toshiba L730
1
2
First, please turn over the notebook
Take out the screws and open the
to back side and turn off the screws
back cover.
from the back cover.
Öffnen Sie die Abdeckung des
Drehen Sie Ihr Notebook mit der
Notebooks.
Unterseite nach oben und entfernen
die entsprechenden Schrauben der
Abdeckung.
4
5
Use a screwdriver to push out DVD
Take out DVD drive.
drive.
Entnehmen Sie Das DVD Laufwerk.
Drücken Sie mittels eines Schrauben-
drehers das DVD Laufwerk vorsichtig
heraus.
7
8
Turn over DVD
drive to the
back side and
then see four
hooks gradually
Use a clip or sharp object to insert
for removing the
into the ejected hole and take apart
DVD front panel.
DVD tray and DVD shell separately.
Drehen Sie das DVD Laufwerk mit
Unter Verwendung eines schmalen,
der Unterseite nach oben und suchen
spitzen Werkzeugs (z.B. Büroklam-
die Verriegelungen um die DVD
mer) können Sie das DVD Laufwerk
Frontblende zu lösen.
aus der Gehäusehülle entfernen.
3
There is a DVD fixed screw near the
middle back of the notebook. Take a
screwdriver to turn of the screw.
Im mittleren Bereich des Notebooks
befindet sich die Befestigung des
DVD Laufwerks. Entfernen Sie die
Schraube unter Verwendung eines
Schraubendrehers.
6
There is an ejected hole on the front
panel of DVD.
An der Frontblende des DVD Lauf-
werks befindet sich eine Öffnung
zum "Auswerfen."
9
Use a screwdriver to press the hook
and take apart DVD front panel and
DVD drive separately.
Verwenden Sie einen Schrauben-
dreher und lösen die Erste von vier
Verriegelungen um die Frontblende
abnehmen zu können.

Verwandte Anleitungen für Icy Box IB-AC642


Inhaltszusammenfassung für Icy Box IB-AC642
- Seite 1 Installation Reference model name: Toshiba L730 IB-AC642 Installation Guide SSD/SATA HDD Adapter First, please turn over the notebook Take out the screws and open the There is a DVD fixed screw near the for DVD bay to back side and turn off the screws back cover. middle back of the notebook. Take a from the back cover. screwdriver to turn of the screw. Öffnen Sie die Abdeckung des Drehen Sie Ihr Notebook mit der Notebooks.
- Seite 2 Ziehen Sie das USB Kabel an der at the rear side. Ready to use! Legen Sie eine 2,5" SSD oder eine hinteren rechten Ecke ganz heraus. normale 2,5” Festplatte in den Schieben Sie nun vorsichtig die SSD Drehen Sie nun die IB-AC642 um Schacht der IB-AC642. oder Festplatte in den SATA An- und befestigen die SSD oder Fest- Setzen Sie das DVD Laufwerk in schluss ein, um die Verbindung mit platte mit den beiliegenden das Gehäuse ein und drücken es...