Ariston AVG 12 Bedienungsanleitungen
Inhaltsverzeichnis
Verfügbare Sprachen
Verfügbare Sprachen
Quicklinks
Istruzioni per l’uso
I
GB
English,13
Italiano,1
NL
ES
Nederlands,37
Espanol,49
AVG 12
Sommario
Installazione, 2-3
DE
Deutsch,25
PT
Português,61
Assistenza, 12
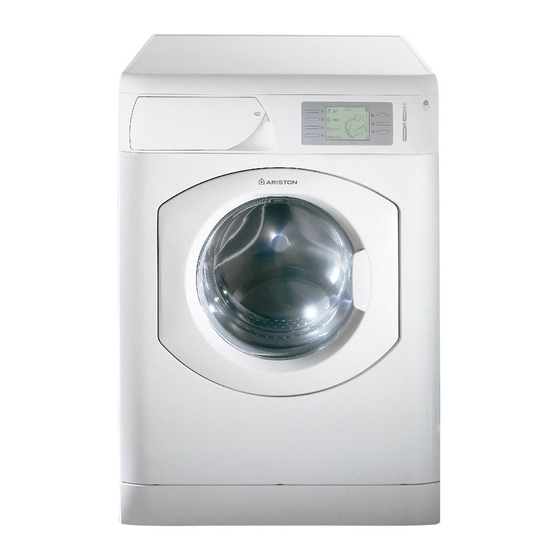
LAVABIANCHERIA
I
Inhaltsverzeichnis

Verwandte Anleitungen für Ariston AVG 12


Inhaltszusammenfassung für Ariston AVG 12
- Seite 26 siehe Abbildung siehe Abbildung siehe Abbildung siehe nebenstehende Seite (siehe Abbildung)
-
Seite 27: Technische Daten
Der Hersteller weist jede Haftung zurück, falls diese Vorschriften nicht eingehalten werden sollten. siehe auch Menü Einstellungen S. 4 siehe Abbildung Technische Daten Modell AVG 12 B reite 59,5 cm Abmessungen Höh e 85 cm Tiefe 53,5 cm Fassungsvermögen 1 bis 5 kg Spann u ng 220/230 Volt 50 Hz Elektroanschlüsse... - Seite 28 siehe Waschmittel S. 32 Zurück siehe nachstehender Abschnitt Display und Menü Inbetriebnahme und Programme (S. 30) siehe Menü Einstellungen Info Wasserhärte Hilfe Erläuterung zu den Etiketten Baumwolle Zurück Buntwäsche Kunstfasern Einstellungen DRÜCKEN SIE Einstellungen Anpassen Datum und Uhrzeit Zurück DRÜCKEN SIE...
- Seite 29 Baumwolle 60˚C 1200 siehe unten Spezialpr. Optionen Zurück DRÜCKEN SIE Temperatur 60˚C siehe Programmtabelle S. 30 1200 Spezialpr. Optionen Zurück DRÜCKEN SIE Schleudern 40˚C 1200 siehe Programmtabelle S. 30 Spezialpr. Optionen Zurück DRÜCKEN SIE Optionsauswahl 60˚C siehe Individualisierungen (S. 31) BLEICHEN BÜGELLEICHT SUPER WASH...
- Seite 30 siehe Display und Menü S. 28 siehe nachstehende Tabelle siehe Display und Menü S. 28 siehe Individualisierungen S. 31 siehe Waschmittel S. 32 Es wird die Verwendung von Flüssigwaschmittel empfohlen.
- Seite 31 Optionsauswahl 60˚C BLEICHEN siehe BÜGELLEICHT 1200 nachstehende Tabelle SUPER WASH KURZ VORWÄSCHE Zurück DRÜCKEN SIE Display und Menü S. 28 siehe Waschmittel S. 32 Klasse A...
-
Seite 32: Woolmark Platinum Care
Programmtabelle S. 30 Woolmark Platinum Care Schonend wie Waschen von Hand. Ariston hat einen neuen Standard siehe hochwertiger Leistungen geschaffen, der Abbildung von The Woolmark Company mit dem prestigevollen Warenzeichen Woolmark Platinum Care zugelassen wurde. Befindet sich auf Ihrem Waschvollautomaten das Logo Woolmark Platinum Care, können Teile... - Seite 33 Umwelt und die Gesundheit zu reduzieren. Das Symbol „durchgestrichene Mülltonne“ auf jedem Produkt erinnert Sie an Ihre Verpflichtung, dass Elektrohaushaltsgeräte gesondert entsorgt werden müssen. Endverbraucher können sich an Abfallämter der Gemeinden wenden, um mehr Informationen über die korrekte Entsorgung ihrer Elektrohaushaltsgeräte zu erhalten.
- Seite 34 siehe Abbildung siehe Abbildung siehe Abbildung...
-
Seite 35: Mögliche Ursachen / Lösungen
siehe Kundendienst S. 24 Mögliche Ursachen / Lösungen: siehe Individualisierungen S. 31) siehe Installation S. 26 siehe Installation S. 26 siehe siehe Programmtabelle S. 30 iehe Individualisierungen S. 31 siehe Installation S. 26 siehe Installation S. 26 siehe Installation S. 26 siehe Installation S. - Seite 36 Bevor Sie sich an den Kundendienst wenden: • Kontrollieren Sie zuerst, ob das Problem nicht allein gelöst werden kann (siehe Störungen und Abhilfe S. 35); • Starten Sie das Programm erneut, um sicherzustellen, dass die Störung auch wirklich behoben wurde; •...