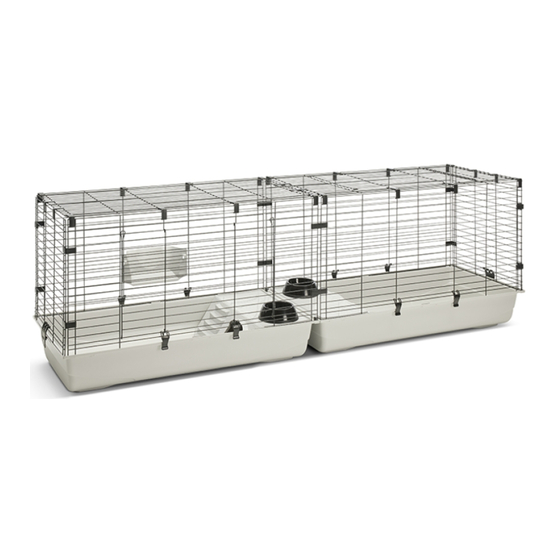
savic Cubix 200 Montageanleitung

Verwandte Anleitungen für savic Cubix 200


Inhaltszusammenfassung für savic Cubix 200
- Seite 1 Cubix 200 Assembly instructions Montage-instructies - Instructions de montage - Montageanleitung - Instrucciones de montaje - Istruzioni di montaggio - Návod k sestavení - Instrukcja montażu - Инструкция по сборке...
-
Seite 2: Checkliste
Check list Checklist Liste de contrôle Before you start Voordat u uw kooi in Avant de assembling your cage, please check if you have all elkaar zet, moet u controleren of u alle onderdelen commencer à assembler votre cage, vérifiez que vous the components. - Seite 5 Attention! This kit contains more pieces than you effectively need to assemble the cage. To assemble this cage, you will need 28 corner clips (H), 6 straight clips (J), 2 connecting clips (K), 8 small closing clips (L) and 2 large closing clips (M). The rest of the clips are spare parts.
- Seite 7 Other combinations...
- Seite 8 Other combinations...
- Seite 9 Other combinations...
- Seite 10 How to install the corner clips...
- Seite 11 View from the inside of the cage...
- Seite 13 1 x C ATTENTION: In steps 1 to 19, make sure the vertical wires of the panels are along the inside. AANDACHT: bij stap 1 t.e.m. 19, zorg ervoor dat de verticale draden van de panelen langs de binnenzijde zitten. ATTENTION : Dans les étapes 1 à...
- Seite 14 1 x A 2 x H Correct position of the clips...
- Seite 15 How to install the straight clips...
- Seite 17 View from the inside of the cage...
- Seite 18 1 x A 2 x I Long panel Correct position of the clips...
- Seite 19 1 x C 2 x H 2 x J...
- Seite 20 2 x H 1 x A Long panel...
- Seite 21 2 x I 1 x B Long panel with door...
-
Seite 22: Install The Door As Shown In The Picture
2 x H Install the door as shown in the picture... - Seite 23 1 24 1 8 1 24 1 1 x A 10 x H Long panel Position all the clips correctly as shown in the picture...
- Seite 24 1 11...
- Seite 25 1 12 Correct position of the clips...
- Seite 26 Correct position of the clips...
- Seite 27 1 24 1 14...
- Seite 28 1 24 1 10 x H 10 x H 1 x B 1 x B Long panel with door Position all the clips correctly as shown in the picture...
- Seite 29 1 16...
- Seite 30 1 17 Correct position of the clips...
- Seite 31 1 23 2 x I...
- Seite 33 1 20 2 x D 2 x J...
- Seite 35 1 24 1 2 x G 2 x F...
- Seite 36 Make sure the cage section is nicely positioned on the platform...
- Seite 38 1 25 2 x L...
- Seite 39 8 x K...
- Seite 40 1 x E...
- Seite 41 Your cage is now ready for use...