AmazonBasics B0748LPG3T Bedienungsanleitung
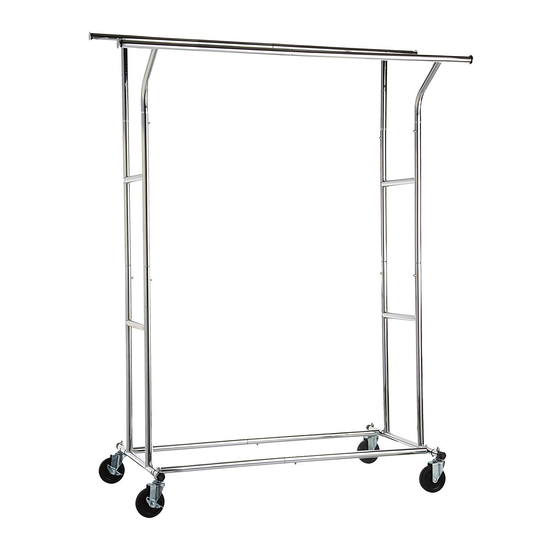
Doppelschienen-kleiderständer

Verwandte Anleitungen für AmazonBasics B0748LPG3T


Inhaltszusammenfassung für AmazonBasics B0748LPG3T
- Seite 1 Double Rail Garment Rack Porte-vêtements à Deux Rails Doppelschienen-Kleiderständer Appendiabiti a Doppia Barra Perchero Para Ropa Con Doble Barra Kledingrek met Twee Stangen ダブルレール洋服掛け Stojak na Ubrania z Podwójną Szyną Klädhängare med Dubbla Stänger B0748LPG3T...
- Seite 2 English ........3 Français ......... 12 Deutsch ........21 Italiano ........30 Español ........39 Nederlands ......48 日本語 ........57 Polski ........66 Svenska ......... 75...
- Seite 21 Bedienungsanleitung • Deutsch Doppelschienen-Kleiderständer Inhalt: Bevor Sie beginnen, prüfen Sie, ob die Verpackung die folgenden Teile enthält: Teil Anzahl...
- Seite 22 Montage Schritt 1: Montage des Produkts • Heben Sie die Sockelstangen an den linken und rechten Bodenlagern ( , ) an. • Verbinden Sie die waagerechten Stangen der Unterkonstruktion ( ,...
- Seite 23 Montage Schritt 2: Montage des Produkts • Befestigen Sie die 4 Laufrollen an der Unterkonstruktion. • Schieben Sie die senkrechten Stiele jedes Laufrades in die Öffnungen an den Ecken der Unterkonstruktion. • Sichern Sie sie mit einer Unterlegscheibe und einer Hutmutter •...
- Seite 24 Montage Schritt 3: Montage des Produkts • Verbinden Sie die mittleren Stangen mit den unteren Stangen der Unterkonstruktion. • Achten Sie darauf, dass der Verriegelungsstift einrastet und die Verbindung fest ist.
- Seite 25 Montage Schritt 4: Montage des Produkts • Führen Sie die linke Aufhängestange in die rechte Aufhängestange ein, bis sie einrastet. • Achten Sie darauf, dass der Verriegelungsstift einrastet und die Verbindung fest ist.
- Seite 26 Montage Schritt 5: Montage des Produkts • Führen Sie die linke, geneigte Aufhängestange in die rechte, geneigte Aufhängestange ein, bis sie einrastet. • Achten Sie darauf, dass der Verriegelungsstift einrastet und die Verbindung fest ist.
- Seite 27 Montage Schritt 6: Montage des Produkts • Verbinden Sie die zusammengebaute, geneigte Aufhängestange mit den mittleren Stangen • Achten Sie darauf, dass der Verriegelungsstift einrastet und die Verbindung fest ist.
-
Seite 28: Reinigung Und Pflege
Jede Aufhängestange 110 lbs 50 kg Gesamte Einheit 220 lbs 100 kg Gewährleistung Eine Kopie der Gewährleistung für dieses Produkt erhalten Sie unter Besuchen Sie amazon.de/AmazonBasics/Warranty — oder — Wenden Sie sich an den Kundendienst unter 08 00-3 63 84 69... - Seite 29 Gefällt es Ihnen? Gefällt es Ihnen nicht? Dann bewerten Sie das Produkt auf unserer Webseite! AmazonBasics setzt sich für die Bereitstellung kundenorientierter Produkte ein, um Ihre hohen Qualitätsstandards zu erfüllen. Bitte schreiben Sie eine Rezension, in der Sie Ihre Erfahrungen mit dem Produkt teilen.
- Seite 84 MADE IN CHINA FABRIQUÉ EN CHINE HERGESTELLT IN CHINA PRODOTTO IN CINA HECHO EN CHINA GEMAAKT IN CHINA 中国製 WYPRODUKOWANO W CHINACH TILLVERKAD I KINA V04-02/21...