DOTLUX ADplus Bedienungsanleitung

Verwandte Anleitungen für DOTLUX ADplus


Inhaltszusammenfassung für DOTLUX ADplus
- Seite 1 ADplus 1964-060160S Bedienungsanleitung User manual Mode d‘emploi shop.dotlux.de --> item-no --> Downloads Instrucciones de uso Istruzioni per l‘uso 01/2022...
- Seite 2 >82 +40 ° Lieferumfang / Scope of delivery / Étendue de la livraison / Alcance de la entrega / Ambito di consegna - ADplus - Bedienungsanleitung / User manual / Mode d‘emploi / Instrucciones de uso / Istruzioni per l‘uso...
- Seite 3 El producto está pensado para su uso en in- Außenbereich vorgesehen. teriores y exteriores. Conformidad Konformität DOTLUX GmbH declara por la presente que Hiermit erklärt DOTLUX GmbH, dass dieses este producto cumple con las directivas de Produkt den EU-Richtlinien EMC 2014/30/ la UE EMC 2014/30/UE, LVD 2014/35/UE,...
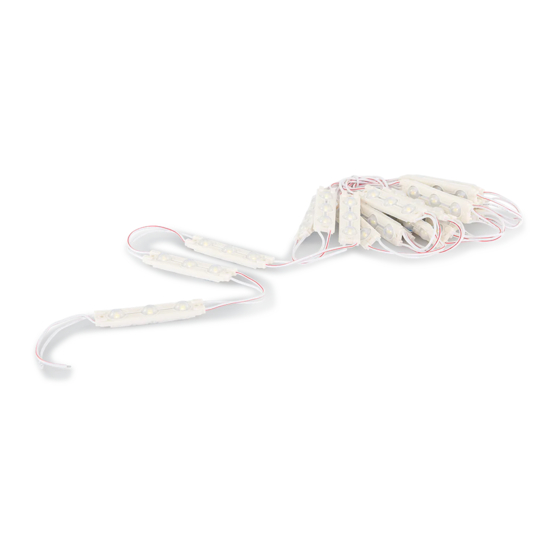
- Seite 4 Aufkleber auf der Rückseite vorsichtig durchtrennen./ Carefully cut the sticker on the back./ Découper délicatement l‘autocollant au dos./ Corta con cuidado la pegatina de la parte trasera./ Tagliare con cura l‘adesivo sul retro. Modul vorläufig aufkleben und nach gewünschter Länge trennen./ Temporarily glue the module and separate it according to the desired length./ Coller provisoirement le module et le séparer selon la longueur...
- Seite 5 Module in gewünschter Position mit Schrauben befestigen./ Fasten modules in desired position with screws./ Fixer les modules dans la position souhaitée à l‘aide de vis./ Fije los módulos en la posición deseada con tornillos./ Fissare i moduli nella posizione desiderata con delle viti. Prüfen Sie, dass die Anode und Kathode im ersten Modul korrekt mit dem Kabel des Netzteils verbunden sind./ Check that the anode and cathode in the first module are correctly...
-
Seite 6: Konformitätserklärung
Verschmutzung erklärung ist unter der folgenden Internet- aussetzen. Aus Sicherheitsgründen dürfen adresse verfügbar: Sie das Produkt nicht verändern und/oder https://www.dotlux.de/konformitaetserk- umbauen. Eine andere Verwendung, wie zu- laerungen/ vor beschrieben, kann zur Beschädigung des Produktes führen. Dies kann Gefahren her- Weitere Symbole vorrufen, wie z.B. - Seite 7 Beachten Sie für die Montage und die War- einen wichtigen Beitrag. tung die nationalen Montage- und Unfallver- hütungsvorschriften. Serviceadresse DOTLUX GmbH Arbeiten Sie niemals bei anliegender Richard-Stuecklen Str. 7, 91781 Weissenburg Spannung an dem Produkt. Achtung Tel: +49 9141 / 4051 0...
- Seite 8 Symbole Schutzart / Schutzklasse Das Produkt hat einen Schutzleiteranschluss. Schließen Sie Schutz- den Schutzleiter (grün-gelbe Ader) an die gekennzeichnete Er- klasse I dungsschraube an. Schutz- Die Produkt ist besonders isoliert und darf nicht an einen klasse II Schutzleiter angeschlossen werden. Schutz- Die Produkt darf nur an Sicherheitskleinspannung angeschlos- klasse III...
- Seite 9 Internet Switch off the unit and let the address: light source cool down before https://www.dotlux.de/konformitaetserk- cleaning, servicing or replacing the lamp! laerungen/ Check that there is no voltage. Use a dry or moist cloth for regular cleaning (2 or 3 Other Symbols times per year).
- Seite 10 Service Address Do not install the lamp when volta- DOTLUX GmbH ge is applied the the lamp. Caution: Richard-Stuecklen Str. 7, 91781 Weissenburg Danger to life! Tel: +49 9141 / 4051 0 Fax: +49 9141 / 4051 999 Electrical connections may only be info@dotlux.de...
- Seite 11 Symbols IP protection / Protection class The product has a connection for a protective earth conductor. Protection Connect the protective earth conductor (green-yellow wire) to class I the corresponding marked earth screw. Protection The product has special insulation and must not be connected class II to a protective earth conductor.