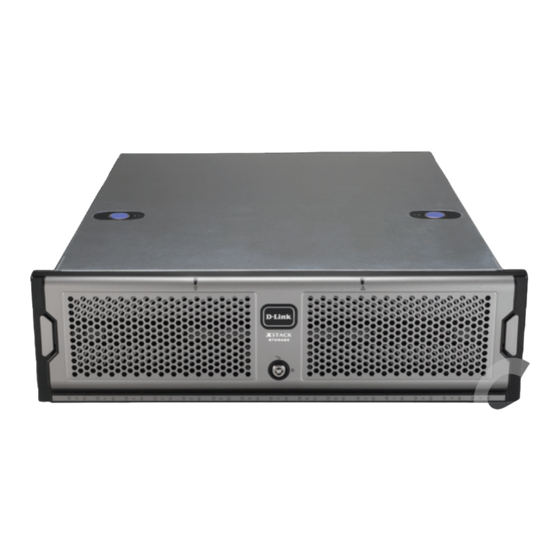
D-Link DSN-3200 Installations Anleitung
Iscsu scan array with 15 sata bays

Verwandte Anleitungen für D-Link DSN-3200


Inhaltszusammenfassung für D-Link DSN-3200
- Seite 6 Drücken Sie dann die montierten Festplatteneinschübe leicht in das Speichergehäuse bis die Verriegelung einklickt. DSN-3200 : Stecken Sie ein Ethernet-Kabel in den 1GbE Datenport 0 auf der Rückseite und in Ihren Server oder SAN-Switch. Die Datenports befinden sich auf der linken Rückseite des SAN Array. Um weitere Datenports an Ihren SAN Array anzuschließen, wiederholen Sie diesen Schritt.
-
Seite 7: Servervorbereitung
All manuals and user guides at all-guides.com D. Der Diagnose-Port kann zu Diagnosezwecken verwendet werden. Er bietet eine Verbindung mithilfe eines Standard-DB9-Kabels zum RS-232C Port auf Ihrem Hostcomputer, der für eine Baudrate von 9600 Bps bei acht Datenbits, kein Paritätsbit, ein Stoppbit und kein Hardware-Handshake konfiguriert ist. Servervorbereitung A. -
Seite 8: Fehlerbehebung
All manuals and user guides at all-guides.com H. Prüfen Sie Ihre Einstellungen. Verwenden Sie die Schaltfläche Back (Zurück), wenn Sie Einstellungen ändern möchten. Klicken Sie anschließend auf Finish (Fertig stellen) und warten Sie, bis das System neu gestartet wird. Sie können nun Ihr SAN Array verwenden. Hinweis: Weitere Informationen zur Systemeinstellung finden Sie im Benutzerhandbuch der Software.