Cisco Systems Webex Room Kit Plus Installationshandbuch

Inhaltszusammenfassung für Cisco Systems Webex Room Kit Plus
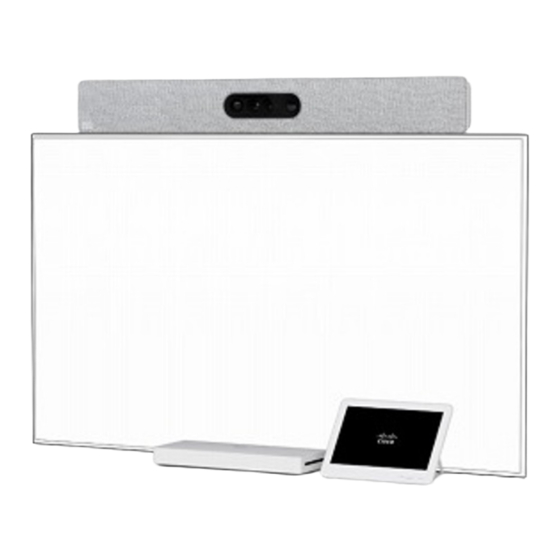
- Seite 1 Cisco Webex Room Kit Plus Installation Guide Guide d’installation Guía de instalación Manual de Instalação Guida per l’installazione Installationshandbuch...
- Seite 2 Box contents Contenu de la boîte Contenido de la caja Conteúdo da embalagem Contenuto della confezione Verpackungsinhalt Cisco Quad Camera Ă 6 Wall Bracket for the Quad Camera Cisco Webex Codec Plus 64,5 Cisco Webex Room Navigator Support mural pour la Quad Camera Soporte de pared para la Quad Camera Suporte de parede da Quad Camera Staffa per montaggio a parete di Quad Camera...
- Seite 3 Safety and mounting hardware Can be ordered separately • Wall mounting kit for the Codec Plus. The wall and mounting hardware must be able to safely support the product. The wall mounted system must be installed by qualified personnel, in accordance with state and local building •...
- Seite 4 Ventilation Tools you may need Do not block any ventilation openings on the codec. Minimum 10 cm / 4 " free space at Outils dont vous pourriez avoir besoin each side of the unit. Herramientas que puede necesitar Ferramentas que poderão ser necessárias Utensili che possono essere necessari Werkzeuge, die Sie möglicherweise benötigen 10 cm / 4 "...
- Seite 5 Decide where to position the Quad Camera Choisissez l’emplacement de la Quad Camera Coloque el soporte de pared de la Quad Camera Decidir o posicionamento da Quad Camera Decidere dove posizionare di Quad Camera Positionieren der Quad Camera Mount the camera above the screen when the mounting height of the screen is lower than Mount the camera below the screen when the mounting height of the screen is higher than 120 cm / 47 "...
- Seite 6 Mount the Quad Camera wall bracket Montez le support mural de la Quad Camera Maximum 25 mm / 1 " Coloque el soporte de pared de la Quad Camera Instale o suporte de parede para da Quad Camera Maximum 25 mm Installare la staffa per il montaggio a parete di Quad Camera Máxima 25 mm Montieren der Quad Camera Wandhalterung...
- Seite 7 Attach the Quad Camera to the bracket Decide the tilt angle for the Quad Camera Attachez la Quad Camera au support Déterminez l'angle d'inclinaison de la Quad Camera Fije la Quad Camera al soporte Decida el ángulo de inclinación de la Quad Camera Fixe a Quad Camera ao suporte Determine o ângulo de inclinação da Quad Camera Fissare la Quad Camera alla staffa...
- Seite 8 Tilt the camera fully forward. If you cannot tilt the camera fully forward, go back to Step 2 Adjust the tilt angle for the Quad Camera and check that the distance between the wall bracket and the screen is large enough. Move the two sliders to adjust the tilt angle.
- Seite 9 Connect the Quad Camera cables Connect the codec cables Always use the provided power cable and adapter (12 VDC, minimum 5 A). Always use the provided power cable and adapter (12 VDC, minimum 5.83 A). Utilisez toujours le câble d'alimentation et l'adaptateur (12 VCC, 5 A minimum) fournis. Utilisez toujours le câble d'alimentation et l'adaptateur (12 VCC, 5.83 A minimum) fournis.
- Seite 10 Complete the software setup Tilt the Quad Camera back to normal position Turn on the screen. See the user documentation for the screen if HDMI input must be set manually. Finalisez la configuration du logiciel The system powers up automatically. If the system doesn’t power up, check the power switch on the codec and the camera. Inclinez la Quad Camera dans sa position normale Complete la configuración de software When you see the Welcome screen, follow the instructions to complete the setup.
- Seite 11 Cisco Webex Codec Plus Cisco Quad Camera A. Power On/Off HDMI input, audio and video, 4Kp30, HDCP Marche/Arrêt / Encendido/apagado / Ligar/Desligar / On/Off / Ein-/Aus-Schalter Entrées HDMI avec audio et vidéo (Connecteur 3-5) / Entradas HDMI con audio y vídeo (Conector 3-5) B C D / Entradas HDMI com áudio e vídeo (Conector 3-5) / Ingresso HDMI con audio e video (Connettore B.
- Seite 12 How to release the Quad Camera from the wall bracket Tilt the camera fully forward. Comment détacher la Quad Camera du support mural Flip the two release levers to unlock the Quad Camera. Cómo extraer la Quad Camera del soporte de pared Tilt the camera back to normal position.
- Seite 13 https://www.cisco.com/go/projectworkplace https://help.webex.com https://www.cisco.com/go/roomkit-docs Explore the Cisco Project Workplace to find inspiration and guidelines when preparing your office or meeting room for video conferencing. Visit one of these websites to find out more about setup, management, and use of this product. Use the first link if your device is registered to the Cisco Webex service and the Consultez le portail Cisco Project Workplace pour trouver des conseils et recommendations lorsque vous préparez votre bureau ou votre salle de réunion pour une vidéoconférence.
- Seite 15 Sie unter www.cisco.com/go/trademarks. Die genannten Marken anderer Anbieter sind Eigentum der jeweiligen Inhaber. Die Verwendung des Begriffs „Partner“ impliziert keine gesellschaftsrechtliche Beziehung zwischen Cisco und anderen Unternehmen. (1110R) Cisco Systems Inc. Corporate Headquarters 170 West Tasman Dr. San Jose, CA 95134 https://www.cisco.com/go/offices 78-101081-02C0 © 2021 Cisco Systems Inc. All rights reserved.