sammic MO-1000 Gebrauchsanweisung
Inhaltsverzeichnis
Verfügbare Sprachen
Verfügbare Sprachen
Quicklinks
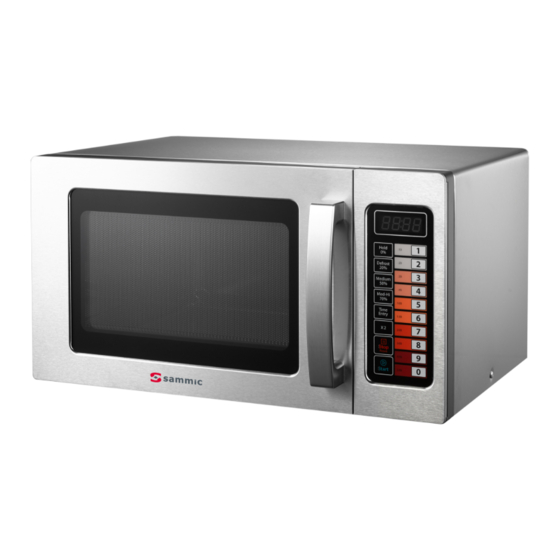
MO-1000
H o r n o m i c r o o n d a s
M i c r o w a v e O v e n
M i k r o w e l l e n g e r ä t
F o u r à m i c r o - o n d e s
F o r n o a m i c r o o n d e
M i c r o - o n d a s
MANUAL DE INSTRUCCIONES
INSTRUCTION MANUAL
GEBRAUCHSANWEISUNG
MODE D'EMPLOI
INSTRUZIONI PER L'USO
MANUAL DE INSTRUÇÕES
ES
EN
DE
FR
IT
PT
Inhaltsverzeichnis
Fehlerbehebung

Verwandte Anleitungen für sammic MO-1000


Inhaltszusammenfassung für sammic MO-1000
- Seite 1 MO-1000 H o r n o m i c r o o n d a s MANUAL DE INSTRUCCIONES M i c r o w a v e O v e n INSTRUCTION MANUAL M i k r o w e l l e n g e r ä t GEBRAUCHSANWEISUNG F o u r à...
-
Seite 18: Diese Anleitung Sorgfältig Aufbewahren
Babynahrung, um mögliche Verbrennungen zu vermeiden. SPEZIFIKATIONEN 7. Verwenden Sie nur Utensilien, die für den Einsatz in der Mikrowelle geeignet sind. Modell: MO-1000 8. Behalten Sie die Mikrowelle beim Erhitzen von Nennspannung: 230 V~50 Hz Lebensmitteln in Kunststoff- oder Papierbehältern Nenneingangsleistung... -
Seite 19: Sorgfältig Lesen Und Aufbewahren
14. Verwenden Sie nur den für dieses Gerät emp- UTENSILIEN fohlenen Temperaturfühler. (für Mikrowellen, die Siehe Anleitung „Utensilien, die in der Mikrowelle verwendet und ver- mieden werden sollen“. Bestimmte nichtmetallische Utensilien können mit einem Temperaturfühler ausgestattet sind). nicht in der Mikrowelle verwendet werden. Im Zweifelsfall können Sie die 15. -
Seite 20: Errichtung Der Mikrowelle
UTENSILIEN, DIE IN DER MIKROWELLE VERMIEDEN WERDEN SOLLEN Utensilien Hinweise Aluminiumblech Kann Funkenbildung verursachen. Lebensmittel in ein mikrowellengeeignetes Utensil umfüllen. Lebensmittelverpackungen Kann Funkenbildung verursachen. aus Karton mit Metallgriff Lebensmittel in ein mikrowellengeeignetes Utensil umfüllen. Utensilien aus Metall oder Metall schirmt Lebensmittel vor der mit Metallverzierung Mikrowellenstrahlung ab. -
Seite 21: Vorbereitung Der Aufbaufläche
VORBEREITUNG DER AUFBAUFLÄCHE REINIGUNGSHINWEISE Entfernen Sie sämtliches Verpackungsmaterial und Halten Sie das Gerät immer sauber Zubehör. Stellen Sie sicher, dass das Gerät keine 1. Reinigung Glasfensters, Beschädigungen, Dellen oder zerbrochene Teile Türinnenverkleidung und der Vorderseite des aufweist. Installieren Sie das Gerät nicht, wenn es Geräts. -
Seite 22: Anhang. A Nutzeroptionen
BEDIENUNG BEDIENUNGSANLEITUNG Bedienfeld und Funktionen Das Gerät verfügt über fünf Leistungsstufen. Leistungsstufe Hoch Mittel Niedrig Auftauen Anhalten Leistung 100 % Anzeige PL10 Anhang. A Nutzeroptionen Bei den fettgedruckten Punkten handelt es sich um Standardwerte. Option Einstellung Beschreibung OP:10 Piepton (3 Sekunden) Ton bei OP:11 Kontinuierlicher Piepton... - Seite 23 Einschalten Manueller Betriebseinstellmodus Wenn das Gerät zum ersten Mal eingeschaltet wird, erscheint auf 1) Wenn sich das Gerät im Bereitschaftsmodus befindet, kön- dem Anzeigefeld „ _ _ _ _ “. Beim Betätigen der „ “ Taste, nen Sie mit Betätigung der Taste in den manuellen gelangt das Gerät in den Ruhemodus.
- Seite 24 Schnellbetriebsmodus Schritt 1: Halten Sie im Bereitschaftsmodus die Zeitschalttaste „1“ 5 Sekunden lang gedrückt. Im Anzeigefeld erscheint 1) Sollte sich das Gerät im Betriebs- oder Pausenmodus befinden „ProG“. und die Nutzeroption OP:51 angegeben sein, betätigen Sie Schritt 2: Betätigen Sie die Zeitschalttaste „3“ um das Programm eine beliebige Zeitschalttaste und das Programm wird automa- in unter der Zeitschalttaste „3“...
-
Seite 25: Fehlerbehebung
b. Betätige Sie die Zeitschalttaste „3“ um die Einstellungen unter Werkseinstellung der Zeitschalttaste „3“ zu speichern. Betätigen Sie die „ “ Taste beim Einschalten und im c. Betätigen Sie die Zeitschalttasten „1“, „2“ und „5“ um die Bereitschaftsmodus, um in die Werkseinstellung zu gelangen. Betriebszeit einzugeben. - Seite 50 - 50-...
- Seite 51 -51-...
- Seite 52 ISO 9001 UNE-EN ER-0437/1/96 SAMMIC, S.L. Basarte, 1, 20720 AZKOITIA. www.sammic.com...