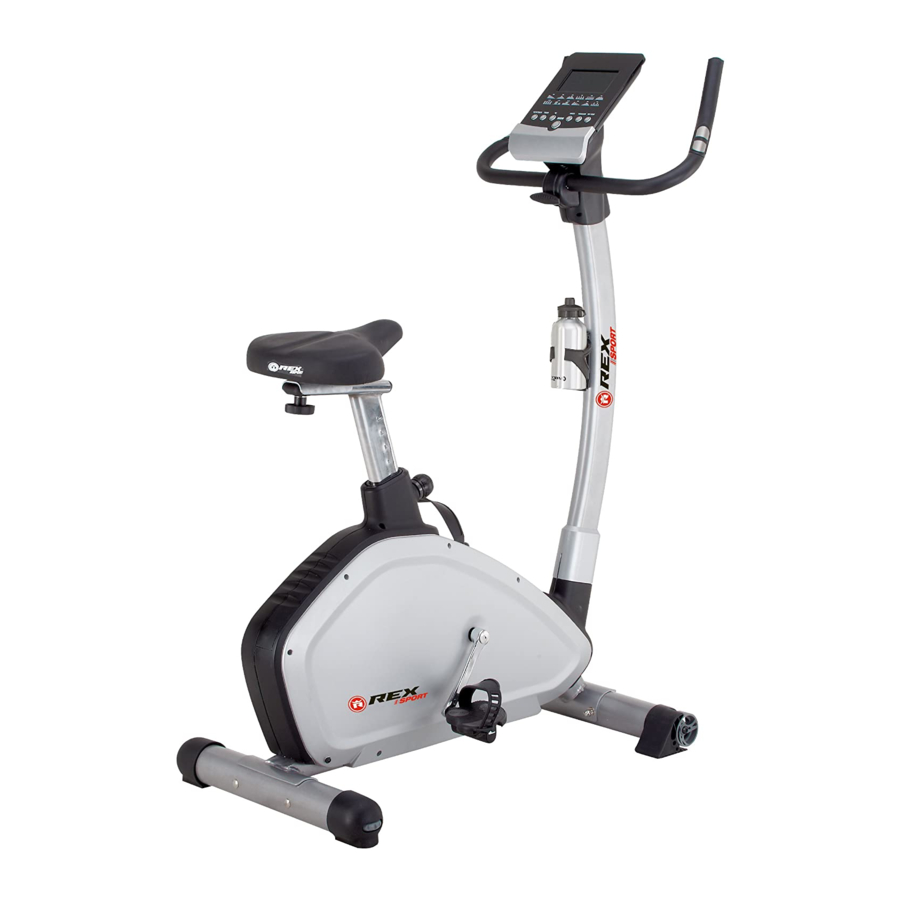
REX BX-400 E Bedienungsanleitung
Heimtrainer-ergometer

Verwandte Anleitungen für REX BX-400 E

Inhaltszusammenfassung für REX BX-400 E
- Seite 1 BX-400 E EIMTRAINER RGOMETER BEDIENUNGSANLEITUNG REX_Trainer_BX400E_12.indd D-1 REX_Trainer_BX400E_12.indd D-1 20.06.12 10:30 20.06.12 10:30...
-
Seite 2: Inhaltsverzeichnis
Inhaltsverzeichnis Inhaltsverzeichnis Vorwort ..............................D-3 Kennzeichnung wichtiger Hinweise ......................D-3 Wichtige Sicherheitshinweise ........................D-4 Explosionszeichnung ..........................D-5 Stückliste ..............................D-6 Montage ..............................D-9 Trainingsanleitung ............................. D-36 Trainingsgestaltung/Hinweise ........................D-36 A Intensität ............................D-36 B Häufi gkeit ............................D-36 C Motivation ............................D-36 D Organisation der Trainigseinheiten ...................... -
Seite 3: Vorwort
Vorwort · Kennzeichnung wichtiger Hinweise Vorwort wir gratulieren Ihnen zum Kauf unseres Fitness- Bedienungsanleitung aufmerksam durch, um Schäden am Gerätes. Sie haben ein wirklich gutes Produkt Ge rät oder Verletzungen zu vermeiden. Bewahren Sie die Be- erworben und werden bestimmt viel Freude da- dienungsanleitung gut auf. -
Seite 4: Wichtige Sicherheitshinweise
Wichtige Sicherheitshinweise Wichtige Sicherheitshinweise Heben Sie die Bedienungsanleitung gut auf. Geben Sie sie im Fall eines Verkaufs oder bei Weitergabe des Fitness-Gerätes ebenfalls mit. GEFAHR ACHTUNG Es ist wichtig, dass Sie sich die komplette Anleitung durch- Das Gerät ist nicht dafür bestimmt, durch Personen mit lesen, bevor Sie das Gerät zusammenbauen und benutzen. -
Seite 5: Explosionszeichnung
Explosionszeichnung Explosionszeichnung REX_Trainer_BX400E_12.indd D-5 REX_Trainer_BX400E_12.indd D-5 20.06.12 10:30 20.06.12 10:30... -
Seite 6: Stückliste
Stückliste Stückliste REX_Trainer_BX400E_12.indd D-6 REX_Trainer_BX400E_12.indd D-6 20.06.12 10:30 20.06.12 10:30... - Seite 7 Stückliste Name Größe Menge Rahmen Standfuß hinten Höhenregulierung Standfuß vorne Transportrolle vorne links Transportrolle vorne rechts Hutmutter M8 x 1.25 x 15L Innen-Sechskant-Schraube M8 x 1.25 x 95L Abdeckkappe Sattelstützrohr Sattel DD-356 Sattelschiebeführung Federringe D15.4 x D8.2 x 2T Unterlegscheibe D22 x D8.5 x 1.5T Schraube ST4 x 1.41x15L...
- Seite 8 Stückliste Name Größe Menge Federscheibe D22 x D10 x 2T Führung #99502 Stift Nylonmutter M8 x 1.25 x 8T Befestigungsplatte Leerlaufrad Schraube M5 x 10L Mutter M8 x 1.25 x 6T Magnet rund Schraube ST4.2 x 1.4 x 20L Abstandshalter D22 x D16 x 6.4T oberes Computerkabel 1000L...
-
Seite 9: Montage
Montage Montage SCHRITT 1 ACHTUNG 1. Legen Sie den vorderen Standfuß (4) und den hin- teren Standfuß (2) wie abgebildet auf den Boden. 2. Montieren Sie beide Standfüße am Rahmen (1). Ver- wenden Sie hierfür jeweils vier Innen-Sechskant Schrauben (7), vier Hutmuttern (6), vier Federringe (12) mit je einer Unterlegscheibe (13). - Seite 10 Montage Montage SCHRITT 3 ACHTUNG 1. Verbinden Sie das obere mit dem unteren Computer- kabel (64 + 65) (s. Abb. b). 2. Schieben Sie das Lenker-Stützrohr (29) samt Ab- deckung (28) auf den Haupt rahmen (1) (s. Abb. a). Achten Sie darauf, dass das Computerkabel nicht ein- geklemmt wird.
- Seite 11 Montage Montage SCHRITT 5 ACHTUNG 1. Montieren Sie die linke und rechte Abdeckung (41L + 41R) mit zwei Schrauben (14) sowie vier kleinen Schrauben (69). 2. Fixieren Sie den Trinkfl aschenhalter (77) mit zwei Schrauben (40) am Lenker-Stützrohr (29). 3. Stellen Sie das Gerät an dem dafür vorgesehenen Standort auf.
-
Seite 12: Trainingsanleitung
Trainingsanleitung Trainingsanleitung Die Nutzung Ihres Fitness-Gerätes wird Ihnen zahlreiche Vor- C Motivation teile bieten. Es wird Ihre körperliche Fitness verbessern, Ihre Muskeln betonen und Ihnen in Verbindung mit einer kalorien- Um ein Trainingsprogramm erfolgreich zu absolvieren, ist reduzierten Diät auch beim Abnehmen helfen. Regelmäßigkeit ein sehr wichtiger Punkt. -
Seite 13: Trainingsphase
Trainingsanleitung 2. Trainingsphase 3. Abkühlphase Achten Sie beim Training darauf, dass Sie Ihr Tempo Diese Phase dient zur Entspannung der Muskeln und des gleichmäßig und durchgehend halten. Für ein optimales Herz-Kreislauf-Systems. Reduzieren Sie hierfür z. B. das Training sollte die Belastung so gewählt sein, dass Ihr Puls Tempo für ca. -
Seite 14: Bedienung
Bedienung Bedienung VOREINSTELLUNGEN TASTENFUNKTIONEN Nachdem Sie das Gerät mittels Einstecken des Netzsteckers in Betrieb genommen haben, müssen Sie für eine korrekte Anzeige das aktuelle Datum und die Uhrzeit eingeben. Einstellung 1. Wählen Sie jeweils mit den AUF-/AB-Tasten den richtigen Wert aus und bestätigen Sie ihn mit der MODUS-Taste. Geben Sie nacheinander die folgenden Werte ein: Jahr/ Monat/Tag/Stunde/Minute. -
Seite 15: Anzeige-Informationen
Bedienung ANZEIGE-INFORMATIONEN Die LCD-Anzeige schaltet sich bei Inaktivität automatisch zahl können Sie in 10er Schritten von 10 bis max. 990 nach 4 Minuten in den SCHLAF-Modus. In diesem Modus kcal wählen. Die Anzeige läuft in diesem Falle rückwärts zeigt Ihnen der Fitnesscomputer die Temperatur, die Uhrzeit (Countdown) bis auf Null. -
Seite 16: Trainings-Programme
Bedienung TRAININGS-PROGRAMME B Profi l-Programme (PROG / P1–P12) Nach dem Einschalten des Gerätes kann mittels der AUF-/ Im Profi l-Programm stehen Ihnen 12 Unterprogramme AB-Tasten das gewünschte Trainingsprogramm ausgewählt mit ganz unterschiedlichen Belastungsverläufen zur Aus- werden. Mit der MODUS-Taste und den AUF-/AB-Tasten kön- wahl. -
Seite 17: D Puls-Programm
Bedienung 2. Sie können jetzt Ihr eigenes Profi l-Programm mittels den AUF-/AB-Tasten (Stärke der Belastungsstufe) und der MODUS-Taste (Säule auswählen/bestätigen) erstellen. 3. Halten Sie zum Speichern des Profi ls die MODUS -Taste für ACHTUNG ca. 3 Sekunden gedrückt. Achten Sie darauf, dass Sie immer mit der für Sie geeig- 4. -
Seite 18: E Watt-Programm
Bedienung E Watt-Programm (WATT) F Körperfett-Analyse (KÖRPERFETT) In diesem Programm wählt der Computer automatisch den Belastungswiederstand in Abhängigkeit zur Ge- schwindigkeit und des gewählten Watt-Wertes. 1. Wählen Sie das Watt-Programm (WATT) mittels den AUF-/ ACHTUNG AB- Tasten aus und bestätigen es mit der MODUS-Taste. Beachten Sie, dass die Körperfettanalyse nicht für jeder- 2. -
Seite 19: Körperfettanteil
Bedienung dienen, um Ihnen bei der Wahl einer möglichst sinnvollen Trainingsweise zu helfen, sowie Ihre aktuelle körperliche Verfassung zu bestimmen. Die Messwerte sind ausschließlich für den Trainingsgebrauch zu verwenden und dienen keinem GEFAHR medizinischen Zweck. Herzfrequenz-Monitoring-Systeme können ungenau sein. Körperfettanteil Übermäßiges Trainieren kann zu schweren Verletzungen Dieser Wert gibt an, wie viel Ihres Gesamtkörpergewichts oder zum Tod führen. -
Seite 20: Pfl Ege/Wartung
Pfl ege/Wartung · Technische Daten · Entsorgung Pfl ege/Wartung Wir empfehlen, etwa alle 2 bis 4 Wochen bzw. je nach Be- Art sollten vom Computer oder dem Gerätinneren fern ge- nutzungshäufi gkeit, alle Geräteteile, bei denen Gefahr des halten werden, da es unter Umständen sonst zu erheblichen Lösens besteht (Schrauben, Mutter u. - Seite 21 Konformitätserklärung D-21 REX_Trainer_BX400E_12.indd D-21 REX_Trainer_BX400E_12.indd D-21 20.06.12 10:30 20.06.12 10:30...
-
Seite 22: Gewährleistung
Telefax: 0 52 42/41 08 72 – den Einbau von Teilen von fremder Seite oder die Be- 33378 Rheda-Wiedenbrück E-Mail: si-service@prophete.net mühungen des Benutzers, den Schaden selbst zu be- www.rex-sport.de heben. – die Nichtverwendung von Original-Ersatzteilen SI-Zweirad-Service GmbH Telefon: + 49 52 42 41 08 98 24 Lindenstraße 50... - Seite 23 Notizen D-23 REX_Trainer_BX400E_12.indd D-23 REX_Trainer_BX400E_12.indd D-23 20.06.12 10:30 20.06.12 10:30...
- Seite 24 Prophete GmbH u. Co. KG Postfach 21 24 33349 Rheda-Wiedenbrück brück • eMail: si-service prophete.net REX_Trainer_BX400E_12.indd D-24 REX_Trainer_BX400E_12.indd D-24 20.06.12 10:30 20.06.12 10:30...
- Seite 25 BX-400 E XERCISE OPERATING INSTRUCTIONS REX_Trainer_BX400E_12.indd GB-25 REX_Trainer_BX400E_12.indd GB-25 20.06.12 10:30 20.06.12 10:30...
- Seite 47 Notes GB-47 REX_Trainer_BX400E_12.indd GB-47 REX_Trainer_BX400E_12.indd GB-47 20.06.12 10:31 20.06.12 10:31...
- Seite 48 Prophete GmbH u. Co. KG Postfach 21 24 33349 Rheda-Wiedenbrück brück • eMail: si-service prophete.net REX_Trainer_BX400E_12.indd GB-48 REX_Trainer_BX400E_12.indd GB-48 20.06.12 10:31 20.06.12 10:31...
- Seite 49 BX-400 E ’ ÉLO D EXERCISE MANUEL DE L’ UTILISATEUR REX_Trainer_BX400E_12.indd F-49 REX_Trainer_BX400E_12.indd F-49 20.06.12 10:31 20.06.12 10:31...
- Seite 71 Notes F-71 REX_Trainer_BX400E_12.indd F-71 REX_Trainer_BX400E_12.indd F-71 20.06.12 10:31 20.06.12 10:31...
- Seite 72 Prophete GmbH u. Co. KG Postfach 21 24 33349 Rheda-Wiedenbrück brück • eMail: si-service prophete.net REX_Trainer_BX400E_12.indd F-72 REX_Trainer_BX400E_12.indd F-72 20.06.12 10:31 20.06.12 10:31...
- Seite 73 BX-400 E YCLETTE ISTRUZIONI PER L’ USO REX_Trainer_BX400E_12.indd I-73 REX_Trainer_BX400E_12.indd I-73 20.06.12 10:31 20.06.12 10:31...
- Seite 95 Note I-95 REX_Trainer_BX400E_12.indd I-95 REX_Trainer_BX400E_12.indd I-95 20.06.12 10:31 20.06.12 10:31...
- Seite 96 Prophete GmbH u. Co. KG Postfach 21 24 33349 Rheda-Wiedenbrück brück • eMail: si-service prophete.net REX_Trainer_BX400E_12.indd I-96 REX_Trainer_BX400E_12.indd I-96 20.06.12 10:31 20.06.12 10:31...
- Seite 97 BX-400 E OMETRAINER BEDIENINGSHANDLEIDING REX_Trainer_BX400E_12.indd NL-97 REX_Trainer_BX400E_12.indd NL-97 20.06.12 10:32 20.06.12 10:32...
- Seite 119 Notities NL-119 REX_Trainer_BX400E_12.indd NL-119 REX_Trainer_BX400E_12.indd NL-119 20.06.12 10:32 20.06.12 10:32...
- Seite 120 Prophete GmbH u. Co. KG Postfach 21 24 33349 Rheda-Wiedenbrück • eMail: si-service prophete.net REX_Trainer_BX400E_12.indd NL-120 REX_Trainer_BX400E_12.indd NL-120 20.06.12 10:32 20.06.12 10:32...