Park Tool HHP-2 Bedienungsanleitung
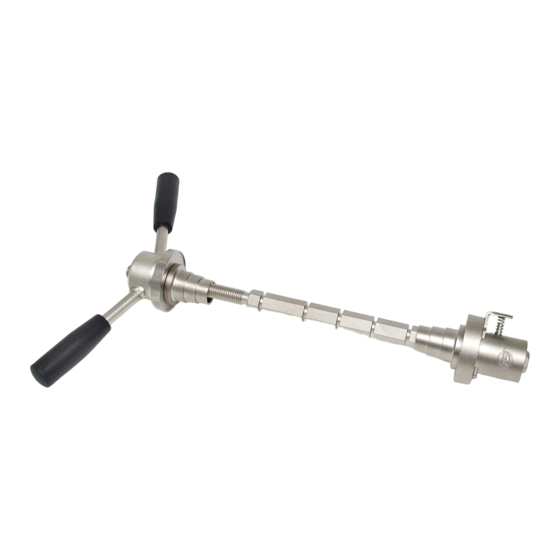
Bearing cup press
Verfügbare Sprachen
Verfügbare Sprachen
Quicklinks
Park Tool Co.
6 Long Lake Rd. St. Paul, MN 55115 (USA) www.parktool.com
• Accurately aligns and presses 1-inch, 1-1/8 inch, and 1.5-inch headset cups and races.
• Presses bearing cups and cartridge bottom bracket bearings into one-piece
(also called "Ashtabula") bottom bracket shells.
• Holds fixed cup wrenches firmly in place when removing or installing drive side
(fixed) cups from threaded, adjustable-type bottom brackets.
Assembly
Thread and fully tighten handle knobs #526-2 onto
handle ends of handle weldment #526.
Pressing headset cups into frame
1. Determine the acceptability of the press fit between the
headset cup and the head tube. Using a caliper, measure
outside diameter (OD) of pressed portion of headset cup.
Next, measure inside diameter (ID) of frame head tube. Due
to possibility of ID being out of round, measure in at least
two places and average the dimensions. Subtract inside
diameter from outside diameter to determine amount of
pressing interference. Normal interference is between
0.1mm - 0.2mm. If the press fit is more than 0.2mm,
damage to frame and/or tool may occur. In this case, it is
recommended to ream the head tube or find a headset with
a different press interference. If the difference is between
0.0 - 0.1mm, a Loctite-type adhesive is recommended. If the
difference is negative, a different headset is recommended.
Check with headset manufacturer for interference
specifications unique to their headset.
2. Optional cup guides #530-2 are used to maintain cup
alignment while pressing. Cup guides fit most 1-inch and
1-1/8 inch standard headset cups. Before using cup guide,
insert guide into cup. If guide appears to jam or is a tight
fit, DO NOT use cup guides for that particular headset cup.
Simply press using threaded press plate and sliding press
plate (to insure alignment when not using cup guides,
pressing one cup at a time is recommended). Use care when
pressing aluminum head cups; pressure on the outer rim of
the cups may result in damage.
Note: Do not use cup guides
if guides press on any pre-installed
cup-bearing unit (ex. Chris King® headsets).
3. Assemble HHP-2 and headset
parts as seen in Figure 1.
4. Turn handles clockwise slowly and
inspect alignment of cups as they enter
head tube. Press cups until fully
seated into head tube.
5. To remove HHP-2, unthread
handles and press lever of
sliding press plate.
Bearing Cup Press HHP-2
Pressing bearing cups into one-piece
bottom bracket shells
1. Engage sliding press plate to highest notch on hex shaft.
2. Assemble parts as seen in Figure 2. (#530-2 Cup Guides are
not used in pressing "one-piece crank" bearing cups).
3. Turn handle clockwise and press cups until fully seated into
bottom bracket shell.
Removing and installing bottom bracket fixed cups
The HHP-2 can be used to hold bottom bracket wrenches firmly
to drive side (fixed) bottom bracket cups. This prevents wrench
from slipping on cups due to shallow engagement. Remove
spindle from bottom bracket and assemble HHP-2, fixed cup,
and wrench as seen in Figure 3.
Figure 1
Figure 2
Figure 3

Verwandte Anleitungen für Park Tool HHP-2


Inhaltszusammenfassung für Park Tool HHP-2
-
Seite 2: Steuersatz-Montagegerät Hhp
Steuersatz NICHT verwendet werden. In einem solchen Fall die Lagerschalen einfach nur mit der Das HHP-2 kann auch dazu verwendet werden, den Montageschlüssel si- Gewindedruckplatte und der gewindelosen Gegendruckplatte einpressen. cher auf der rechten, festen Tretlager-Lagerschale (Antriebsseite) zu halten.