Studiologic numa compact Bedienungsanleitung
Inhaltsverzeichnis
Verfügbare Sprachen
Verfügbare Sprachen
Kapitel
Inhaltsverzeichnis

Verwandte Anleitungen für Studiologic numa compact


Inhaltszusammenfassung für Studiologic numa compact
- Seite 17 ENGLISH Operation Manual NUMA Compact by Studiologic®...
- Seite 34 DEUTSCH Bedienungsanleitung Version 1.0 NUMA compact by Studiologic®...
-
Seite 35: Wichtige Sicherheitshinweise
Verwenden Sie keine scharfen Reinigungsmittel. Am besten eignet sich ein Mikrofasertuch, das Sie bei Bedarf leicht anfeuchten. Hinweis zur Verpackung Bitte bewahren Sie die Verpackung des Gerätes auf. Damit ist Ihr Gerät beim Transport, z.B. im Service-Fall, geschützt. NUMA compact by Studiologic®... - Seite 36 Inhaltsverzeichnis Sicherheitshinweise Ihr neues NUMA compact Hinweise zur Anleitung Bedienfeld / Anschlüsse Inbetriebnahme Presets / Klänge Demo Songs Presets aufrufen & abspeichern Klangerzeugung/Auswahl Transposition Layer Layer einstellen Layer Balance Effekte Effekt wählen Reverb Mix / Modulation Level Pitch Wheel Free Wheel...
-
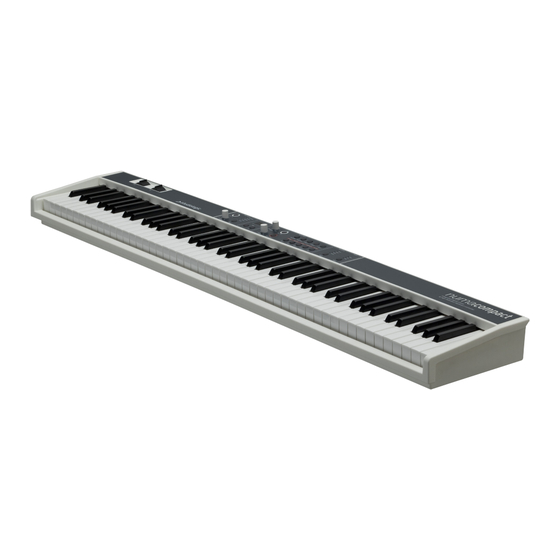
Seite 37: Ihr Neues Numa Compact
Ihr neues NUMA compact Herzlichen Glückwunsch zu Ihrem neuen NUMA compact! Damit haben Sie sich für ein erstklas- siges Keyboard des renommierten Herstellers Studiologic by Fatar entschieden. ® Bei der Entwicklung des NUMA compact wurde, neben der hervorragenden Tastatur, ein beson- deres Augenmerk auf eine einfache und intuitive Bedienung gelegt. -
Seite 38: Tastenkombinationen Mit Function Werden
Für MIDI I/O oder Updates Anschluß von Pedalen 2x 6,3mm Monoklinke Seite 26, 35 Seite 28, 31 Seite 28 Anschluss externes Netzteil MIDI In-Out Kopfhörer Ausgange Seite 24, 28 MIDI senden/empfangen 1 x 6,3mm Stereoklinke Seite 36 Seite 28 NUMA compact by Studiologic®... -
Seite 39: Inbetriebnahme
Inbetriebnahme Netzanschluß Schließen Sie Ihr NUMA compact über das mitgelieferte Netz- teil an das Stromnetz an. Das Gerät selbst schalten Sie über den daneben befindlichen Druckschalter ein und aus. Audio Ausgang Verbinden Sie die beiden Audio Out Left (Links) und Right (Rechts) mit den Eingängen eines Mischpults, Verstärkers usw. -
Seite 40: Presets / Klänge
Demo-Song. Drücken Sie Demo erneut, um die Wiedergabe zu stoppen und den Demo- Modus zu verlassen. Immer wenn das NUMA compact im Display P gefolgt von Presets aufrufen einer zweistelligen Zahl anzeigt (z.B. P05), können Sie mit Va- lue+/- den Preset wechseln. -
Seite 41: Layer
Über das Free-Wheel steuern Sie die Geschwindigkeit der ak- tuell angewählten Modulationseff ekte: • Chorus > Depth • Phaser > Depth and Feedback • Rotary > Slow/Fast • Tremolo > Speed Gleichzeitig wird der MIDI-Modulation-Paramter über den MIDI-Out und USB gesendet. NUMA compact by Studiologic®... -
Seite 42: Velocity
Die Anschlagsdynamik wird im Englischen mit Velocity Velocity bezeichnet. Sie entscheidet, wie der Anschlag einer Taste dynamisch umgesetzt wird. Beim NUMA compact können Sie aus 4 unterschiedlichen Velocity Einstellungen wählen. Rufen Sie diesen Modus mit Function & Velocity auf. Im Display werden die un- terschiedlichen Kurven als F, S, M, H bezeichnet und können mit Value +/- ausgewählt werden. -
Seite 43: Globale Funktionen
NUMA compact halten Sie während dem Einschalten Function gedrückt. Im Display wird UPL angezeigt. Nun können Sie mit der Control-Panel-Software von Studio- logic die gewünschten Daten per USB in das NUMA compact übertragen. Folgen Sie dabei der Software-Bedienungsanlei- tung. Nach der erfolgreichen Datenübertragung schalten Sie NUMA compact aus und wie gewohnt wieder ein. - Seite 44 Funktionen werden im Display angezeigt und können über Value +/- verändert werden. Der Empfang von MIDI-Daten erfolgt ber MIDI In und USB Hinweis MIDI Kanal 16: Das NUMA compact sendet und empfängt auf MIDI Kanal 16 die Daten und Veränderungen sämtlicher Bedienelemente (MIDI Control Data)
-
Seite 45: Midi
Sie dies umstellen und ob Ihr Gerät die Funktion unterstützt. Beachten Sie zudem,dass der MIDI-Kanal des anderen Gerätes (oftmals „Basic Channel“ gennant) mit dem MIDI-Kanal auf dem Ihr NUMA compact sendet, übereinstimmt (vgl. MIDI Masterkeyboard-Funktionen auf Seite 36). - Seite 46 Sie können die Klangerzeugung des NUMA compact auch extern ansteuern. Die Verbindung kann über MIDI oder USB erfolgen. Die Klänge des NUMA compact werden mit den folgenden Klangauswahl per MIDI MIDI Program Change Befehlen aufgerufen, die dem General MIDI (GM) Standard folgen.
-
Seite 47: Fehlerbehebung
MIDI-Klangerzeuger automatisch stimmen. ignoriert MIDI SysEx ein, dass dieser MIDI Befehle. SysEx empfängt und Die MIDI Kanäle stim- verarbeitet. men nicht überein. Stellen Sie bei allen Die Funktion wird Geräten den gleichen nicht unterstützt. MIDI-Kanal ein. NUMA compact by Studiologic®... -
Seite 48: Rechtliches
Rechtliches Jedes Gerät von Studiologic® by Fatar wird einzeln geprüft und einer Garantie vollständigen Funktionskontrolle unterzogen. Die Verwendung ausschließlich hochwertigster Bauteile erlaubt die Gewährung von zwei Jahren Garantie. Als Garantienachweis dient der Kaufbeleg / Quittung. Schäden, die durch unsachgemäßen Einbau oder unsach- gemäße Behandlung entstanden sind, unterliegen nicht der Garantie... - Seite 50 NUMA compact by Studiologic®...
- Seite 51 Appendix Appendix NUMA compact by Studiologic®...
- Seite 53 Im Vertrieb der Synthax GmbH Semmelweisstraße 8 82152 Planegg www.synthax.de heOe 05. 2012...