Clou Hammock Montageanweisungen
Vorschau ausblenden
Andere Handbücher für Hammock:
- Montageanweisungen (16 Seiten) ,
- Montageanweisungen (12 Seiten) ,
- Montageanweisungen (16 Seiten)

Verwandte Anleitungen für Clou Hammock


Inhaltszusammenfassung für Clou Hammock
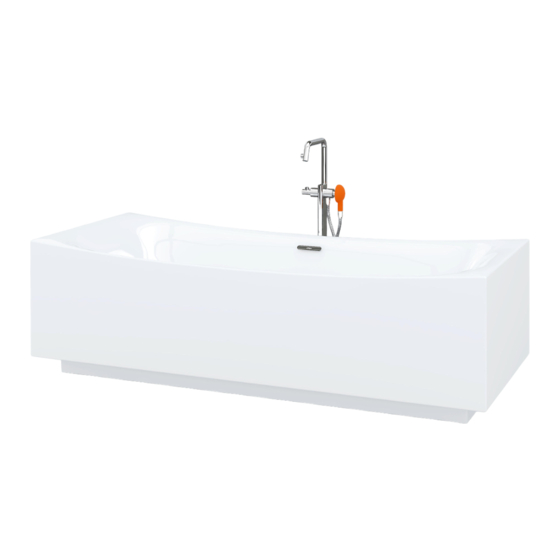
- Seite 1 Hammock Freestanding bathtub CL/05.60010 Montage instructies Installation instructions Notice de montage Montageanweisungen REV 02 29.03.2019...
- Seite 2 - Clou b.v. can not be held responsible for - Clou b.v. kan niet verantwoordelijk worden the results of improper use, improper gesteld voor de gevolgen van onaangepast...
- Seite 3 éventuellement Für andere Wände ist die verwendeten consolider le mur si nécessaire. regelnmittel an eigener Verantwortlichkeit, - Clou se réserve le droit pour tout und die Wand konnte Verstärkung changement technique ou optique par benötigen. rapport à la photo représentant le produit.
- Seite 4 Gegenstände auf das Produkt passend ist. Gebruiksvoorschriften: zie ook de onderhoudsvoorschriften op www.clou.nl User’s instructions: See also the maintenance guides at www.clou.nl Instructions d’utilisation: Voyer aussi les instructions de maintenance sur www.clou.nl Gebrauchsanweisungen: Sehen Sie auch die Wartungsanweisungen am www.clou.nl...
- Seite 6 Hammock drain and overflow set including trap CL/05.60010 - CL/05.60020 Part trap O-ring overflow connection cap overflow connection cap O-ring trap and overflow O-ring sewer connection cap ring sewer connection cap sewer connection cap sewer tube overflow tube overflow connector drain overflow...
- Seite 7 Bepaal de positie van de afvoer van het bad. Decide on the position of the drain of the bathtub. Décider la position du bonde de la baignoire. Entscheiden Sie auf der 1000 Position des Abflusses der Badewanne. 2000 Zorg ervoor dat de afvoer aansluiting zich in 1 van de 2 grijze vlakken bevindt.
- Seite 8 Plaats het bad op de gewenste plaats en zet het bad waterpas door moer A en stelvoet B bij te stellen voor alle 6 de pootjes. Place the bathtub in the desired position and place the tub level by adjusting nut A and levelling foot B for all 6 feet.
- Seite 9 Bevestig de sifon (inbegrepen) op de afvoer. Gebruik de ex- plosietekening op p. 6 om alles correct te installeren. Install the trap (included) on the drain. Use the exploded view on p. 6 to assemble the trap correctly. Fixer le siphon (inclus) sur la bonde.
- Seite 10 Controleer of de afvoer en sifon correct zijn aangesloten. Bevestig vervolgens het bad aan de vloer met siliconenkit op de stelpootjes. Check wether the drain and trap are installed correctly. Then fixate the bathtub to the floor with silicone sealant on the feet. Vérifier si le bonde et le siphon sont installés correctement.
- Seite 12 Clou. Bath findings. Clou bv Thermiekstraat 1 NL-6361 HB Nuth T +31 (0)45 524 56 56 info@clou.nl www.clou.nl Looking for inspiration?