Werbung
Quicklinks
PARK TOOL CO.
5115 Hadley Ave. N., St. Paul, MN 55128 (USA) www.parktool.com
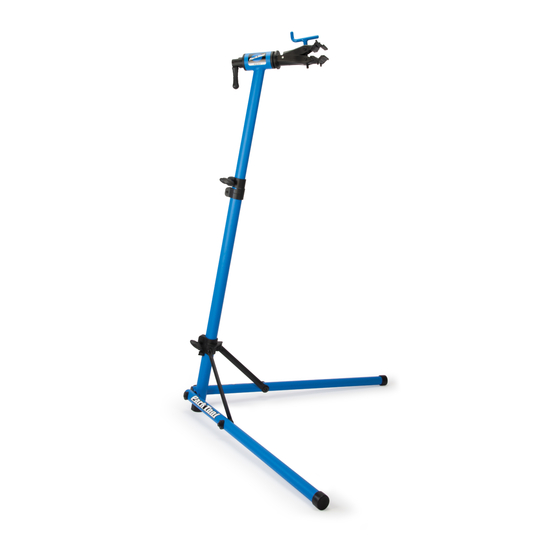
PCS-9.2 Home Mechanic Repair Stand
Assembly and Set Up
1. Line the Hard Stop (#27) up with the two holes in the Large Vertical
Upright (#7) such that the arrow on the Hard Stop (#27) is pointing
upward. Using a 3mm hex wrench, insert the M5 x 12mm Screws (#17)
into the holes in the Hard Stop (#27) and screw them into the Large
Vertical Upright (#7). Tighten to 3.5Nm max (Do Not Overtighten)
2. Slide the Yoke (#3) down the Large Vertical Upright (#7) until it bottoms
out on the Hard Stop (#27). Insert the M6 Flange Nut (#19) into the hex
pocket in the Yoke (#3). From the other side of the Yoke (#3) insert the
Knob (#18) into the hole in the Yoke (#3). Screw in the Knob (#18) until it
is fully tightened. Fully tightened is when both flanges on the Yoke (#3)
come into contact with each other.
3. Assemble and install the hardware and mating pieces in the order shown
through each Leg (#2) and Leg Strap (#10). Using a 5mm hex wrench and
a 13mm box end wrench, tighten the M8 x 60mm Screw (#14) to 5 Nm.
4. Disassemble the Cone, three Washers (#22) and Clamp Handle as
1
27
17
3
10
14
5
8
19
4
7
PCS-9.2
Instructions / Instructions / Anleitung / Instrucciones
7
17
2
11
13
1
1
13
18
16
shown. Install the Clamp Assembly (#21) and its components into the Top
Tube Assembly (#20) as shown.
5. Remove the Collar (#8) from the Top Tube Assembly (#20). Install the
large end of the Collar (#8) onto the Large Vertical Upright (#7); push the
Collar (#8) down until it stops. Insert the M5 Flange Nut (#4) into the hex
pocket in the Collar (#8) as shown. From the other side of the Collar (#8),
insert the M5 x 30mm Screw (#16) into the Collar (#8) and fully tighten
using a 3mm hex wrench. Insert the M6 Flange Nut (#19) into the hex
pocket in the Collar (#8) as shown. From the other side of the Collar (#8),
insert the Knob (#18) into the Collar (#8) and lightly tighten.
6. Slide the Top Tube Assembly (#20) into the Collar (#8) on the Large Vert-
ical Upright (#7). Set at desired height and fully tighten the Knob (#18).
Note: Always remove the bike when making adjustments to the working
height. Do not set height beyond "max" height line on extension tube.
2
3
19
4
21
6
7
18
27
22
20
23
24
Werbung

Verwandte Anleitungen für Park Tool PCS-9.2


Inhaltszusammenfassung für Park Tool PCS-9.2
- Seite 1 Instructions / Instructions / Anleitung / Instrucciones PARK TOOL CO. 5115 Hadley Ave. N., St. Paul, MN 55128 (USA) www.parktool.com PCS-9.2 Home Mechanic Repair Stand shown. Install the Clamp Assembly (#21) and its components into the Top Tube Assembly (#20) as shown.
- Seite 2 PCS-9.2 Montageständer für Hobby-Mechaniker PCS-9.2 Soporte de Reparación Portatíl Montage und Aufbau Ensamble y Preparación 1. Platzieren Sie den Begrenzer (#27) mit den beiden Bohrungen bündig 1. Alinee el tope duro (# 27) con los dos orificios del Montante vertical...
- Seite 3 Hex Barrel-Threaded 2832 Hex Barrel-Unthreaded 2830 Hex Bushing 2829 Hex Bolt 2833 Clevis Pin 2835 Clamp Handle Assembly 1697 Handle Shaft E-Clip © 2019 Park Tool Co. 06/19 PARK TOOL® and the color BLUE are registered trademarks of Park Tool Co.
- Seite 4 5mm Hex Tool 2842 13mm Flat Wrench Tool 2820 Top Tube Compression Sleeve 2821 Top Tube End Cap 27 17 1 13 © 2019 Park Tool Co. 06/19 PARK TOOL® and the color BLUE are registered trademarks of Park Tool Co.