Walimex Pro Basic L Bedienungsanleitung

Inhaltszusammenfassung für Walimex Pro Basic L
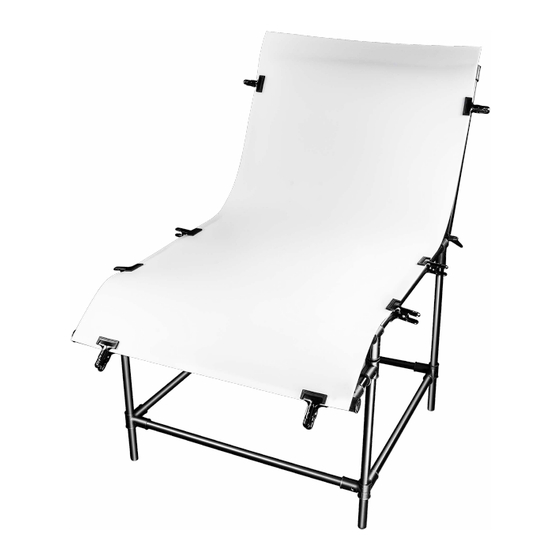
- Seite 1 Aufnahmetisch Basic L, Aufnahmehöhe 80 cm Shooting Table Basic L, height 80 cm Bedienungsanleitung Manual...
-
Seite 2: Scope Of Delivery
The Shooting Table haben werden. Der Aufnahmetisch Basic L bietet eine ausdauern- Basic L offers a high level of comfort within a sturdy construction de Konstruktion und zugleich hohe Benutzerfreundlichkeit für Ihren for all your product shooting needs. - Seite 3 2 x G 10 x A 8 x B 13 cm 2 x I 2 x J 4 x zu I 8 x K 2 x L 6 x C 2 x F 73,5 cm 78,5 cm 3 x D 87,5 cm 2 x H 92,5 cm...
- Seite 5 2. Aufbau 2. Assembly Schritt 1: Beginnen Sie mit 2x C, 1x D und 2x B. Bauen Sie Step 1: Start with 2x C and 1x D and 2x B. Assemble one corner damit eine Ecke des Tisches auf wie im Foto darge- of your table like shown.
- Seite 6 Schritt 3: Befestigen Sie 1x A locker oben an einem vertikalen Step 3: Fix 1x A loosly to one of the front vertical C rods. vorderen C-Rohr. Wiederholen Sie dies für die andere Repeat for the other side. Seite. So sollte das Tischgestell nun aussehen: This is how the table should look now:...
- Seite 7 Schritt 4: Setzen Sie H und I zusammen wie gezeigt. Führen Sie Step 4: Affix the I piece to the H rod as shown, for both sides. die Stange H durch die beiden A-Enden wie gezeigt. Thread H through the A openings with the I end facing Achten Sie darauf, dass die abgerundete Ecke von I aft, rounded side upwards, and tighten the screws.
- Seite 8 Schritt 6: Nehmen Sie das E-Rohr und befestigen Sie 2x A dar- Step 6: Mount 2x A to the 1x E rod. Then affix those two A to the an. Montieren Sie dieses nun an den beiden G-Rohren G rods. wie gezeigt.
- Seite 9 Schritt 8: Befestigen Sie 2x A locker am letzten D-Rohr. Dieses Step 8: Mount 2x A loosely to the last D rod. Affix the D rod to bringen Sie nun an den beiden F-Rohren an und be- the two F rods. Before mounting the M plate, make sure festigen es.
- Seite 10 To highlight our exceptional service level, we Serviceniveau zusätzlichen Ausdruck zu verleihen, geben wir für dieses offer a 2 year warranty for this Walimex pro product. This warranty is only Walimex pro Produkt eine Garantie von 2 Jahren. Diese Garantie ist nur in valid in combination with your purchase receipt.