Werbung
Quicklinks
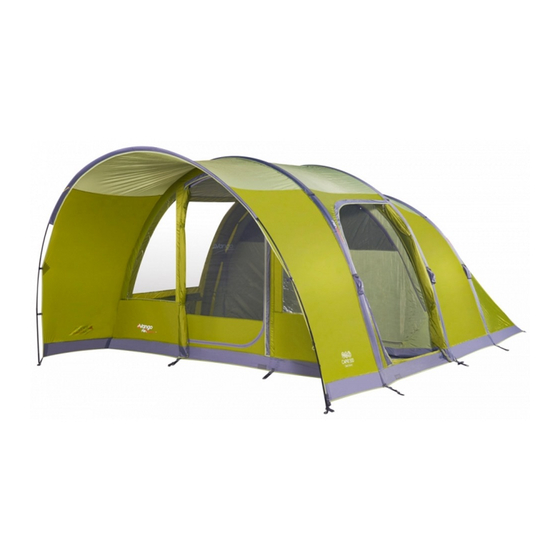
TENT PITCHING INSTRUCTIONS – CAPRI 500/500XL/600XL (UK)
FLYSHEET FIRST PITCHING:
Open out flysheet and position in required direction.
Peg out the four main corners of the tent using the pegs supplied
Locate inflating points at the base of each beam.
Access the beams through the zipped entry points and through the side door
(figure 2)
Remove the valve cap
Insert the correct pump adaptor, which will lock onto the valve
There is no need to turn the white valve button as the adaptor will move this to the correct position
Inflate all tubes to 7psi. The tubes MUST be guided into an arch as they are inflated
Final tube pressure MUST NOT exceed 8psi
DO NOT OVER-INFLATE THE BEAMS
Start with the centre tube and guide the beam into an upright position while it is inflating
Inflate the other beams.
A small amount of air may leak from the valve when it is being inflated but this is normal
Remove the pump adaptor as soon as the beam is at the correct psi
Replace the valve cap to create an air tight seal
Ensure the tent is in a straight line
The groundsheet should be flat and wrinkle free
Peg out the remaining poles and pegging points using pin pegs at the base of poles
Peg out ALL guy lines using pin-pegs ensuring that guy line fabric attachment points are evenly tensioned.
Reposition and adjust tensioning where necessary
CORRECT PUMP SET-UP:
Pump Body > Pressure Valve > Pressure Gauge > Hose
(Ensure the valve/gauge/hose are connected to the inflation port of the pump)
PRE-ATTACHED SUN CANOPY:
Insert the alloy pole through the front pole sleeve, then tension the material using the front guy lines. Peg out the base of the sun canopy.
Vango awnings are designed for use in lowland, sheltered campsites. Do not pitch in high winds or exposed campsites
To stow, unpeg guy lines, remove pole and roll back canopy toward tent. Secure with loops until required.
INNER ATTACHMENT:
Open out inner tent inside flysheet and position doorways to correspond with the living area
Starting from the rear corners of the tent, attach the elasticated hooks on the groundsheet to corresponding rings on the flysheet
Suspend the inner by attaching toggles of inner tent through rings on inside of flysheet
Do the rear first and work forward
TENSION BAND SYSTEM:
Remove Tension Band System from pockets and attach into the corresponding clips at the apex of the pole
Adjust the straps until they are taut
DO NOT OVERTENSION. Excess tension will alter the shape of the tent
TO DEFLATE THE AIRBEAM TENT:
To deflate the AirBeam (remove the cap
IN THE UNLIKELY EVENT OF A PUNCTURE:
Note - most apparent punctures are the result of the valve not being screwed in correctly. Please check the valves before changing the AirBeam in question
Deflate the air beam. Unzip the internal flysheet sleeve which contains the affected beam.
Remove the tube and its protective outer.
The zips for the protective outer are cable tied together to prevent accidental access. Cut the cable tie and open the zip.
DO NOT open these zips when the tube is inflated.
Remove the clear rubberised tube from the protective sleeve taking care when removing the valve from the sleeve.
Partially inflate the tube and pass through a bucket or basin of water, looking for air bubbles. This will indicate location of puncture
Use the repair patch provided and cover hole, using instructions on patch. Re-insert tube into protective outer, closing zip from both ends, so that zip pullers are in the flysheet sleeve
(this might be easier with the tube partially inflated)
AIRBEAM INFLATION:
Figure 1
Rotate button
Figure 2
to open and
Remove
close
locking cap
AIRBEAM DEFLATION:
Figure 9
Figure 8
Push button to deflate &
Unlock
twist to open position
locking cap
(figure 3 & 4)
(figure 6 & 7)
(figure 8)
) press & turn
(figure 9)
the button from CLOSED to OPEN
Figure 3
Figure 4
Insert locking pump
Lock locking pump
connector
connector
(figure5)
Figure 5
Inflate with
AirBeam pump
Figure 6
Figure 7
Insert locking
Lock locking cap
cap
Werbung

Verwandte Anleitungen für Vango CAPRI 500


Inhaltszusammenfassung für Vango CAPRI 500
- Seite 1 Insert the alloy pole through the front pole sleeve, then tension the material using the front guy lines. Peg out the base of the sun canopy. Vango awnings are designed for use in lowland, sheltered campsites. Do not pitch in high winds or exposed campsites ...
- Seite 2 Schieben Sie die Aluminiumstange durch die fordere Stangenhülse und spannen Sie dann das Material mit den vorderen Abspan nleinen ab. Befestigen Sie die Unterseite des Sonnendachs. Vango Vorzelte werden konzipiert, um auf tiefliegenden, geschützten Campingplätzen verwendet zu werden. Stellen Sie sie nicht in starkem Wind oder auf ungeschützten Campingplätzen auf. ...
- Seite 3 Inserire il paletto in lega nella guaina del paletto anteriore, quindi tendere la stoffa per mezzo dei tiranti anteriori. Fissare con i picchetti la base della tenda parasole. I teli parasole Vango sono progettati per essere usati in aree di campeggi pianeggianti e riparati. Non utilizzarli in zone ventose o campeggi esposti alle intemperie. ...
- Seite 4 Voer de metalen stok door de hoes aan de voorkant. Breng het doek op spanning met behulp van de scheerlijnen aan de voorkant. Zet de basis van de zonluifel vast met de haringen. Vango luifels zijn ontworpen voor gebruik in laagland, beschutte campings. Zet niet op bij harde wind of open kampeerplekken ...