Inhaltsverzeichnis
Werbung
Verfügbare Sprachen
Verfügbare Sprachen
Quicklinks
Werbung
Inhaltsverzeichnis
Fehlerbehebung

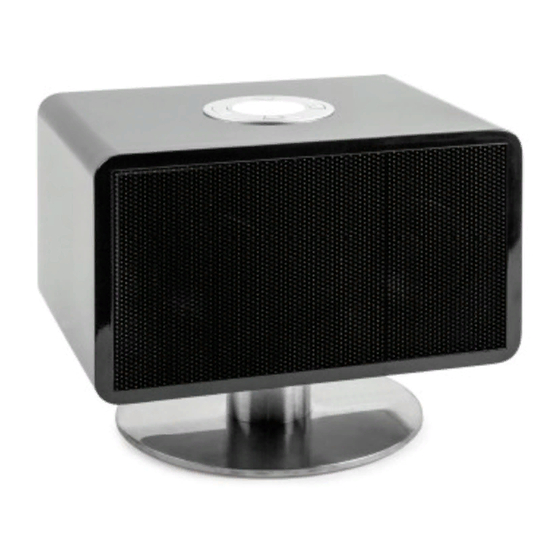
Inhaltszusammenfassung für auna multimedia AUNA LivingQube
- Seite 1 AUNA LivingQube 10027412 10027413...
-
Seite 2: Technische Daten
Sehr geehrter Kunde, Wir gratulieren Ihnen zum Erwerb Ihres Gerätes. Lesen Sie die folgenden Anschluss- und Anwen- dungshinweise sorgfältig durch und befolgen Sie diese, um möglichen technischen Schäden vorzu- beugen. Für Schäden, die durch Missachtung der Sicherheitshinweise und unsachgemäßen Gebrauch entstehen, übernehmen wir keine Haftung. -
Seite 3: Bedienfeld Und Bedienelemente
• Befestigen Sie das Gerät nicht an Wand oder Decke. • Stellen Sie das Gerät nicht in der Nähe von Fernsehern, Lautsprechern und anderen Geräten auf, die starke Magnetfelder erzeugen. • Dieses Gerät ist nur für die Nutzung in Innenräumen geeignet. •... - Seite 4 Inbetriebnahme und Bedienung Gerät an-/ausschalten Stellen Sie das Gerät an den gewünschten Platz. Entrollen Sie das Netzkabel und stecken Sie es ein. Versichern Sie sich dass es fest eingesteckt ist. Sobald das Gerät angeschlossen ist geht die Standby-Kontrollleuchte an. Drücken Sie auf die Power/Mode Taste auf dem oberen Bedienfeld, um den Lautsprecher anzuschalten.
-
Seite 5: Pflege Und Wartung
• Drücken Sie die Power/Mode Taste auf dem Bedienfeld, um das Gerät anzuschalten. • Sobald sie das AUX-Kabel eingesteckt und mit ihrem Audiogerät verbunden haben, schalten sie das Gerät an und bedienen Sie es wie üblich. • Drücken Sie die Power/Mode Taste am Lautsprecher, um in den AUX-Modus zu wechseln. Die Kont- rollleuchte leuchtet grün, wenn Sie im AUX-Modus sind. -
Seite 6: Fehlersuche Und Fehlerbehebung
Fehlersuche und Fehlerbehebung Bevor Sie das Gerät zur Reparatur geben, versuchen Sie zuerst das Problem mit Hilfe folgender Tabelle zu lösen. Falls Sie den Fehler nicht selbstständig beheben können, kontaktieren sie den Kun- dendienst. Problem Lösungsansatz Das Gerät lässt sich nicht anschalten Überprüfen Sie ob der Stecker fest mit der Steckdose verbunden ist und die Steckdose funktioniert. -
Seite 7: Technical Data
Dear Customer, Congratulations on purchasing this eqipment. Please read this manual carefully and take care of the followring hints on installation and use to avoid technical damages. Any failure caused by ignoring the mentioned items and cautions mentioned in the opration and installation instructions are not covered by our warranty and any liability. -
Seite 8: Location Of Controls
• Don’t mount this product on a wall or ceiling. • Do not place the unit near TVs, speakers and other objects that generate strong magnetic fi elds. • This unit is for indoor use only. • Do not leave the unit unattended when it is in use. •... - Seite 9 Basic Operating Instructions Turning on/off the unit Position the unit at the desired location. Unravel the power cord and insert the cord into power port. Make sure the power plug is properly connected. The Standby indicator will be on, press the power/ mode button on the top panel to turn on the unit, press and hold to turn off the unit.
-
Seite 10: Care And Maintenance
USB-Port • The USB port at the rear of the unit provides a 5V 1A power output via a USB port, the USB port is for charging only and does not support any media feature. • The USB port can only provide a maximum power 5V 1A, do not exceed this voltage or current as it may cause damage to your unit or device. -
Seite 11: Troubleshooting
Troubleshooting Before taking the unit to be repaired, please check the following table when a problem occurs. Con- sult your dealer or service center if the problem cannot be solved with the following information. Problem Lösungsansatz System does not turn on Make sure AC power plug is connected to the wall socket outlet properly and it has power.

