Axis T93E05 Bedienungsanleitung
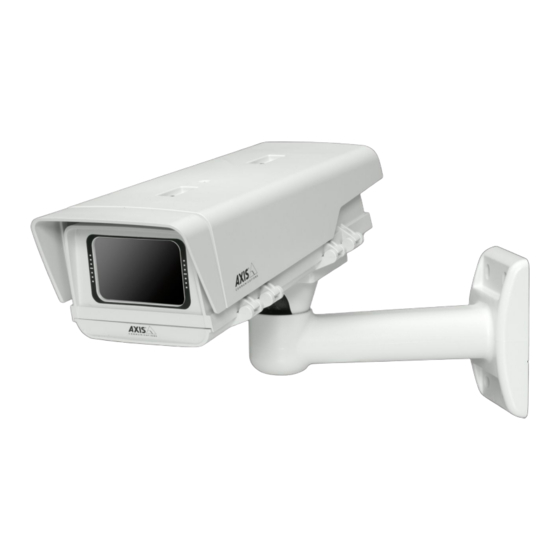
Protective housing
Inhaltsverzeichnis
Verfügbare Sprachen
Verfügbare Sprachen
Quicklinks
Inhaltsverzeichnis

Verwandte Anleitungen für Axis T93E05


Inhaltszusammenfassung für Axis T93E05
- Seite 1 USER’S GUIDE AXIS T93E05 Protective Housing...
-
Seite 20: Sicherheitsvorkehrungen
Verwenden Sie nur Zubehör, das den technischen Spezifikationen des Produkts entspricht. Dieses ist von Axis oder Drittanbietern erhältlich. • Versuchen Sie nicht, das Produkt selbst zu reparieren. Wenden Sie sich bei Service-Angelegenheiten an Axis oder an Ihren Axis-Händler. WICHTIG! •... -
Seite 21: Installationsschritte
Anweisungen zur Installation der Kamera im Netzwerk finden Sie in der Installationsanleitung zu Ihrer Kamera. Weitere Angaben zur Kamera finden Sie im Benutzerhandbuch, das auf der CD, die im Lieferumfang der Kamera enthalten ist, sowie auf unserer Website unter „www.axis.com“ zur Verfügung steht. -
Seite 22: Hardwareübersicht
Seite 22 AXIS T93E05 Benutzerhandbuch Hardwareübersicht Gehäuse Einstellschrauben für Sonnenschutz undDichtungsring (2) Obere Abdeckung Sonnenschutz Untere Abdeckung Dichtung Schraube für Kamera Kabelverschraubung Halterung Schraube für untere Abdeckung (2) Wandhalterung Schraube für Halter (2) Gummidichtung Schraube für Halterung (4) Wandhalterung Einstellschraube für Halterung... -
Seite 23: Installation Der Hardware
Seite 23 Installation der Hardware Kamera im Gehäuse anbringen In den folgenden Anweisungen wird beschrieben, wie Sie eine Innenraumkamera im AXIS T93E05 Schutzgehäuse montieren. Anweisungen zur Installation des Außenbereichmodells finden Sie unter Installation der Wandhalterung, auf Seite 24. 1. Lösen Sie die Schrauben der unteren Abdeckung und öffnen Sie die obere Abdeckung. Siehe Abbildung auf Seite 22. -
Seite 24: Installation Der Wandhalterung
1. Lösen Sie die Schrauben der unteren Abdeckung und öffnen Sie die obere Abdeckung. Siehe Abbildung auf Seite 22. 2. Befolgen Sie die Anweisungen unter Innenraumkameras von Axis im AXIS T93E05. Innenraumkameras von Axis im AXIS T93E05 1. Lösen Sie die Kabelverschraubungsmutter und nehmen Sie die Dichtung aus der Kabelverschraubung. - Seite 25 7. Lösen Sie die Einstellschraube der Halterung und richten Sie die Kamera auf das gewünschte Ziel aus. Führen Sie die Fokussierung der Kamera mithilfe des Installationsmonitors, der als optionales Zubehör von Axis erhältlich ist, oder gemäß den Anweisungen in der Installationsanleitung zu Ihrer Kamera durch.
- Seite 26 Seite 26 AXIS T93E05 Benutzerhandbuch Antikondensationsbeutel immer aus, wenn das Gehäuse geöffnet wurde. 9. Schließen Sie die obere Abdeckung und ziehen Sie die Schrauben der unteren Abdeckung fest. VORSICHT! Einklemmgefahr Beachten Sie die Scharnieraussparung zwischen der oberen und unteren Abdeckung. Fassen Sie niemals mit den Fingern in diese Aussparung, während Sie die obere Abdeckung schließen.
-
Seite 27: Weitere Informationen
Weitere Informationen Im Installationshandbuch zu Ihrer Kamera finden Sie Informationen zum Zuweisen einer IP-Adresse und Festlegen des Kennworts sowie zum Zugriff auf den Videostrom. Das Benutzerhandbuch steht ebenfalls auf der Website von Axis unter „www.axis.com“ zur Verfügung. Technische Daten Funktion/...