Clou first CL/04.01020 Montageanweisungen

Verwandte Anleitungen für Clou first CL/04.01020

Inhaltszusammenfassung für Clou first CL/04.01020
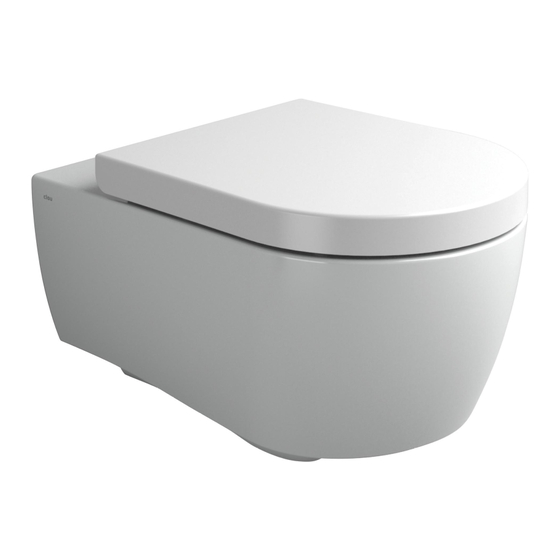
- Seite 1 first_toilet b a t h f i n d i n g s CL/04.01020 Montage instructies Installation Instructions Notice de montage Montageanweisungen...
- Seite 2 All menti- oned dimensions in this manual should be verified before executing the action. - Clou b.v. can not be held responsible for the results of improper use, improper transportation or any damage caused during interim storage.
- Seite 3 à toute action. - Clou BV ne peut être tenu responsable pour usage non approprié des articles, trans- port inadéquat ou dommage causés à votre entrepôt en attente de livraison.
- Seite 4 Gegenstände die Oberfläche der Produkten beschädigen. Gebruiksvoorschriften: zie ook de onderhoudsvoorschriften op www.clou.nl User’s instructions: See also the maintenance guides at www.clou.nl Instructions d’utilisation: Voyer aussi les instructions de maintenance sur www.clou.nl Gebrauchsanweisungen: Wartungsanweisungen finden Sie auf unsere Homepage www.clou.nl...
- Seite 6 Plaats het toilet over de draadstangen van het in- bouwreservoir. Klem de toe- en afvoerbuizen van het reservoir vast. Place the toilet over the th- readed rods from the built-in flush tank. Clamp the inlet and outlet pipes of the flush tank.
- Seite 7 Draai langs de onderzijde vast met de ring ratelsleutel. Tighten from the bottom with the ring ratchet wrench. Vissez par le fond avec la clé anneau de cliquet. Schrauben Sie die Befesti- gungen Unterseits mit einem Ringratschenschlüssel fest. Monteer de toiletzitting. Install the toilet seat.
- Seite 8 Haal het bevestigingsstuk van de zitting (stap 9), en schroef de bouten reeds half in de nylon bussen. Take the mounting piece from the seat (step 9), and screw the bolts already halfway in the nylon nuts. Prennez la fixation de l’assise (étape 9), et vissez les boulons déjà...
- Seite 9 Schuif zitting en deksel over het bevestigingsstuk tot het geheel vastklikt. Place the seat and cover over the mounting piece until the whole snaps on. Placez l’assise et l’abatant sur la fixation jusqu’à ce que le tout s’accroche. Setzen Sie den Sitz auf die Befestigung, bis das Ganze festklemmt.
- Seite 10 Neem de zitting van het toilet door de schuiver opzij te du- wen en de zitting af te nemen. Take the seat from the toilet by pushing the slider aside and taking off the seat. Prenez l’assise de la toilette en poussant le glisseur de côté...
- Seite 11 Dans le corps de chrome il y a 2 cylindres en plastique, cylindre A détermine la vitesse de fer- meture de l’assise, cylindre B détermine la vitesse de l’abba- tant. Pour une fermeture plus rapide tournez le cylindre dans le sens inverse des aiguilles d’une montre avec une clé...
- Seite 12 Clou bv Thermiekstraat 1 NL-6361 HB Nuth T +31 (0)45 524 56 56 F +31 (0)45 524 60 00 info@clou.nl www.clou.nl...