Kodak WSP801 Kurzanleitung
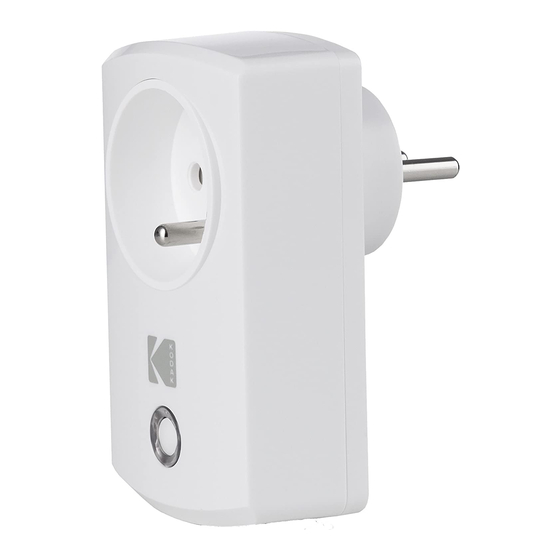
Wireless plug

Verwandte Anleitungen für Kodak WSP801

Inhaltszusammenfassung für Kodak WSP801
- Seite 6 So richten Sie den Smart Plug ein 1. Starten Sie die “KODAK Connect App”. 2. Tippen Sie auf das <+> -Icon und fügen Sie das neue Gerät hinzu unter Home / Gerät hinzufügen. 3. Wählen Sie <Smart Plug> und geben Sie ihm einen Namen.
- Seite 7 “An”-Position. Tippen Sie auf das Smart Plug-Icon auf der Hauptseite, um das Licht an- und auszuschalten. HINWEISE: • Der Smart Plug ist nur kompatibel mit der KODAK Connect App. • Automatisches Koppeln ist zum erstmaligen Koppeln gedacht; bitte nutzen Sie Manuelles Koppeln, wenn Sie die isolierende Schutzfolie vor dem Einrichten und dem Zurücksetzen des Systems (alle Einstellungen zurücksetzen)