Werbung
Verfügbare Sprachen
Verfügbare Sprachen
Quicklinks
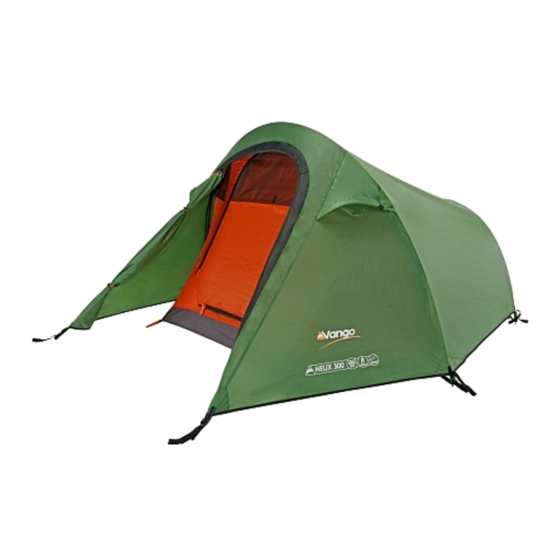
TENT PITCHING INSTRUCTIONS – HELIX 100, 200 & 300 (UK)
Inner First Pitching
1.
Assemble poles and lay them parallel on the ground (2 poles – 1 long, 1 short).
2.
Open out inner and position in required direction.
3.
Insert the poles through the pole sleeves on the outside of the inner.
4.
Locate one end of each pole on one side of inner into the metal pin system at the end of the pole sleeves. Push poles
into an arch from opposite ends and locate pole ends into corresponding metal pin.
5.
Peg the rear point of the inner tent.
6.
Carefully extend the tent forwards, then peg the two front corners.
7.
Peg both of the poles through the ring of the ring and pin system.
Flysheet
1.
Open out flysheet and position so that the inner doorway and the flysheet doorway correspond.
2.
A number of velcro strips are located on the underside of the flysheet. These must be secured around the poles of the
inner tent.
3.
Peg down each side of flysheet adjacent to the metal rings of the inner tent. Use the pin-pegs supplied.
4.
Pull porch taut, away from main body of tent and peg down the corners of the porch.
5.
Peg out the rear point of the flysheet.
6.
Peg out ALL guy lines using pin-pegs ensuring that guy line fabric attachment points are evenly tensioned.
...............................................................................................................................................................................................................
Werbung

Verwandte Anleitungen für Vango HELIX 100


Inhaltszusammenfassung für Vango HELIX 100
- Seite 1 TENT PITCHING INSTRUCTIONS – HELIX 100, 200 & 300 (UK) Inner First Pitching Assemble poles and lay them parallel on the ground (2 poles – 1 long, 1 short). Open out inner and position in required direction. Insert the poles through the pole sleeves on the outside of the inner.
- Seite 2 AUFBAUANLEITUNG – HELIX 100, 200 & 300 (DE) Innenzelt-zuerst-Aufbau Stecken Sie die Stangen zusammen und legen Sie sie parallel zueinander auf den Boden (2 Stangen - 1 lange, 1 kurze). Breiten Sie das Innenzelt aus und positionieren Sie es in der gewünschten Richtung.
- Seite 3 INSTRUCTIONS DE MONTAGE – HELIX 100, 200 & 300 (FR) Montage en commençant par la tente intérieure Réunir les arceaux et les poser parallèlement au sol (2 arceaux – 1 long, 1 court). Ouvrir l'intérieur et le positionner dans la direction voulue.
- Seite 4 ISTRUZIONI PER IL MONTAGGIO – HELIX 100, 200 & 300 (IT) Primo fissaggio interno Montare i paletti e stenderli paralleli al suolo (2 paletti - 1 lungo, 1 corto). Aprire la camera interna e posizionarla nella direzione richiesta. Inserire i paletti nel manicotti sul lato esterno della camera interna Collocare un'estremità...
- Seite 5 OPZETINSTRUCTIE – HELIX 100, 200 & 300 (NL) Binnenste Eerst Opzetten Zet de stokken in elkaar en leg ze parallel op de grond (2 stokken - 1 lang en 1 kort). Open de binnentent en positioneer in gewenste richting. Steek de stokken door de stoksleuven aan de buitenkant van de binnentent Steek een uiteinde van elke stok aan een kant van de binnentent in het metalen pin systeem aan het einde van de stoksleuven.
- Seite 6 NÁVOD KE STAVBĚ – HELIX 100, 200 & 300 (CZ) První se staví ložnice Poskládejte tyčky a položte je rovnoběžně na zem (2 tyčky - 1 delší, 1 kratší) Rozložte vnitřní část stanu a umístěte v požadovaném směru. Vsuňte tyče skry tunýlky na na vnější straně vnitřku stanu Zapíchněte jeden konec každé...