Virutex MEB250A Gebrauchsanweisung
Inhaltsverzeichnis
Verfügbare Sprachen
Verfügbare Sprachen
Quicklinks
MANUAL DE INSTRUCCIONES
OPERATING INSTRUCTIONS
MODE D' EMPLOI
GEBRAUCHSANWEISUNG
MANUALE D'ISTRUZIONI
MANUAL DE INSTRUÇÕES
ИНСТРУКЦИЯ ПО ЭКСПЛУАТАЦИИ
INSTRUKCJA OBSŁUGI
MEB250A
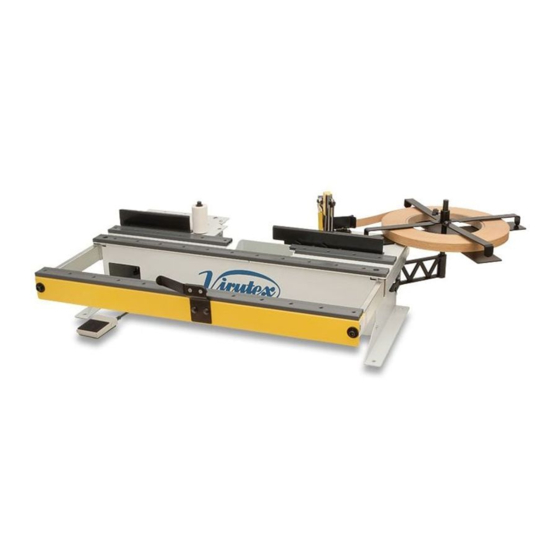
Mesa para uso estacionario
Table for edgebander
Table pour plaqueuse de chants
Tisch für Kantenleimmaschinen
Tavolo per bordatrice
Mesa para orladora
Стол кромкооблицовочный
Stolik do okleiniarki
Inhaltsverzeichnis

Verwandte Anleitungen für Virutex MEB250A

Inhaltszusammenfassung für Virutex MEB250A
- Seite 1 OPERATING INSTRUCTIONS MODE D’ EMPLOI GEBRAUCHSANWEISUNG MANUALE D’ISTRUZIONI MANUAL DE INSTRUÇÕES ИНСТРУКЦИЯ ПО ЭКСПЛУАТАЦИИ INSTRUKCJA OBSŁUGI MEB250A Mesa para uso estacionario Table for edgebander Table pour plaqueuse de chants Tisch für Kantenleimmaschinen Tavolo per bordatrice Mesa para orladora Стол кромкооблицовочный...
-
Seite 14: Garantie
• Verpackungsinhalt des Tischs MEB250A: d’Assistance Technique de VIRUTEX. • 1 Tisch MEB250A für das Kantenanleimgerät PEB200/PEB250 VIRUTEX se réserve le droit de modifier ses produits • 1 ausziehbare Führungsschiene, in folgende Ein- sans avis préalable. zelteile zerlegt: 1 hintere Auflageleiste (A, Abb. 1) 2 Unterlegscheiben (B, Abb. -
Seite 15: Montage Von Ladeeinheit Und Rolle
Das Kantenanleimgerät PEB200 bzw. das Kante- nanleimgerät PEB250 wie in Abb. 2 gezeigt auf den Befolgen Sie genau alle Schritte, die in der Bedie- Tisch MEB250A stellen und mit den drei Schrauben nungsanleitung des Kantenanleimgeräts PEB200/ (J, Abb. 2) befestigen. - Seite 16 damit sie nicht verloren geht. Den Streifen nicht in der Führung Es ist zu berücksichtigen, dass die Profiliermaschine lassen. Nach der Einstellung wieder Kanten bis zu 1 mm Dicke profilieren kann. Sollte ein herausnehmen. Anleimen von Kanten über 2 mm erforderlich sein, dann verschieben Sie die Profiliermaschine durch PEB200 Lösen der beiden Schrauben (2F-Abb.
- Seite 17 gezeigten Stellung montieren, und die Aufsätze (T und U, • Bei Erreichen des Endes der Führung den Überstand Abb. 5, 9 und 10) zum Anheben unter das Gerät stellen. berechnen und den Kantenschnitt mithilfe des Pedals (IX, Abb. 2) ausführen. Installation der Tischaufsätze •...
- Seite 36 Fig. 1 Fig. 2...
- Seite 37 Fig. 4 Fig. 3 Fig. 5 Fig. 6,1 Fig. 7 Fig. 6,2...
- Seite 38 Fig. 8 Fig. 9 Fig. 10 Fig. 11 Fig. 13 Fig. 12...
- Seite 39 Fig. 14...
- Seite 40 Accès à toute l’information technique. Zugang zu allen technischen Daten. Accedere a tutte le informazioni tecniche. Aceso a todas as informações técnicas. Dostęp do wszystkich informacji technicznych. Доступ ко всей технической информации. 5096766 042015 Virutex, S.A. Antoni Capmany, 1 08028 Barcelona (Spain) www.virutex.es...