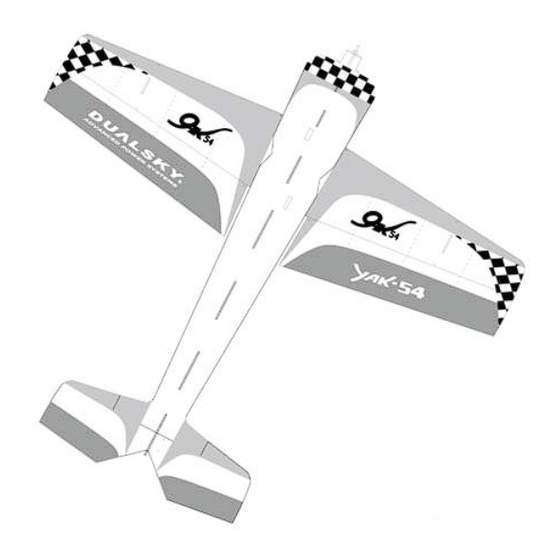

Verwandte Anleitungen für Dualsky Yak 54 Pro Evo

Inhaltszusammenfassung für Dualsky Yak 54 Pro Evo
- Seite 1 Assembly instructions Bedienungsanleitung Mode d’emploi 23HL9J2320 Shanghai Dualsky Models Co., Ltd. • Rm.1016, No.201, Xin JinQiaoRd, Shanghai China Tel: +86 21 50322161 • Fax: +86 21 50322163 • http://www.dualsky.com...
- Seite 2 Leistung. Stabilität ist dabei ein Schlüsselelement, das es der YAK 54 Pro erlaubt viele verschiedene 3D Figuren flüssig zu meistern. YAK 54 Pro est un avion de voltige indoor 3D en Depron, un matériel rigide et très léger. Après le grand succès de l'EVO YAK-54 Pro, DUALSKY lance le YAK-54 Pro EVO : un Shock Flyer d’une classe supérieure.
- Seite 3 Wing Area • Flächeninhalt • Surface des Ailes: 11,77 dm² Motor: Dualsky XM2812-27 or XM2812-27RTR, the thrust of the motor should be more than 200 g Motor: Dualsky XM2812-27 oder XM2812-27RTR, der Schub des Motors sollte mehr als 200 g betragen Moteur Recommandé:...
- Seite 4 Des conditions de vents calmes sont recommandées! Note for Storage • Hinweise zur Lagerung • Après chaque vol - Please disconnect the Dualsky LiPo packs when finished flying - Do not press or crush the airplane when storing - The best way to store is to hang the airplane to keep the control surface rigid - Bitte schließen Sie die LiPo Akkus ab, wenn Sie Ihren Flug beendet haben...
- Seite 5 - 5 - The Items below are required for assembly Die folgenden Untensilien werden für den Aufbau benötigt Les articles ci-dessous sont requis pour l'assemblage 1. Place the wing and fuselage center on a smooth surface, test fit all two pieces together with the top face down on the table.
- Seite 6 - 6 - 5. Put the wing stay bar into the slot, then use glue to fix. Note: the carbon strip must protrude below the fuselage bottom side by 1-2mm for connecting with the stay bar Step 7. 5. Schieben Sie die Flächenstrebe in den Schlitz und verkleben diese anschließend. Beachten Sie: Der Carbon Streifen muss 1-2mm aus dem Rumpfunterkante hervorstehen um anschließend bei Schritt 7 mit der Flächen- strebe verbunden zu werden.
- Seite 7 - 7 - 11. Insert the bar of the landing gear into the orientation plate as shown above then fix with glue. Note: This part can be a force fit, you can reinforce this part appropriately. 11. Kleben Sie die Halterung der Radachsen auf die Fahrwerksbeine und kleben diese anschließend fest. Beachten Sie: Auf diese Teile kann unter Umständen eine gewisse Kraft auswirken.
- Seite 8 - 8 - 17. Cut the fuselage stay bar (size: 750mmxdiam. 1mm)into 6 pcs of 150 mm equal length. 17. Schneiden Sie die Stange zur Rumpfverstärkung (Größe: 750mm x 1mm) in 6 gleich große Stücke von 150mm Länge. 17. Couper la barre du fuselage (taille: 750mm x 1mm de diamètre) en 6 morceaux de 150mm chacun. 18.
- Seite 9 - 9 - 23. As shown left, place a piece of tape on the top (broken lines) of the aileron and elevator. 23. Kleben Sie ein Stück Klebeband auf die Oberseiten (gestrichelte Linien) der Quer- und Höhenruder, wie in der linken Abbildung zu sehen ist.
- Seite 10 34. Comme indiqué à gauche, les éléments suivants (ou similaires) sont nécessaires pour compléter le modèle: • Dualsky XM2812CA-27 and/und/et XC0610BA ESC (1 Teil von jedem/1 of each/1 pièce de chaque) or/oder/ou • XM2812CA27 RTR (with integrated controller, mit integriertem Regler, avec contrôleur intégré) •...
- Seite 11 - 11 - 35. As shown left, use fiber tape, such as 3M Blenderm to stick the motor base on the front of fuselage tightly, then glue it 35. Verwenden Sie wie in der linken Abbildung zu sehen ist, Faserband um den Motorträger an der Front des Rumpfes zu befestigen und kleben Sie diesen anschließend fest.
- Seite 12 - 12 - 41. As shown left, center the aileron, then cut to length the aileron rod. (User can adjust the length as they need, the aileron rod is over-sized) 41. Zentrieren Sie das Querruder und kürzen Sie dann die Querruder Schubstange entsprechend. (Sie können die Länge je nach Wunsch anpassen, die enthaltene Schubstange hat Überlänge ) 41.
- Seite 13 - 13 - 47 The same way to fix the elevator string above. 47. Wiederholen Sie das Ganze für das Höhenruder. 47. Fixez la ficelle pour l’élévateur de la même manière. 48. Fit the RC equipment as shown left. 48. Montieren Sie das RC Equipment wie in der linken Abbildung zu sehen ist. 48.